Amiga 3000 restoration part 3 – Replacing the hard drives
Now after the inside was cleaned and the first vital upgrades were done, I was eager to start using the computer again after the close to 20 years of hibernation it had undergone. Then the next problem appeared, and set me back for more than a month.
The hard drives were old, and as it turned out also a bit unstable. Within the first hour after I had upgraded the computer I made a simple reboot, and then suddenly I couldn’t access one of the hard drives. It made some unpleasant noise and then just made a spindown. On that drive I had lots of files that were not to be found anywhere else, that I had deliberately left there when migrating to PC back in 1998. I did NOT want that drive to be dead. Out of stupidity I made a cold boot and the drive spun up again and could be accessed for a few more moments until it died again. But it gave me some hope of recovering the data. Problem was I hadn’t any media to copy the files to. I had anticipated this problem and a SCSI2SD was on the wish list but they were out of stock on Amigakit and I had hoped to be able to wait until they got back in stock there.
But now things came in a different light. I had to order one ASAP, so China – here we go.
It took ten days after the order for the package to arrive in Sweden. Another five days for it to get to Gotland where I live. That was a happy day, I got the delivery note in my mailbox and went to the post office. But there were no package there. It had been lost somewhere between the terminal and post office, a distance of roughly 2 km. A tracked “value package”. I started a quite heavy process (don’t get between me and my Amiga hardware, mind you!) but the package was just lost. I was told to wait for 2-4 weeks that it might show up, and it would take me 6-10 weeks to get any refund, that also had to be handled from China.
I was a bit pissed to say the least. But luckily just the day after the SCSI2SD had come back into stock at Amigakit. And because I was pissed, I needed something to make me happy again, therefore I added the X-surf 100 Zorro network card to my order.
Here comes the funny part though. It took about 12 days for the packade to arrive from Amigakit. But the very same day that order arrived, in my mailbox also was the other SCSI2SD card from China. Someone had just placed it in my mailbox, even though it was a tracked value package so technically I would have to sign for it and show ID to pick up the package. Interestingly enough, when I do a tracking of the parcel via Postnord, it still says “Status – the parcel is on it’s way to your post office“.
Anyway – time to start saving the data on the hard drives!
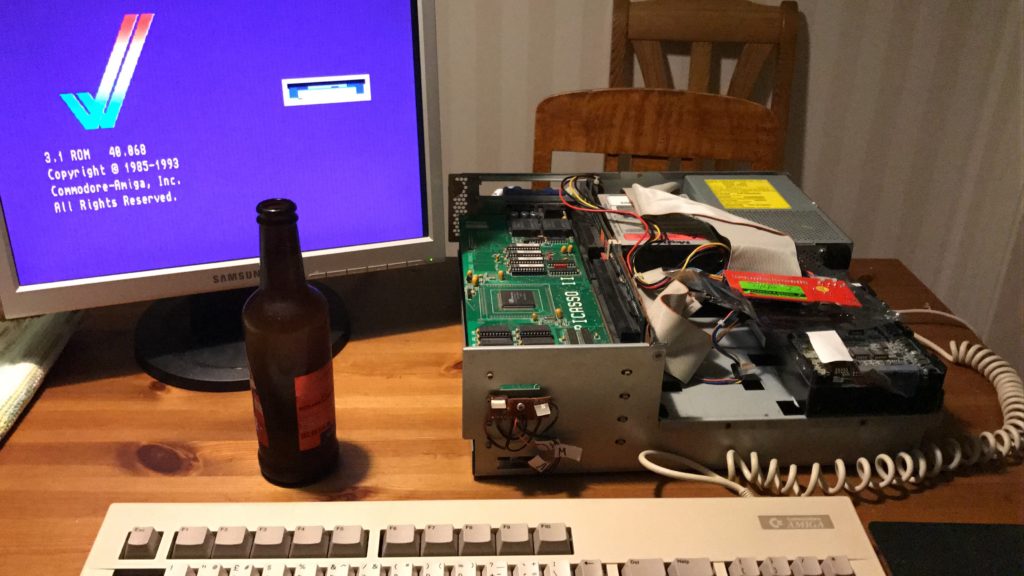
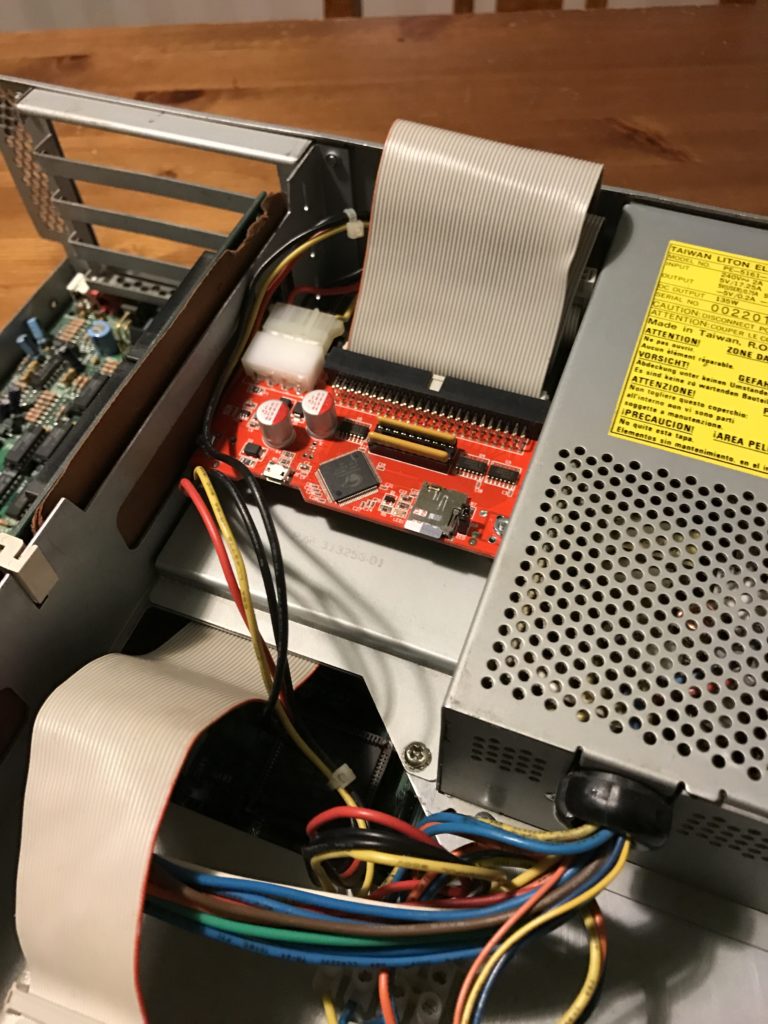
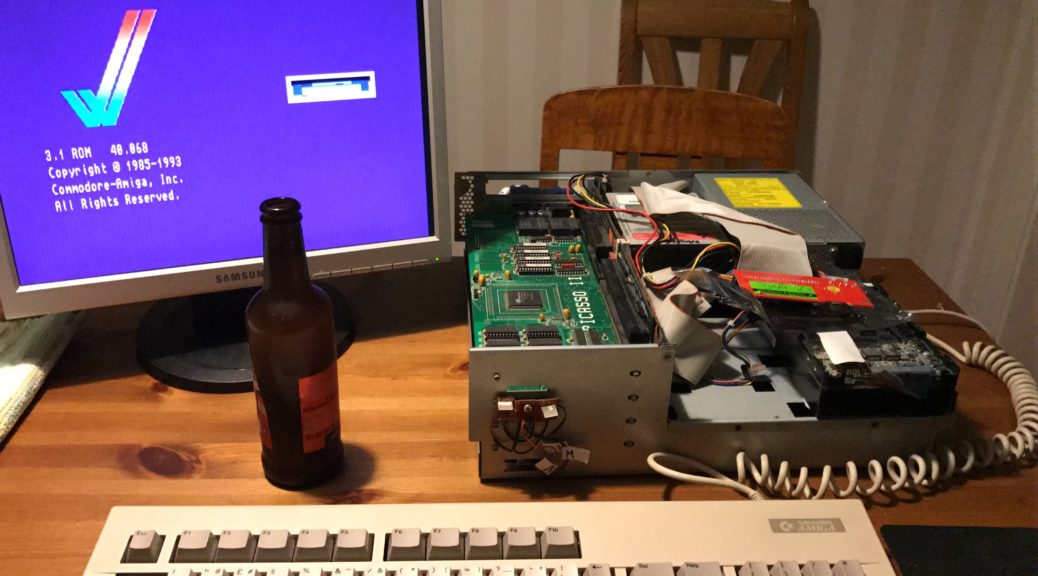
The SCSI2SD card can split up the SD card into not only different partitions, but also emulate multiple hard drives with different SCSI ID’s. This comes in handy on systems that are not entirely comfortable with big drives, for example the Amiga. Drives larger than 4 GB needs a bit of hassle before you can get them to be accessible by the Amiga, and I decided that was not where I wanted to put my efforts right now, but rather to get a stable system up to save my files.
Using the software downloaded from SCSI2SD website I upgraded the firmware and set my 16 GB SD card up with four partitions, each about 3,5 GB to make sure there were some extra space left unused on the card to avoid the Amiga “warping” around the 4 GB partition line and corrupting data. I read somewhere (unfortunately cannot find the link) that it’s also a good idea to leave some capacity of the SD card untouched, since memory cells will deteriorate over time and the idea of the media itself then places data on other cells that are not yet used. If the card is full then this will lead to corrupted data.
For information on Amiga and 4 GB limits and possibilities I really recommend this link: EAB ClassicWB Large Hard Drive Support and EAB CF/SD and Large Drives FAQ.
I had quite a lot of problems getting the Amiga to let me format the drives (the Format command told me the disks were write protected), to be honest I never really found a solution to this but rather a workaround – I made a disk repair attempt by Quarterback Tools and it “repaired” the Boot block (obviously there were no Boot block there at all) which I guess would be quite the same as a Quick format. 😉 As I installed my other SCSI2SD unit later I did not have the same problem, and there I went for larger +4GB drives, and therefore used HDInstTools (they are however not to be mixed – you either use one or the other).
Unfortunately I haven’t kept a good enough log of the process with the SCSI2SD installation. It was certainly not a Plug n’ Play-solution but all obstacles could be overcome eventually. If you run into problems with this, you could try dropping me an e-mail and I’ll happily try to help you out.
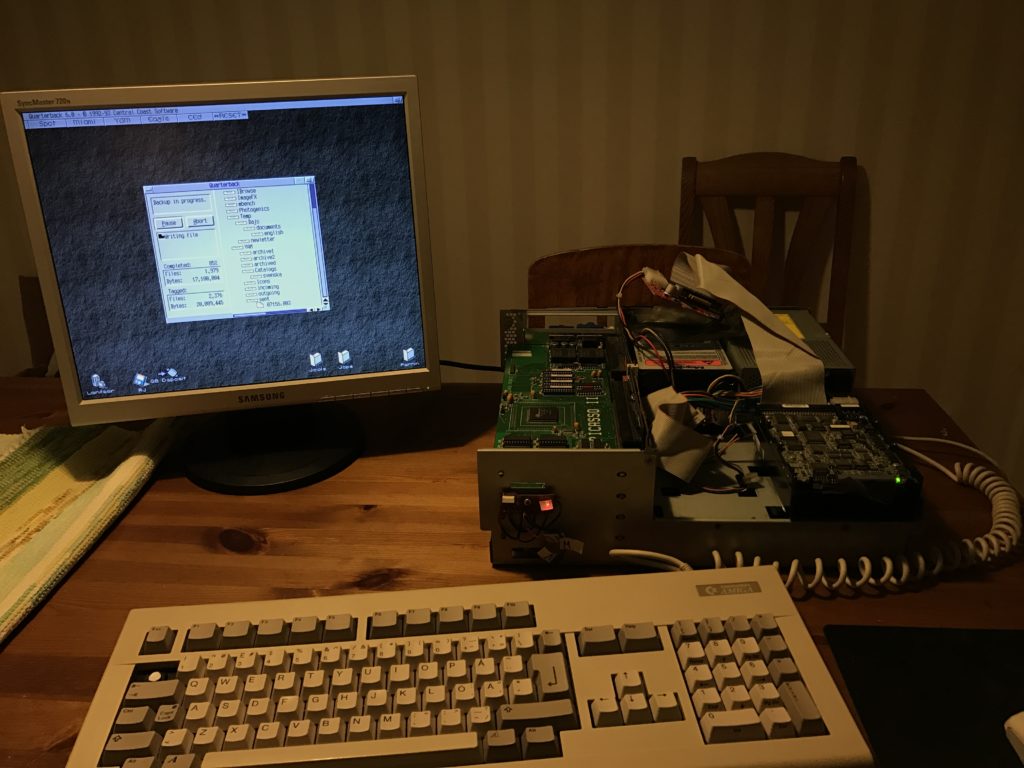
I used Quarterback to make a backup of the original drives. It was a joyous moment when the last data from the disk that had been giving me troubles was saved. In the end it sounded like shit and I am not sure that it will ever start up again, but now everything on it is saved and also put on backup on both my Dropbox and other SD card.
