Amiga 3000 restoration part 1 – Cleaning and Retrobrite
As noted in last post the A3000 was in quite bad shape cosmetically. Before I went further with work on the computer I wanted to make sure that it was clean and also looked appealing. It was not the worst case of yellowing, and it is of course always debatable wether Retrobrighting is a good idea or not, but I decided that my goal with this restoration was to in a way give me the computer I dreamt of but couldn’t afford to build back in the days.
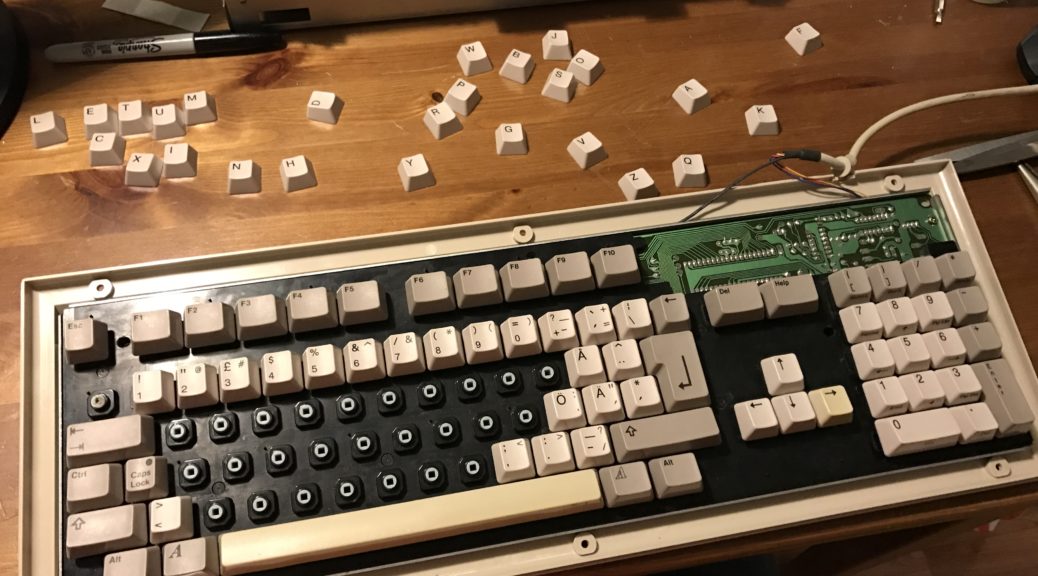
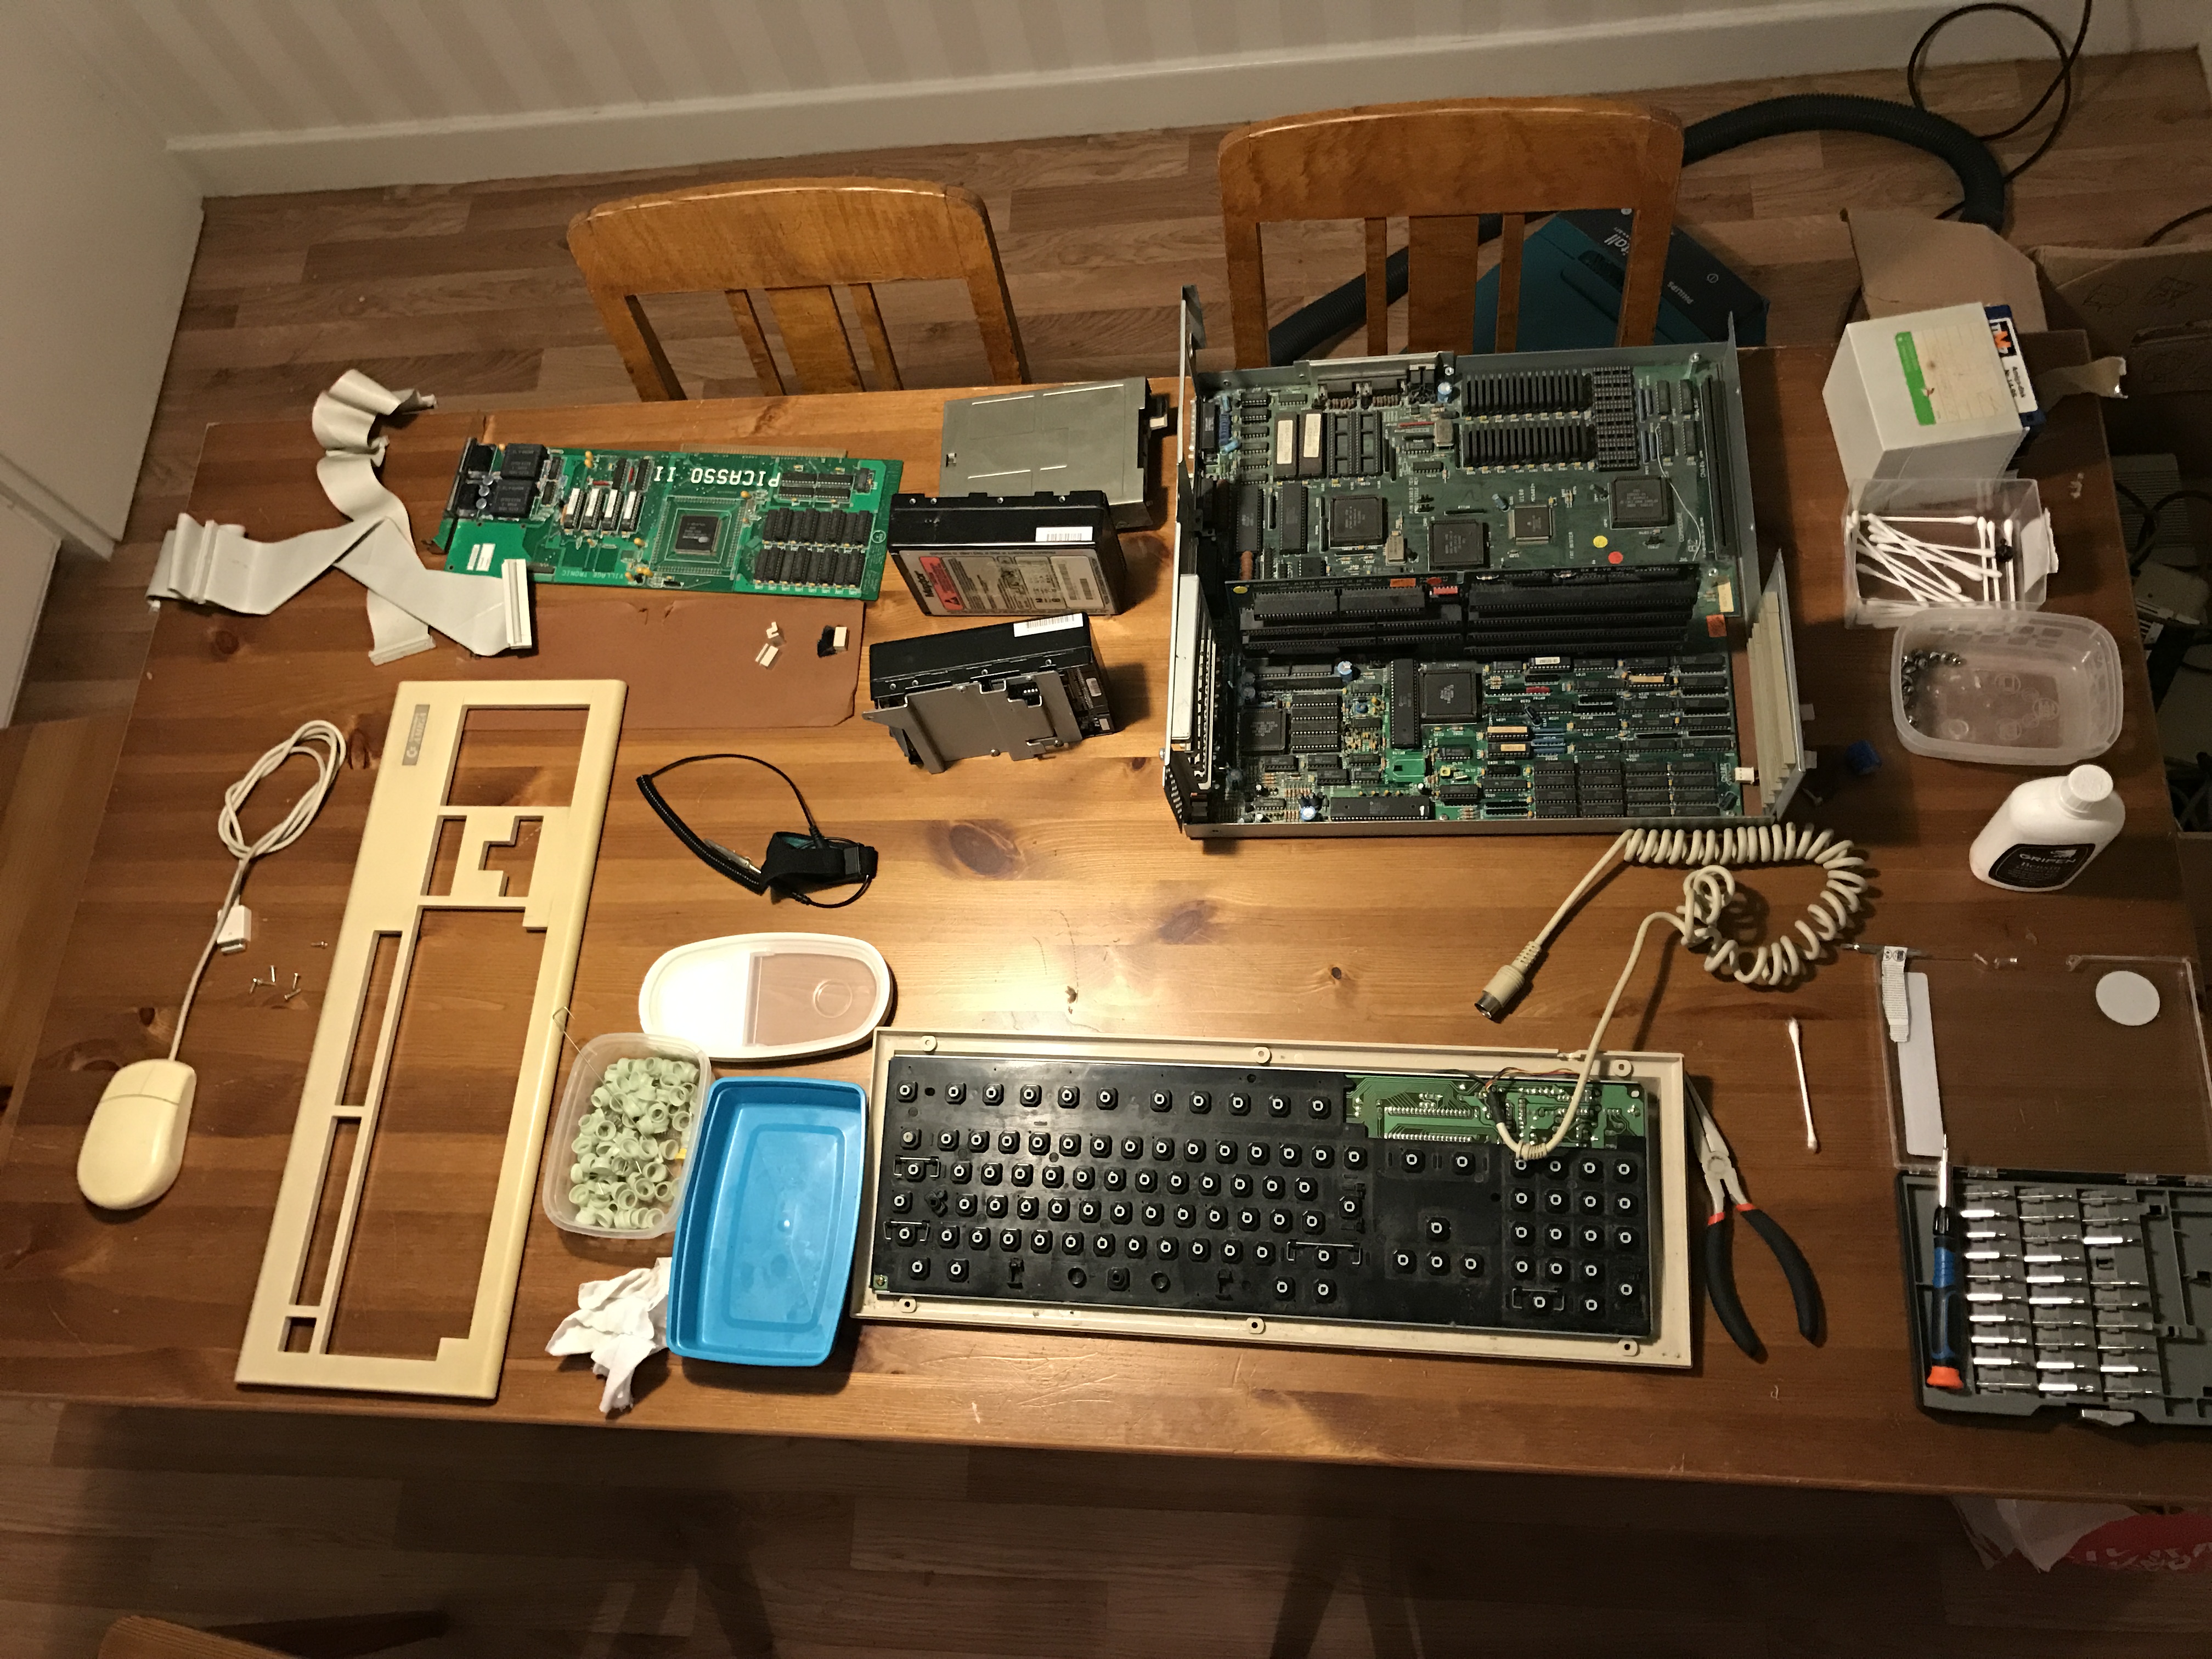
First off was the keyboard. It looked really horrible. I’ll also start with stating the obvious – this is not an A3000 keyboard but an A2000 model. It was the one that I got with the computer when I bought it back in 1996, so I’m kind of attached to it. 🙂
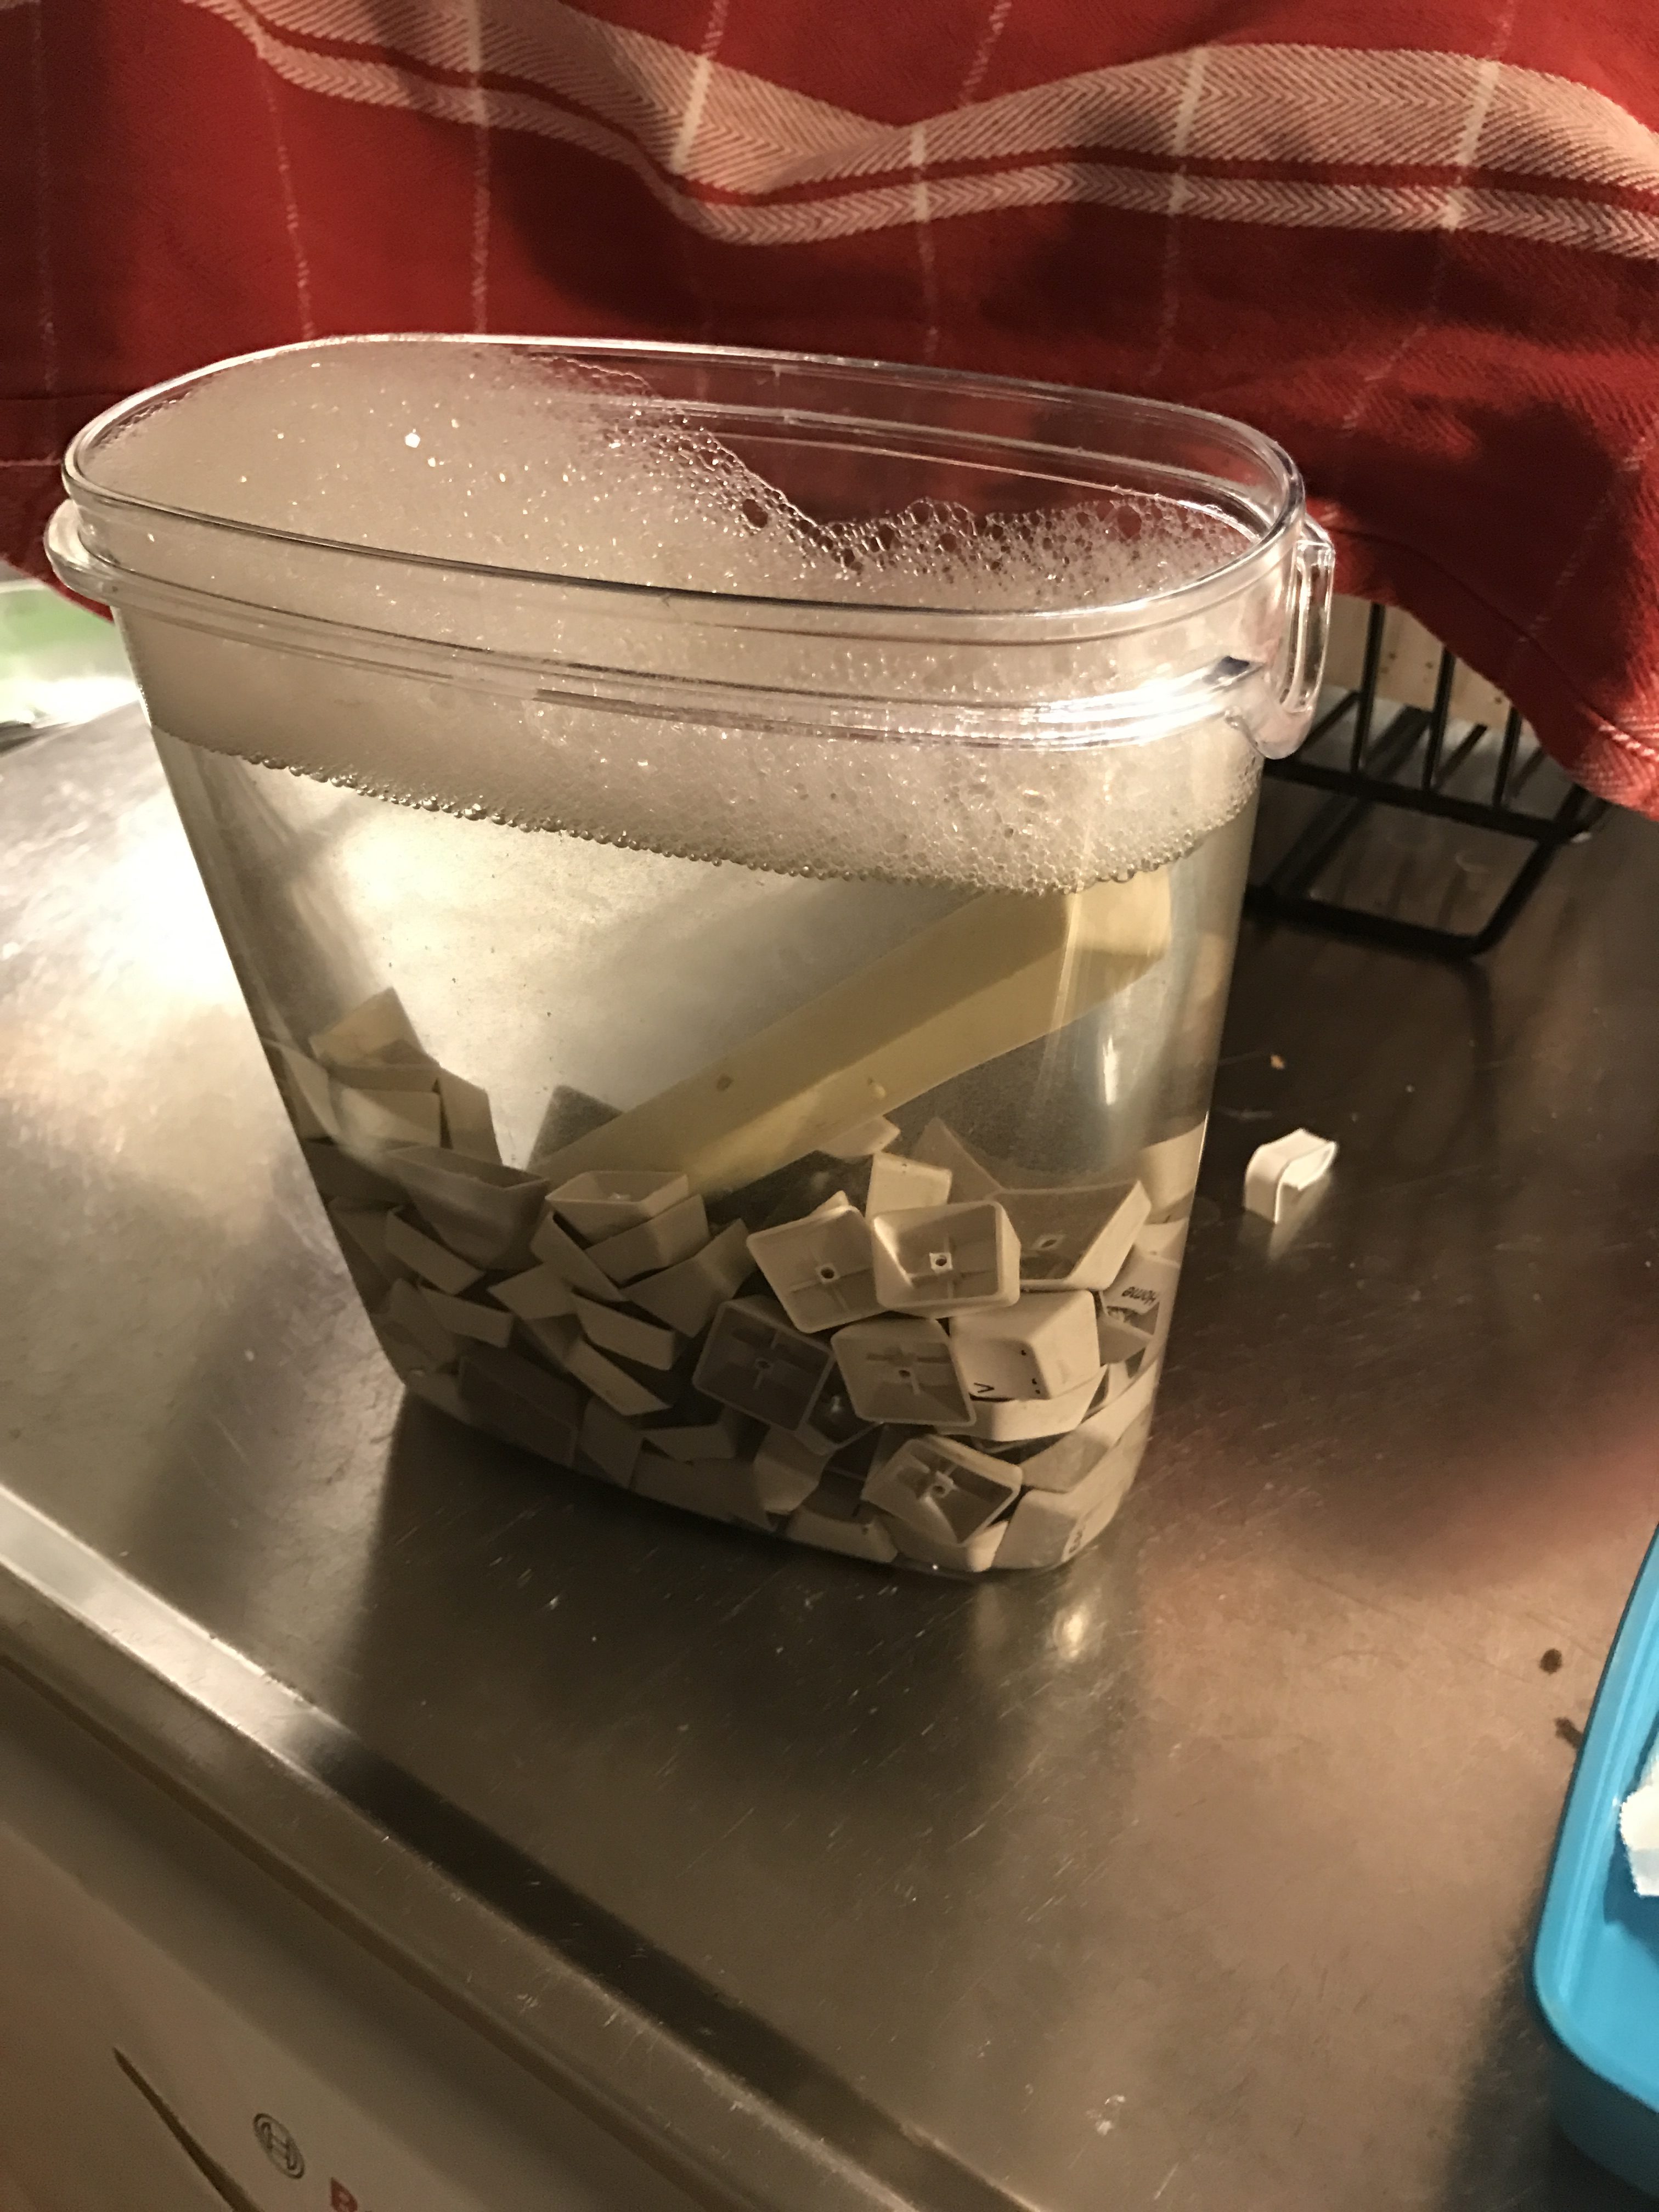
The method is as simple as can be. Disassemble all keys and manually clean them and the mount. To simplify the cleaning of the keys I put them in soapy water overnight to make the guck come off easier. Then just rinse and scrub them one by one. Not the funniest task but it works.

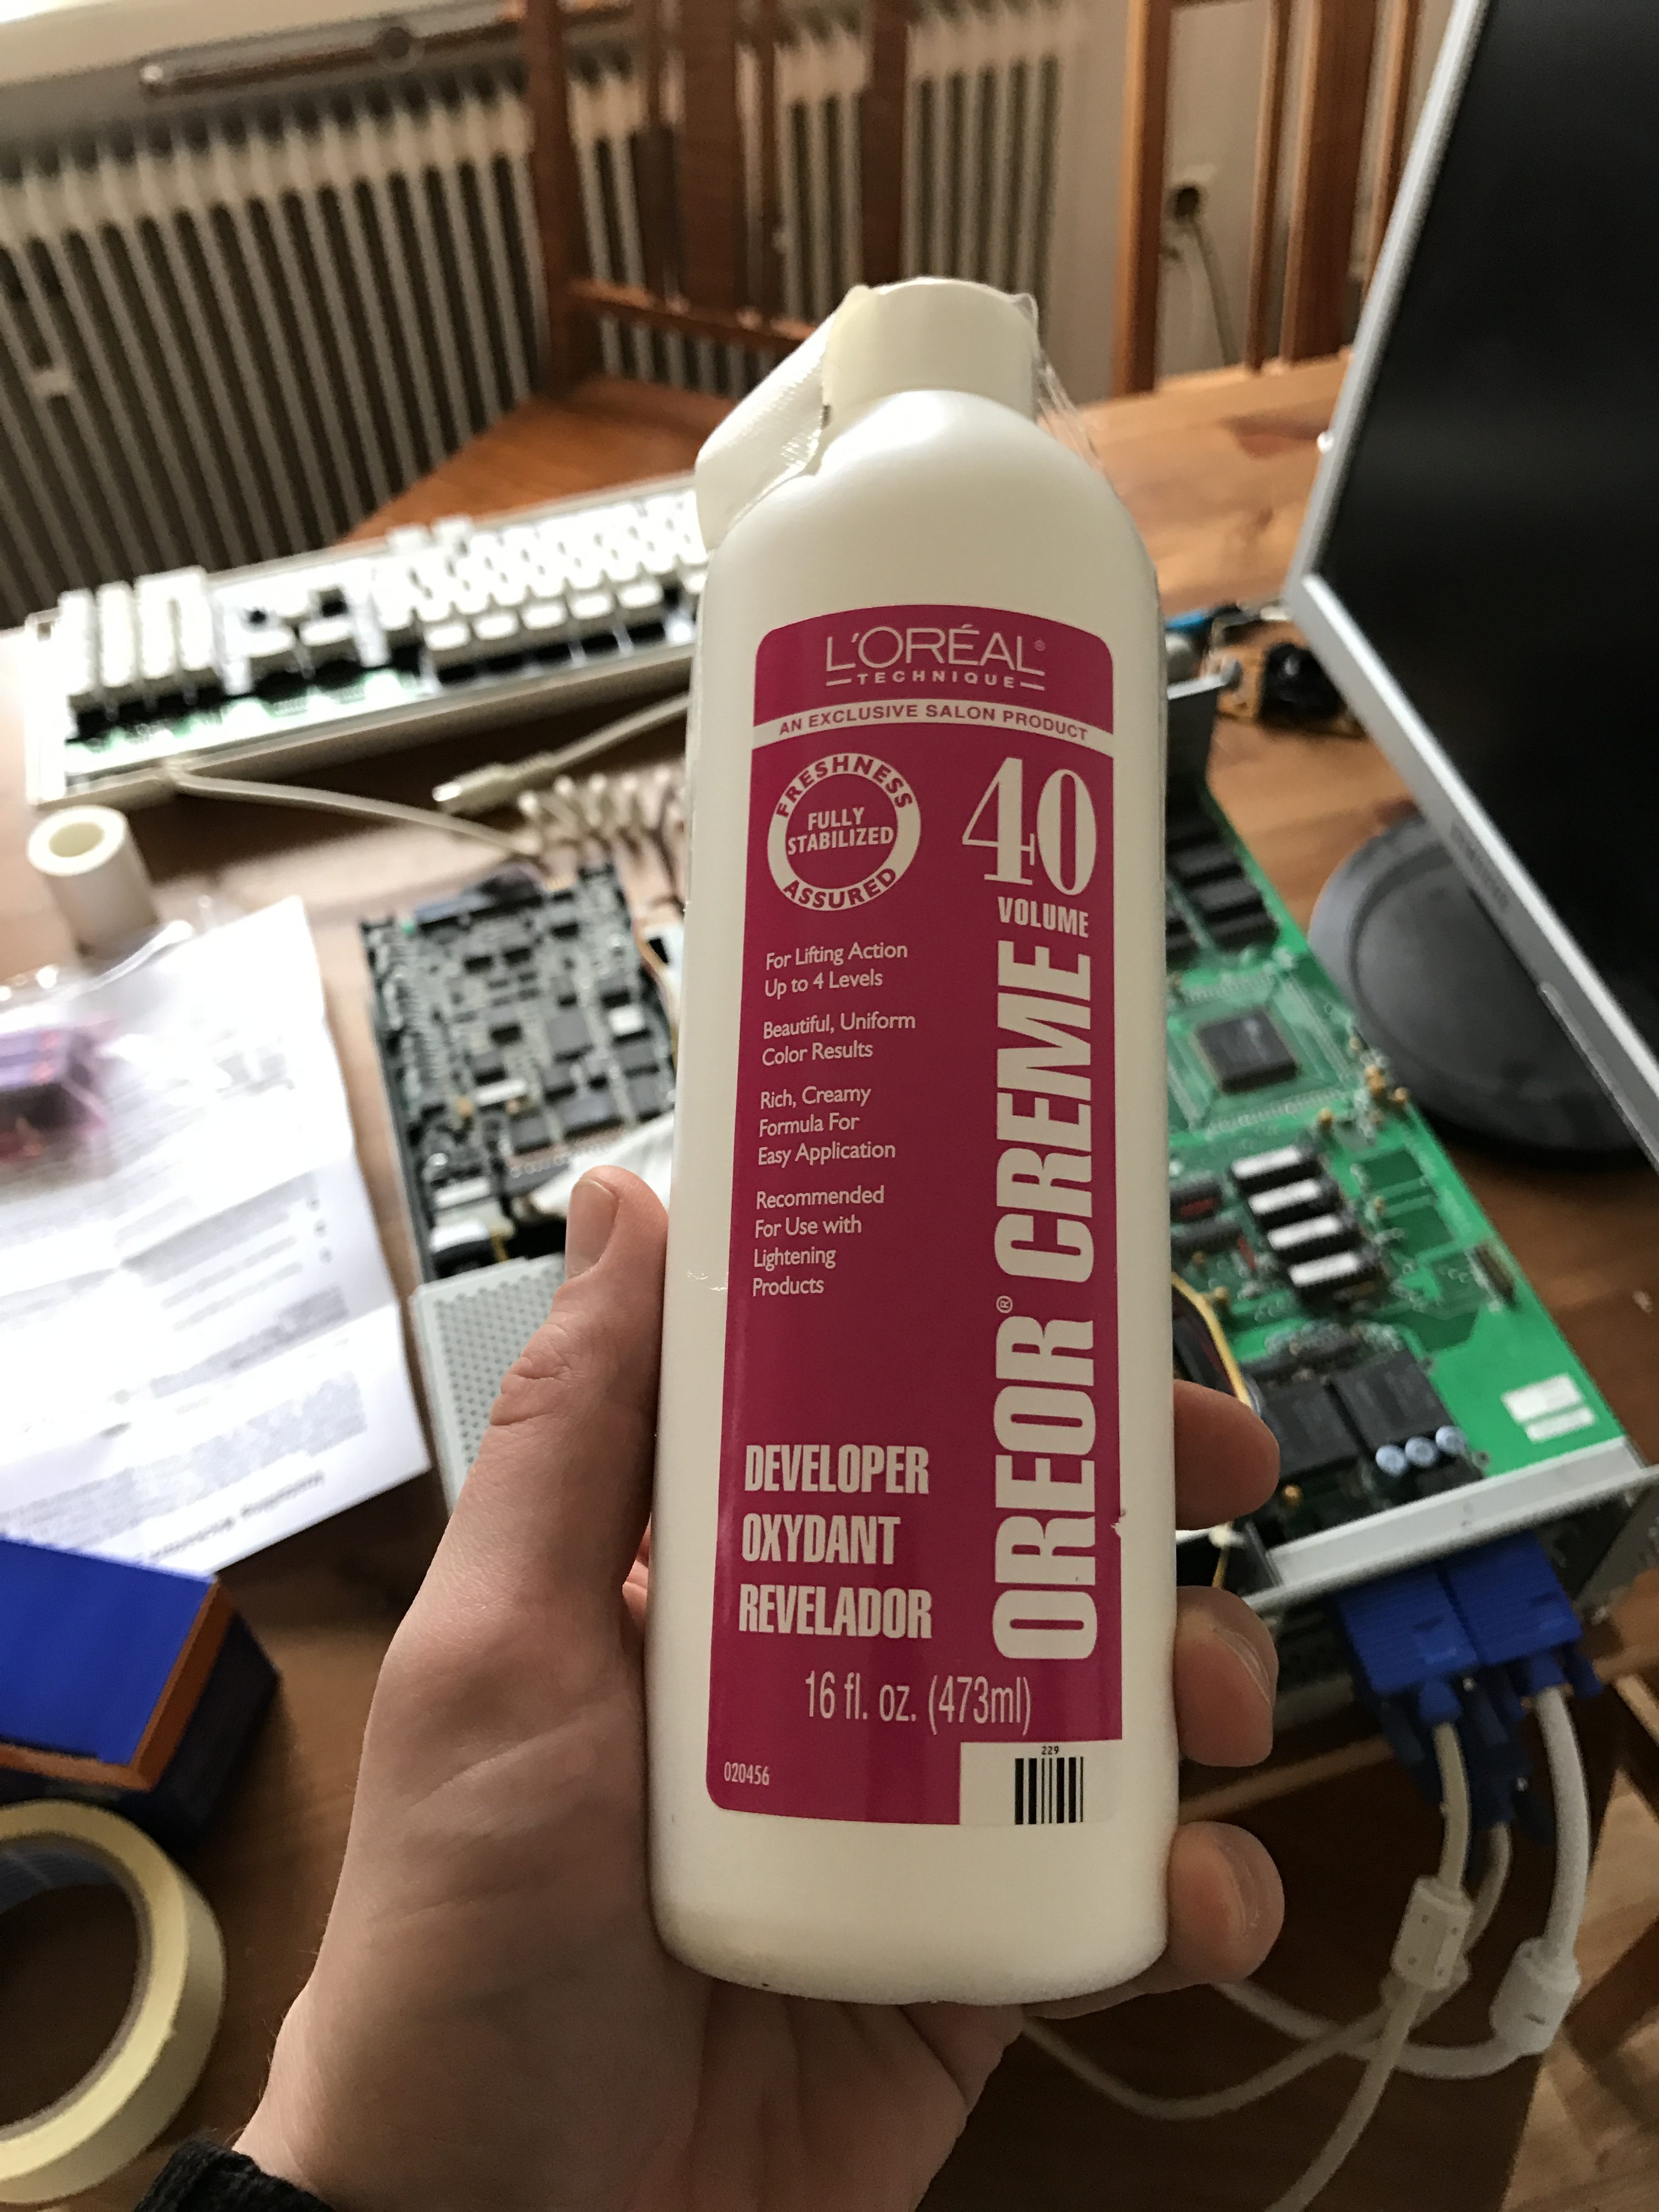
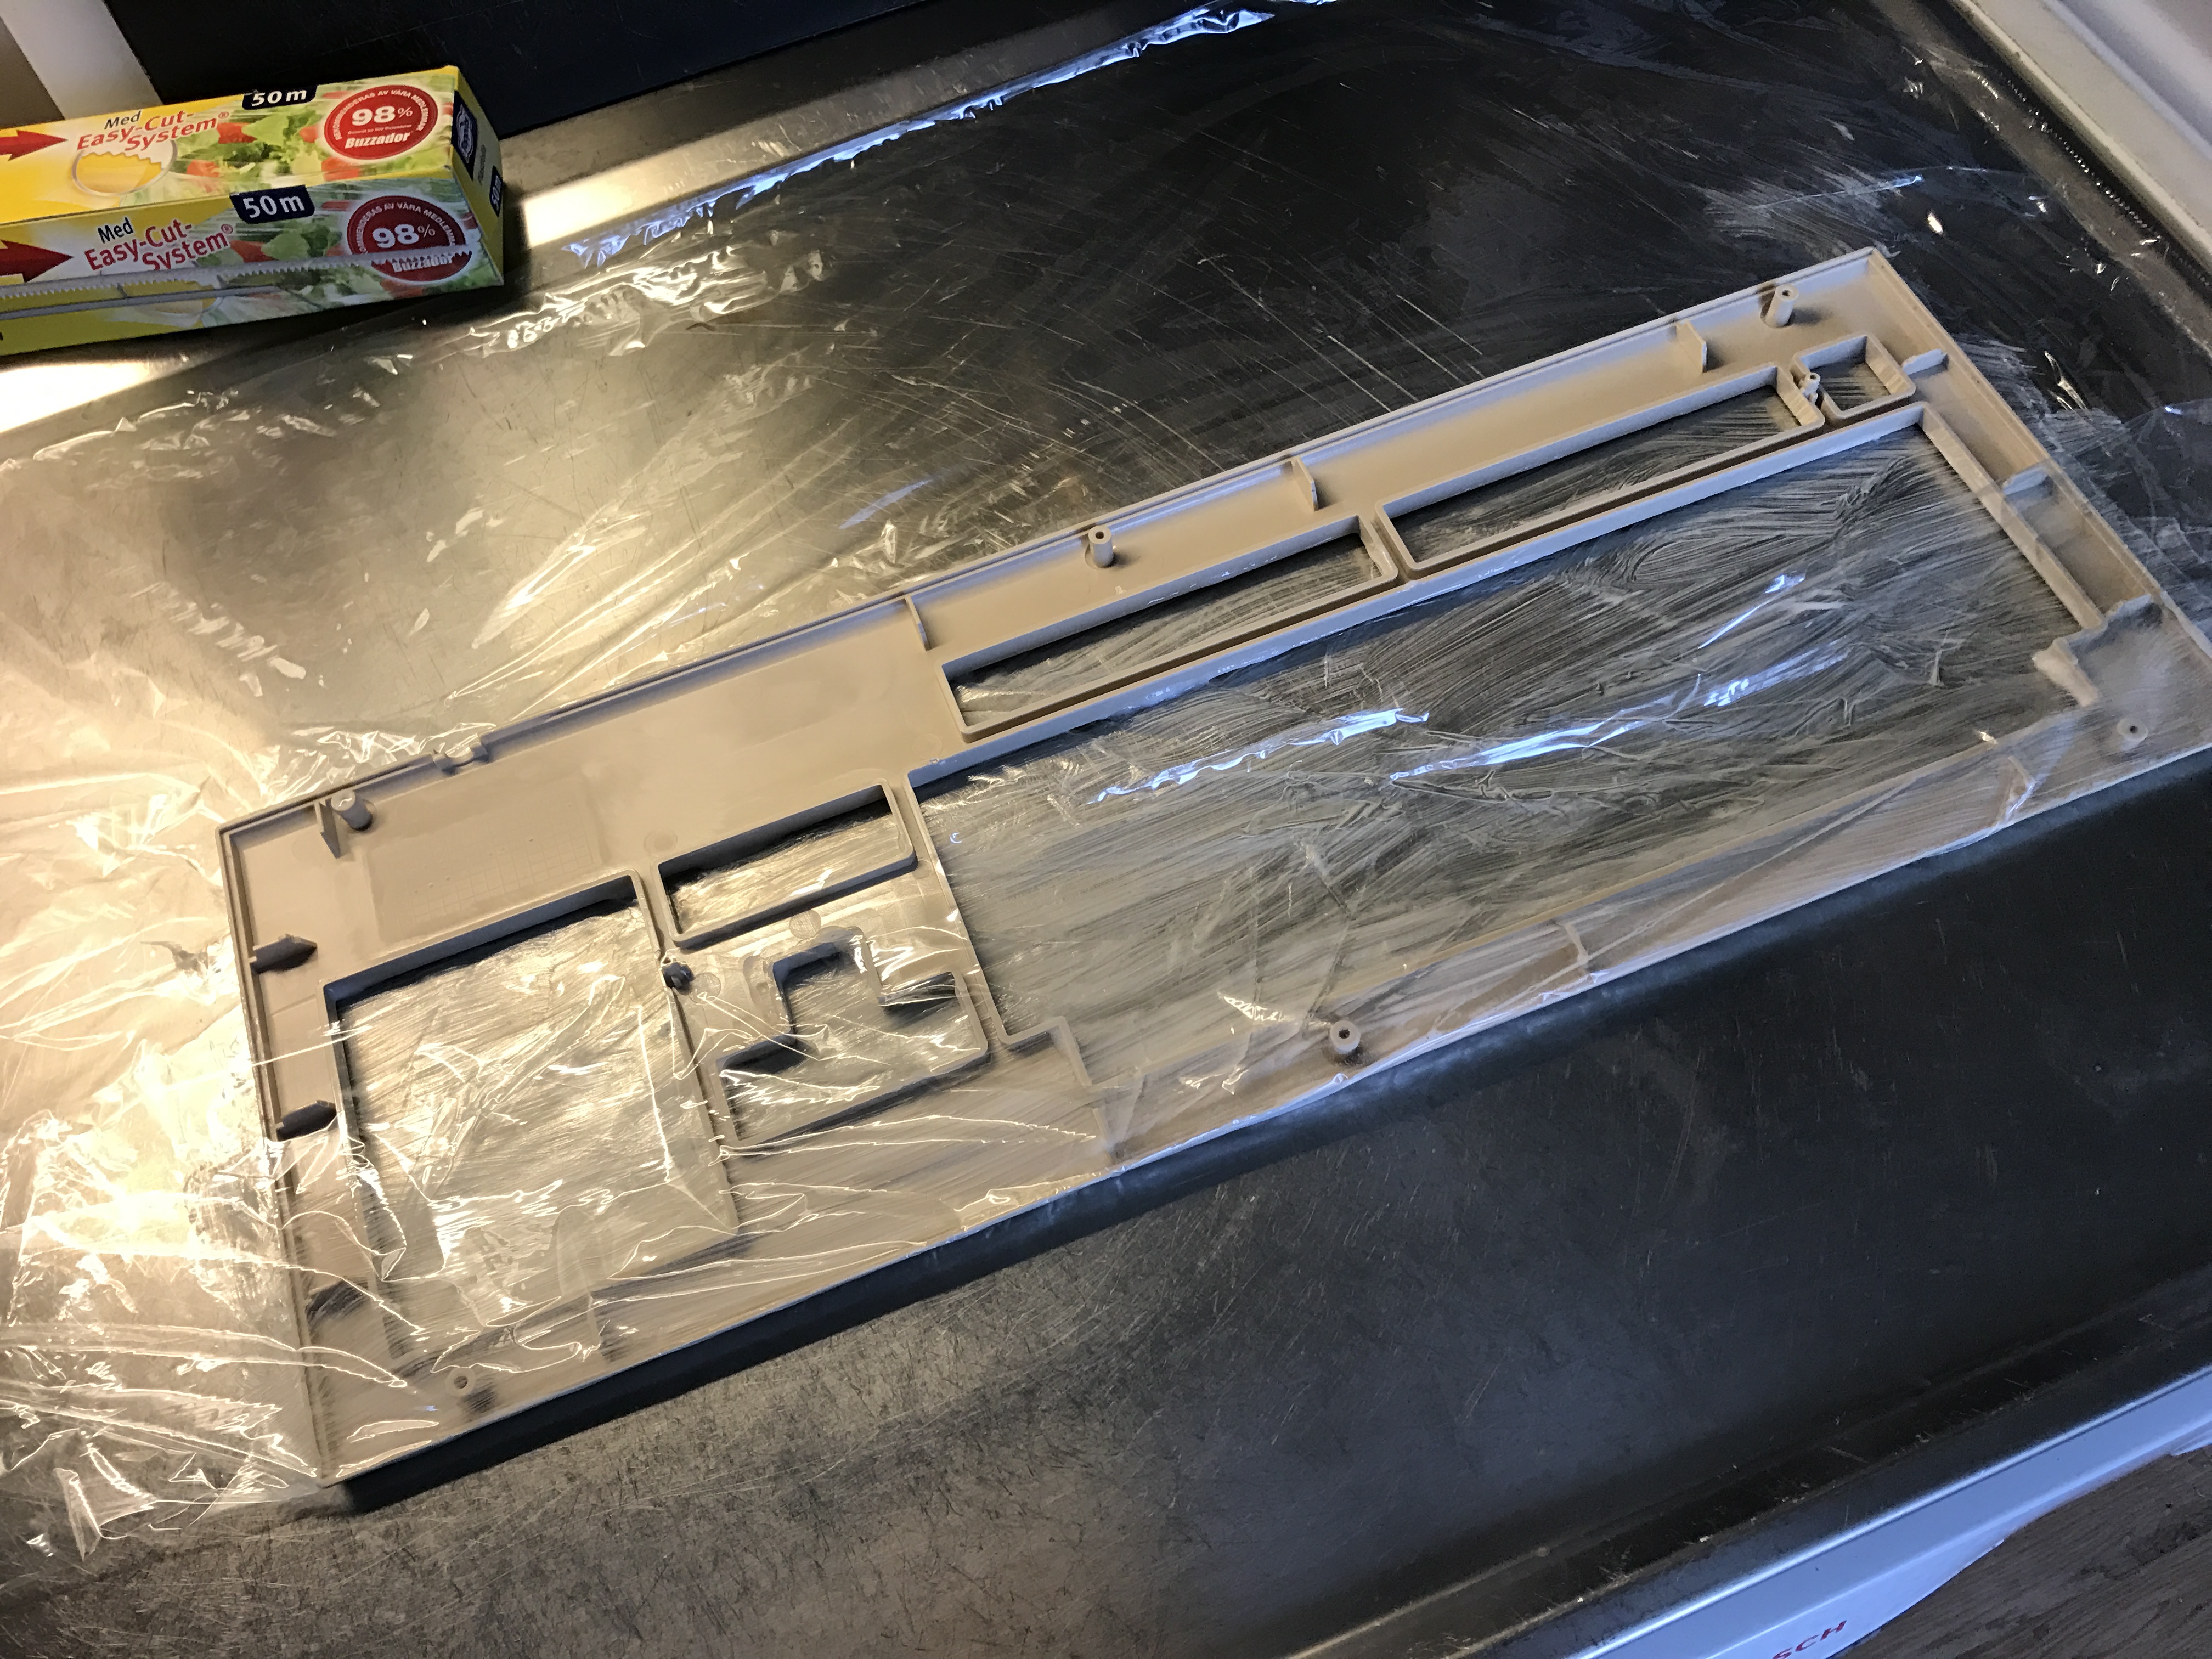
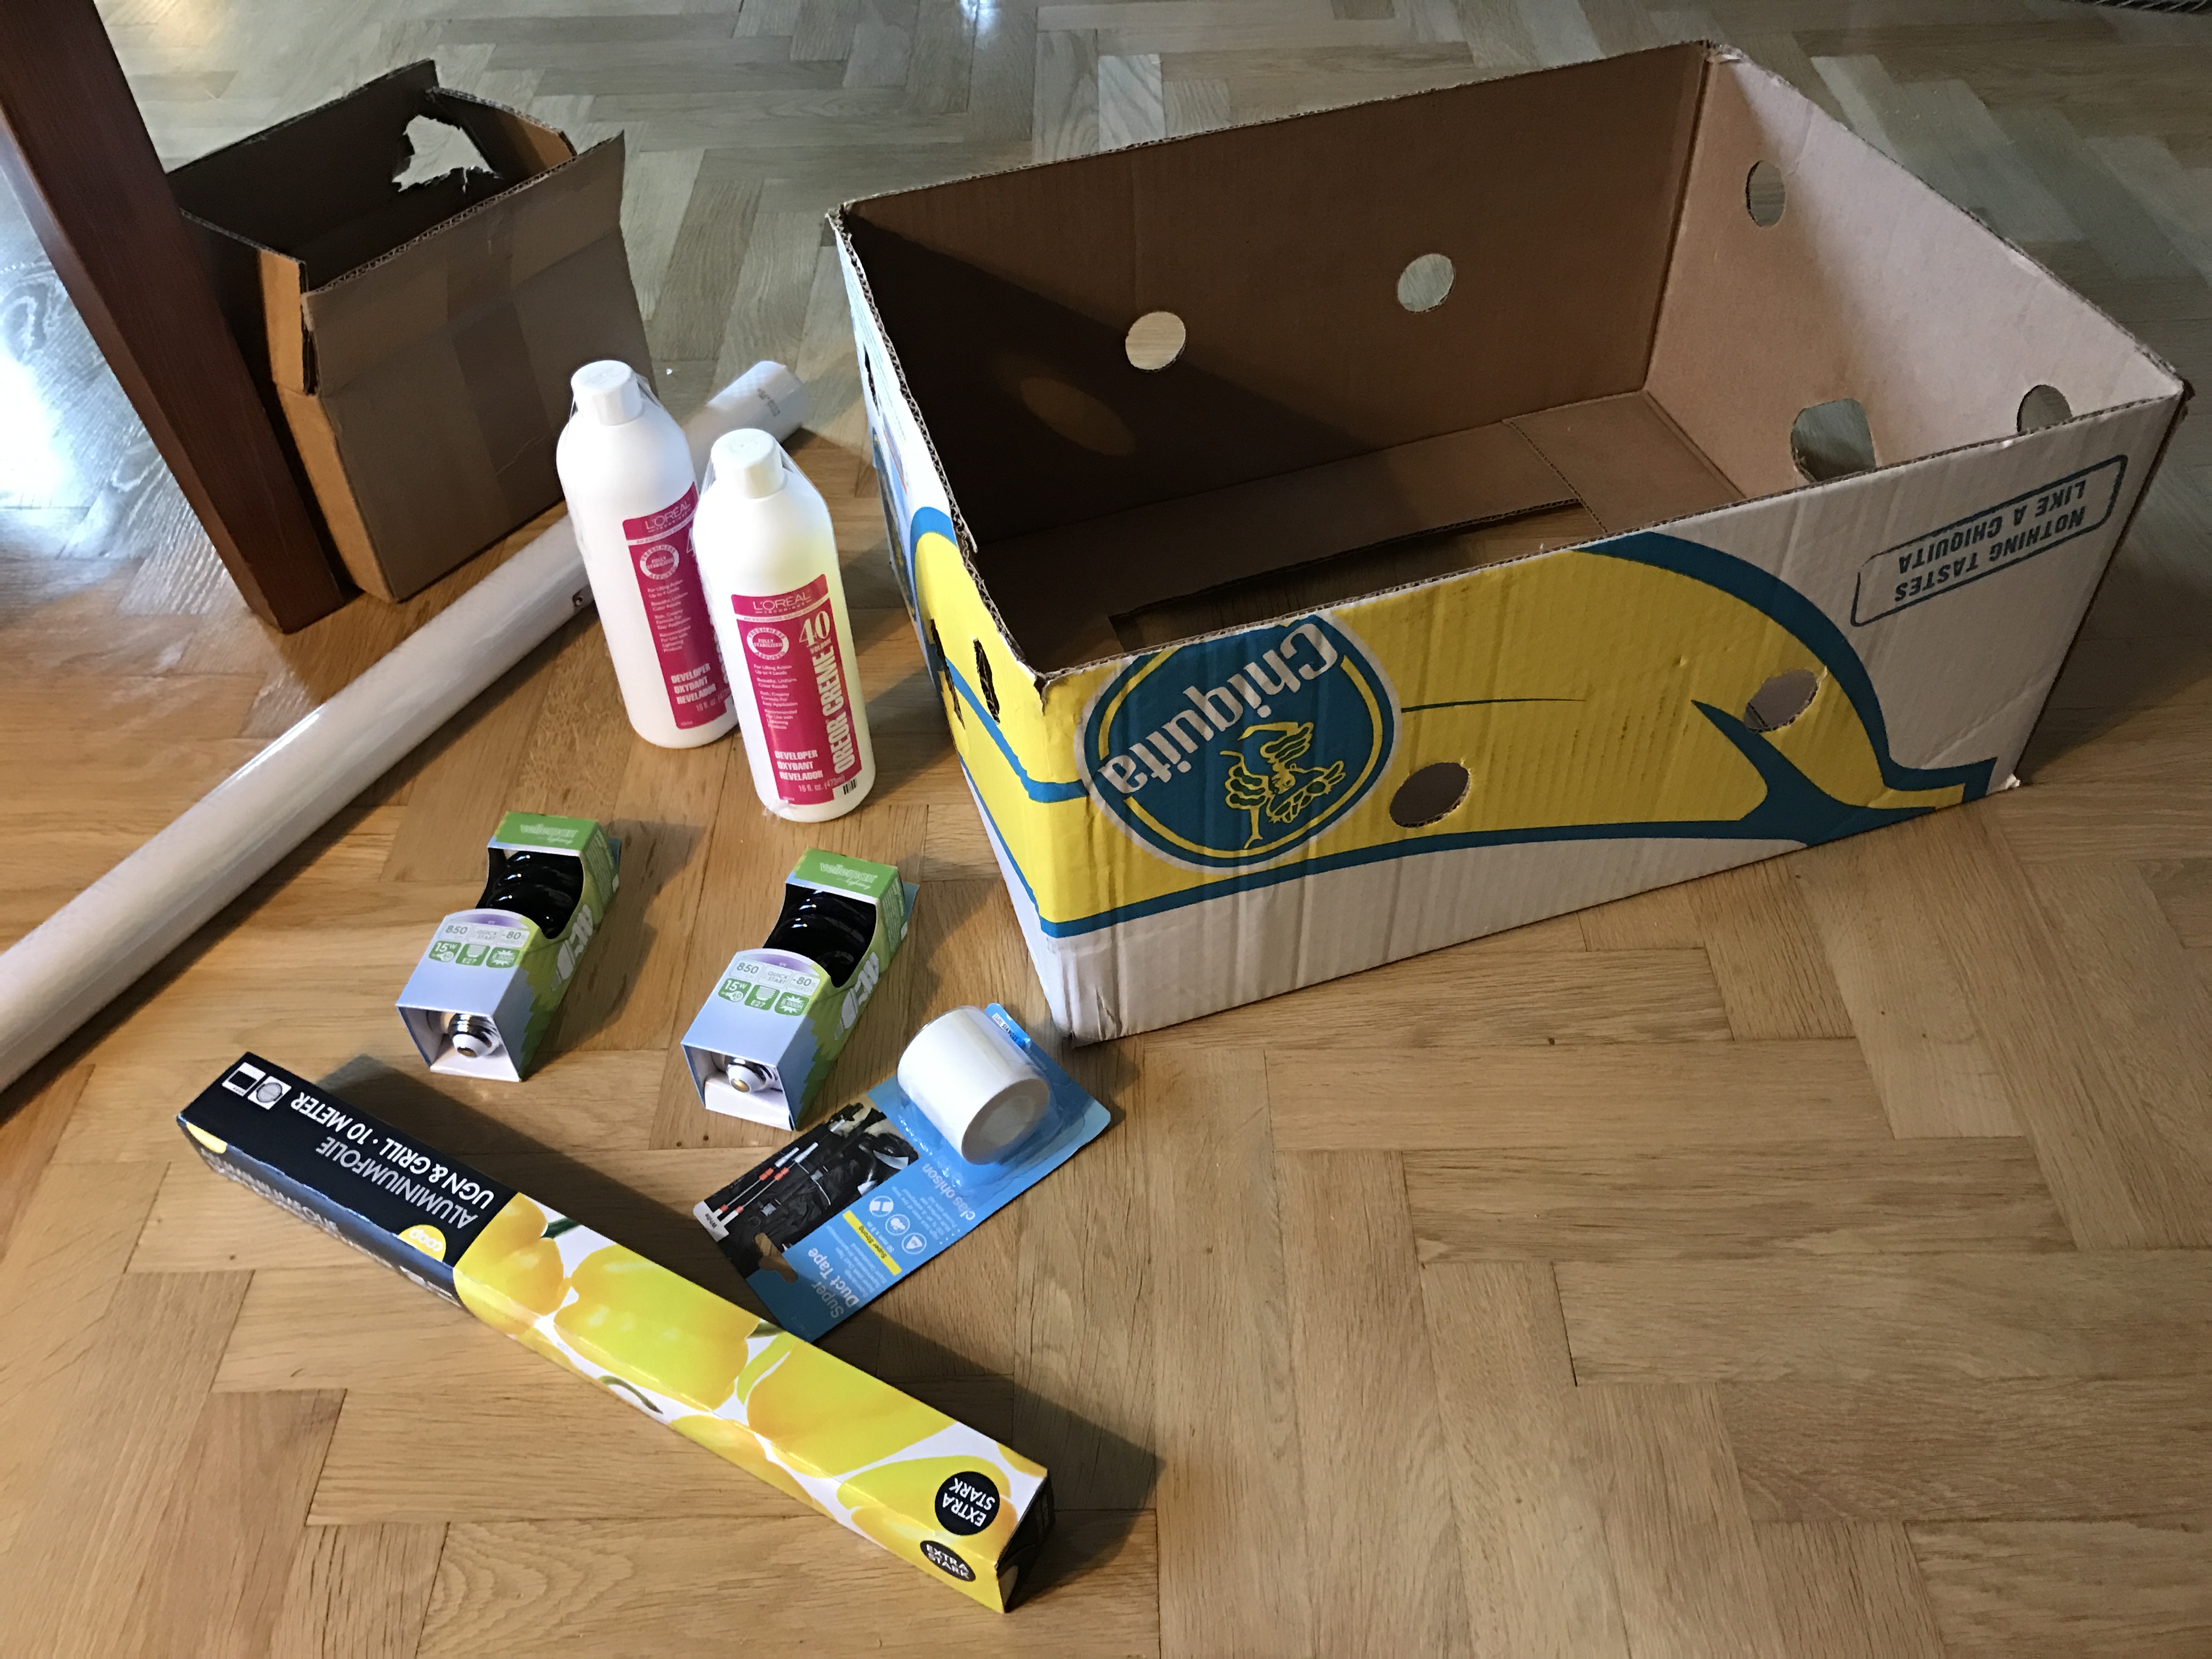
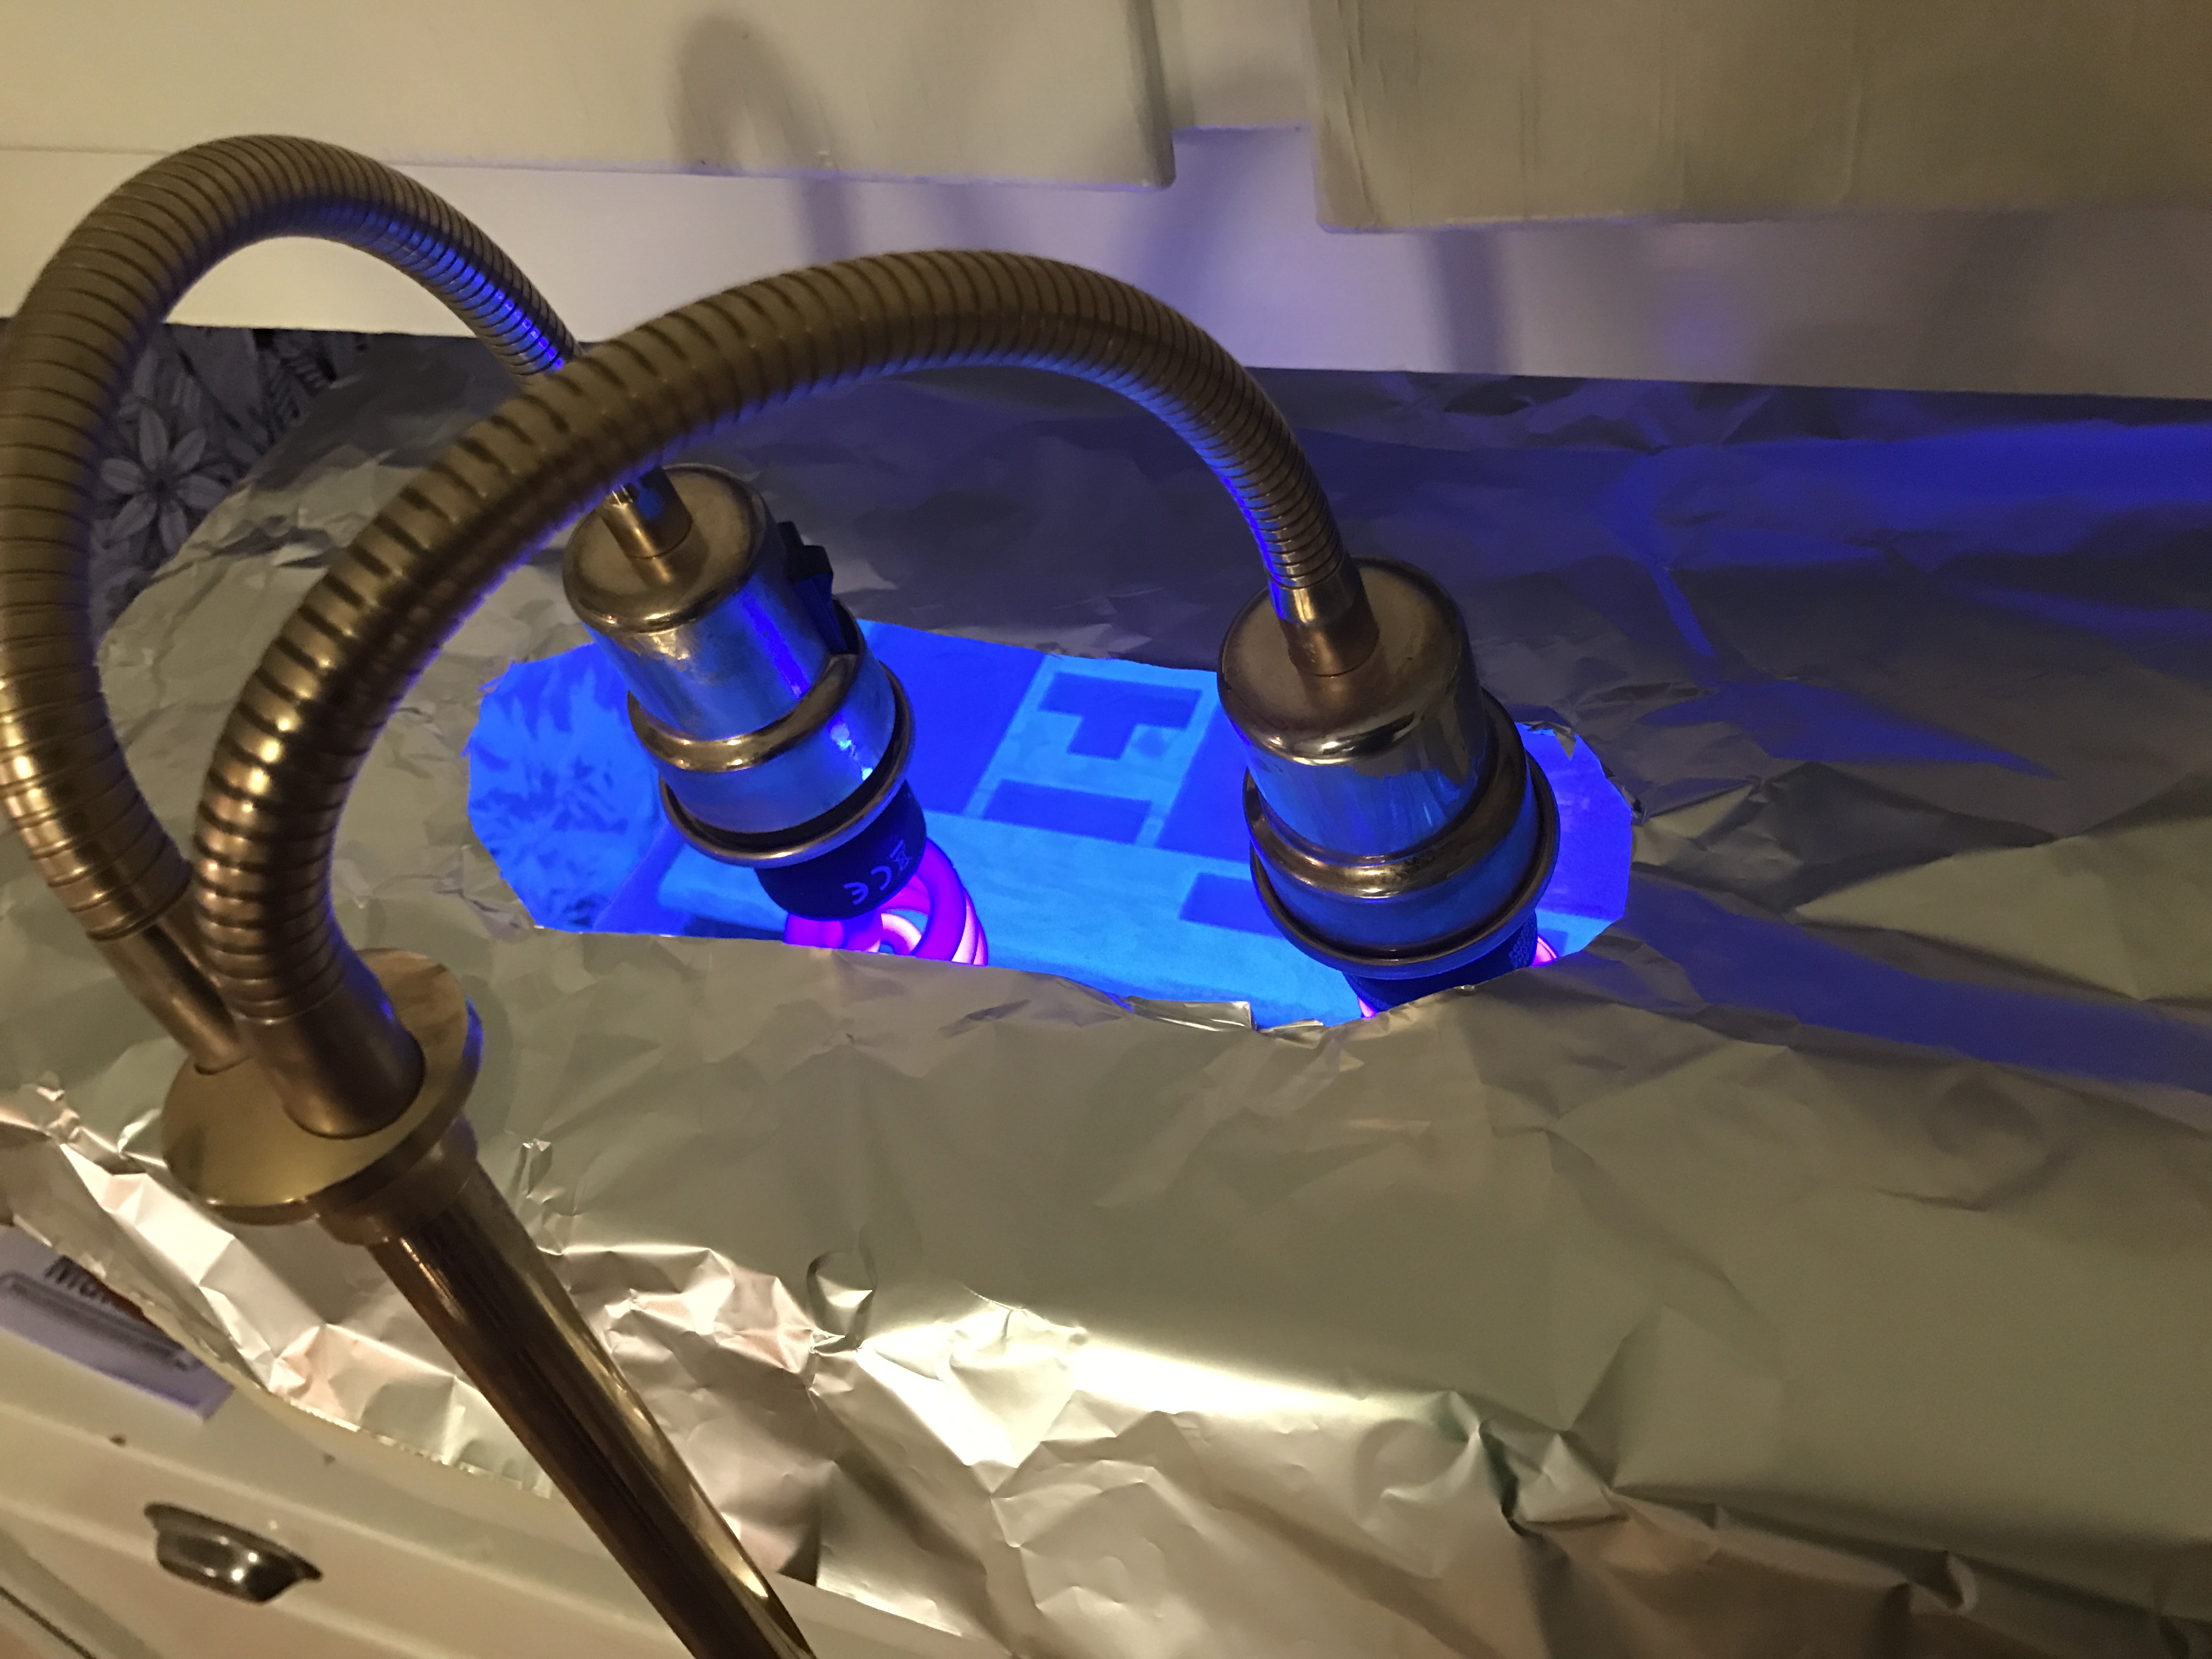
After this it was time to go for the Retrobrite. Quite a lot of internet resources could be found for this. I used the same techniques as The 8-bit Guy except for that this was done in the winter here in Sweden and therefore sunlight isn’t really an option, so I bought some UV-lamps and built a cardboard box with the inside covered in aluminum foil. It turned out to work quite pleasing, even if the UV-exposure takes a lot more time. I let the parts be exposed roughly between 12-16 hours.

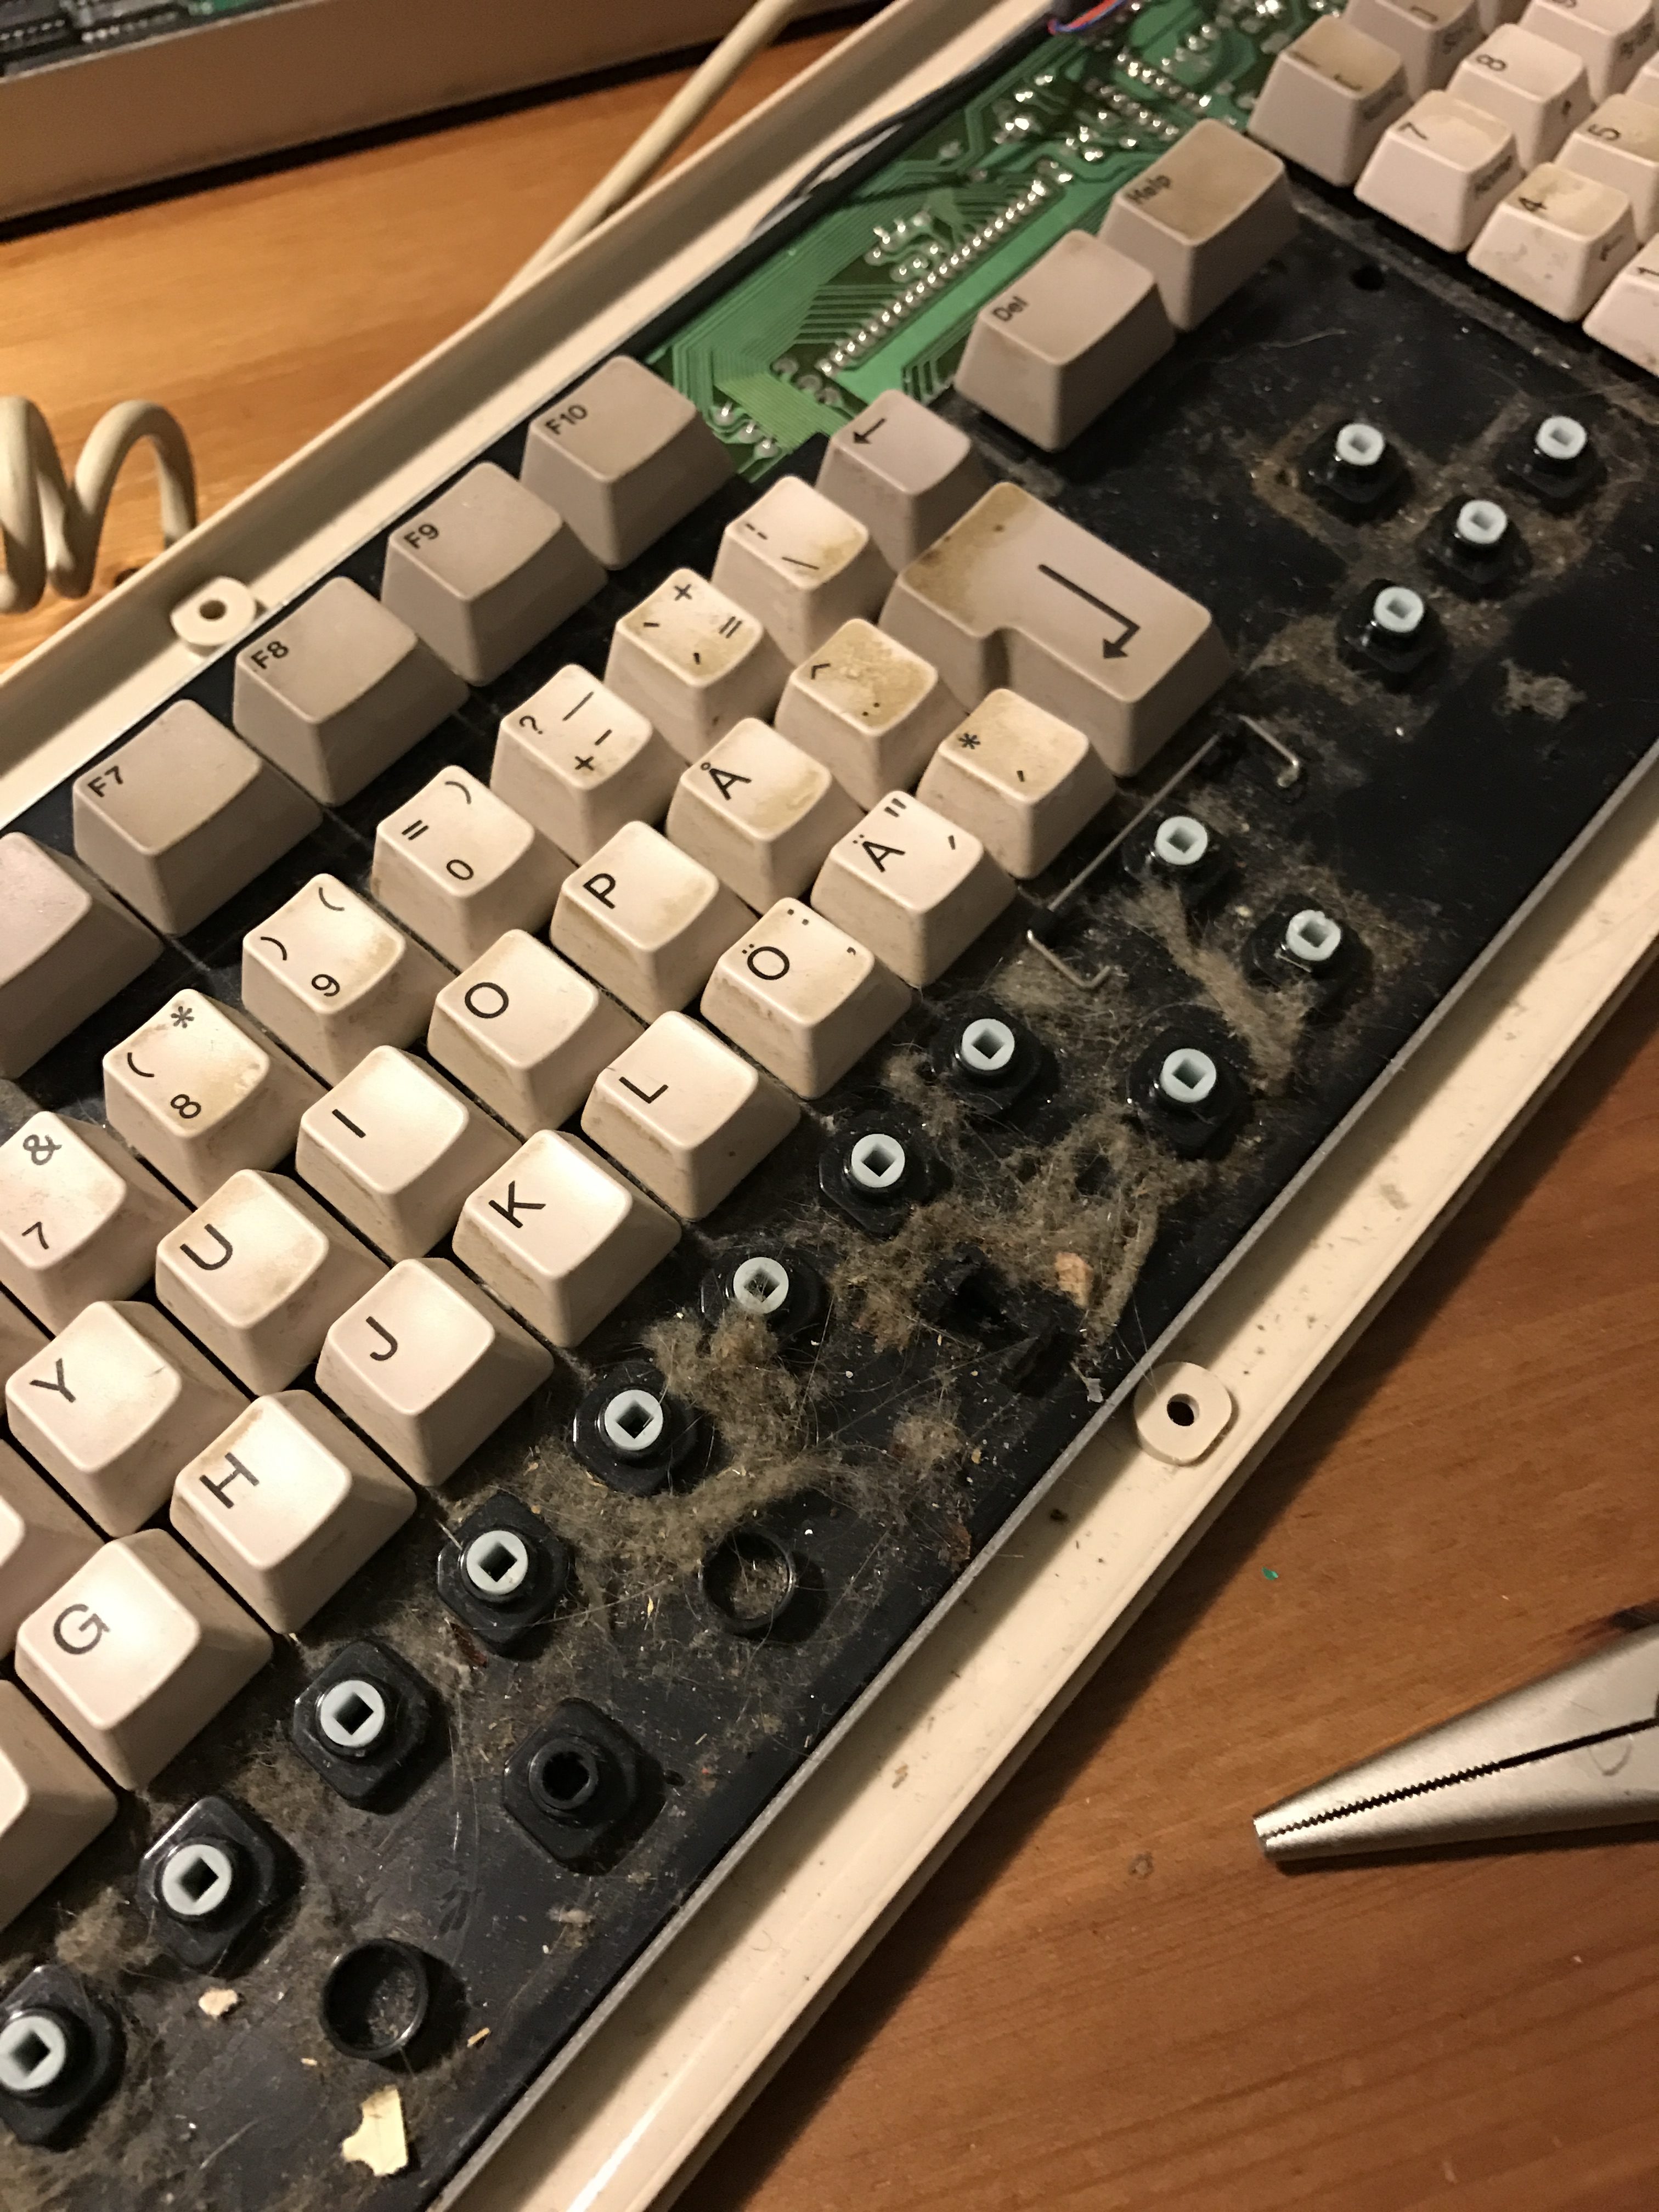
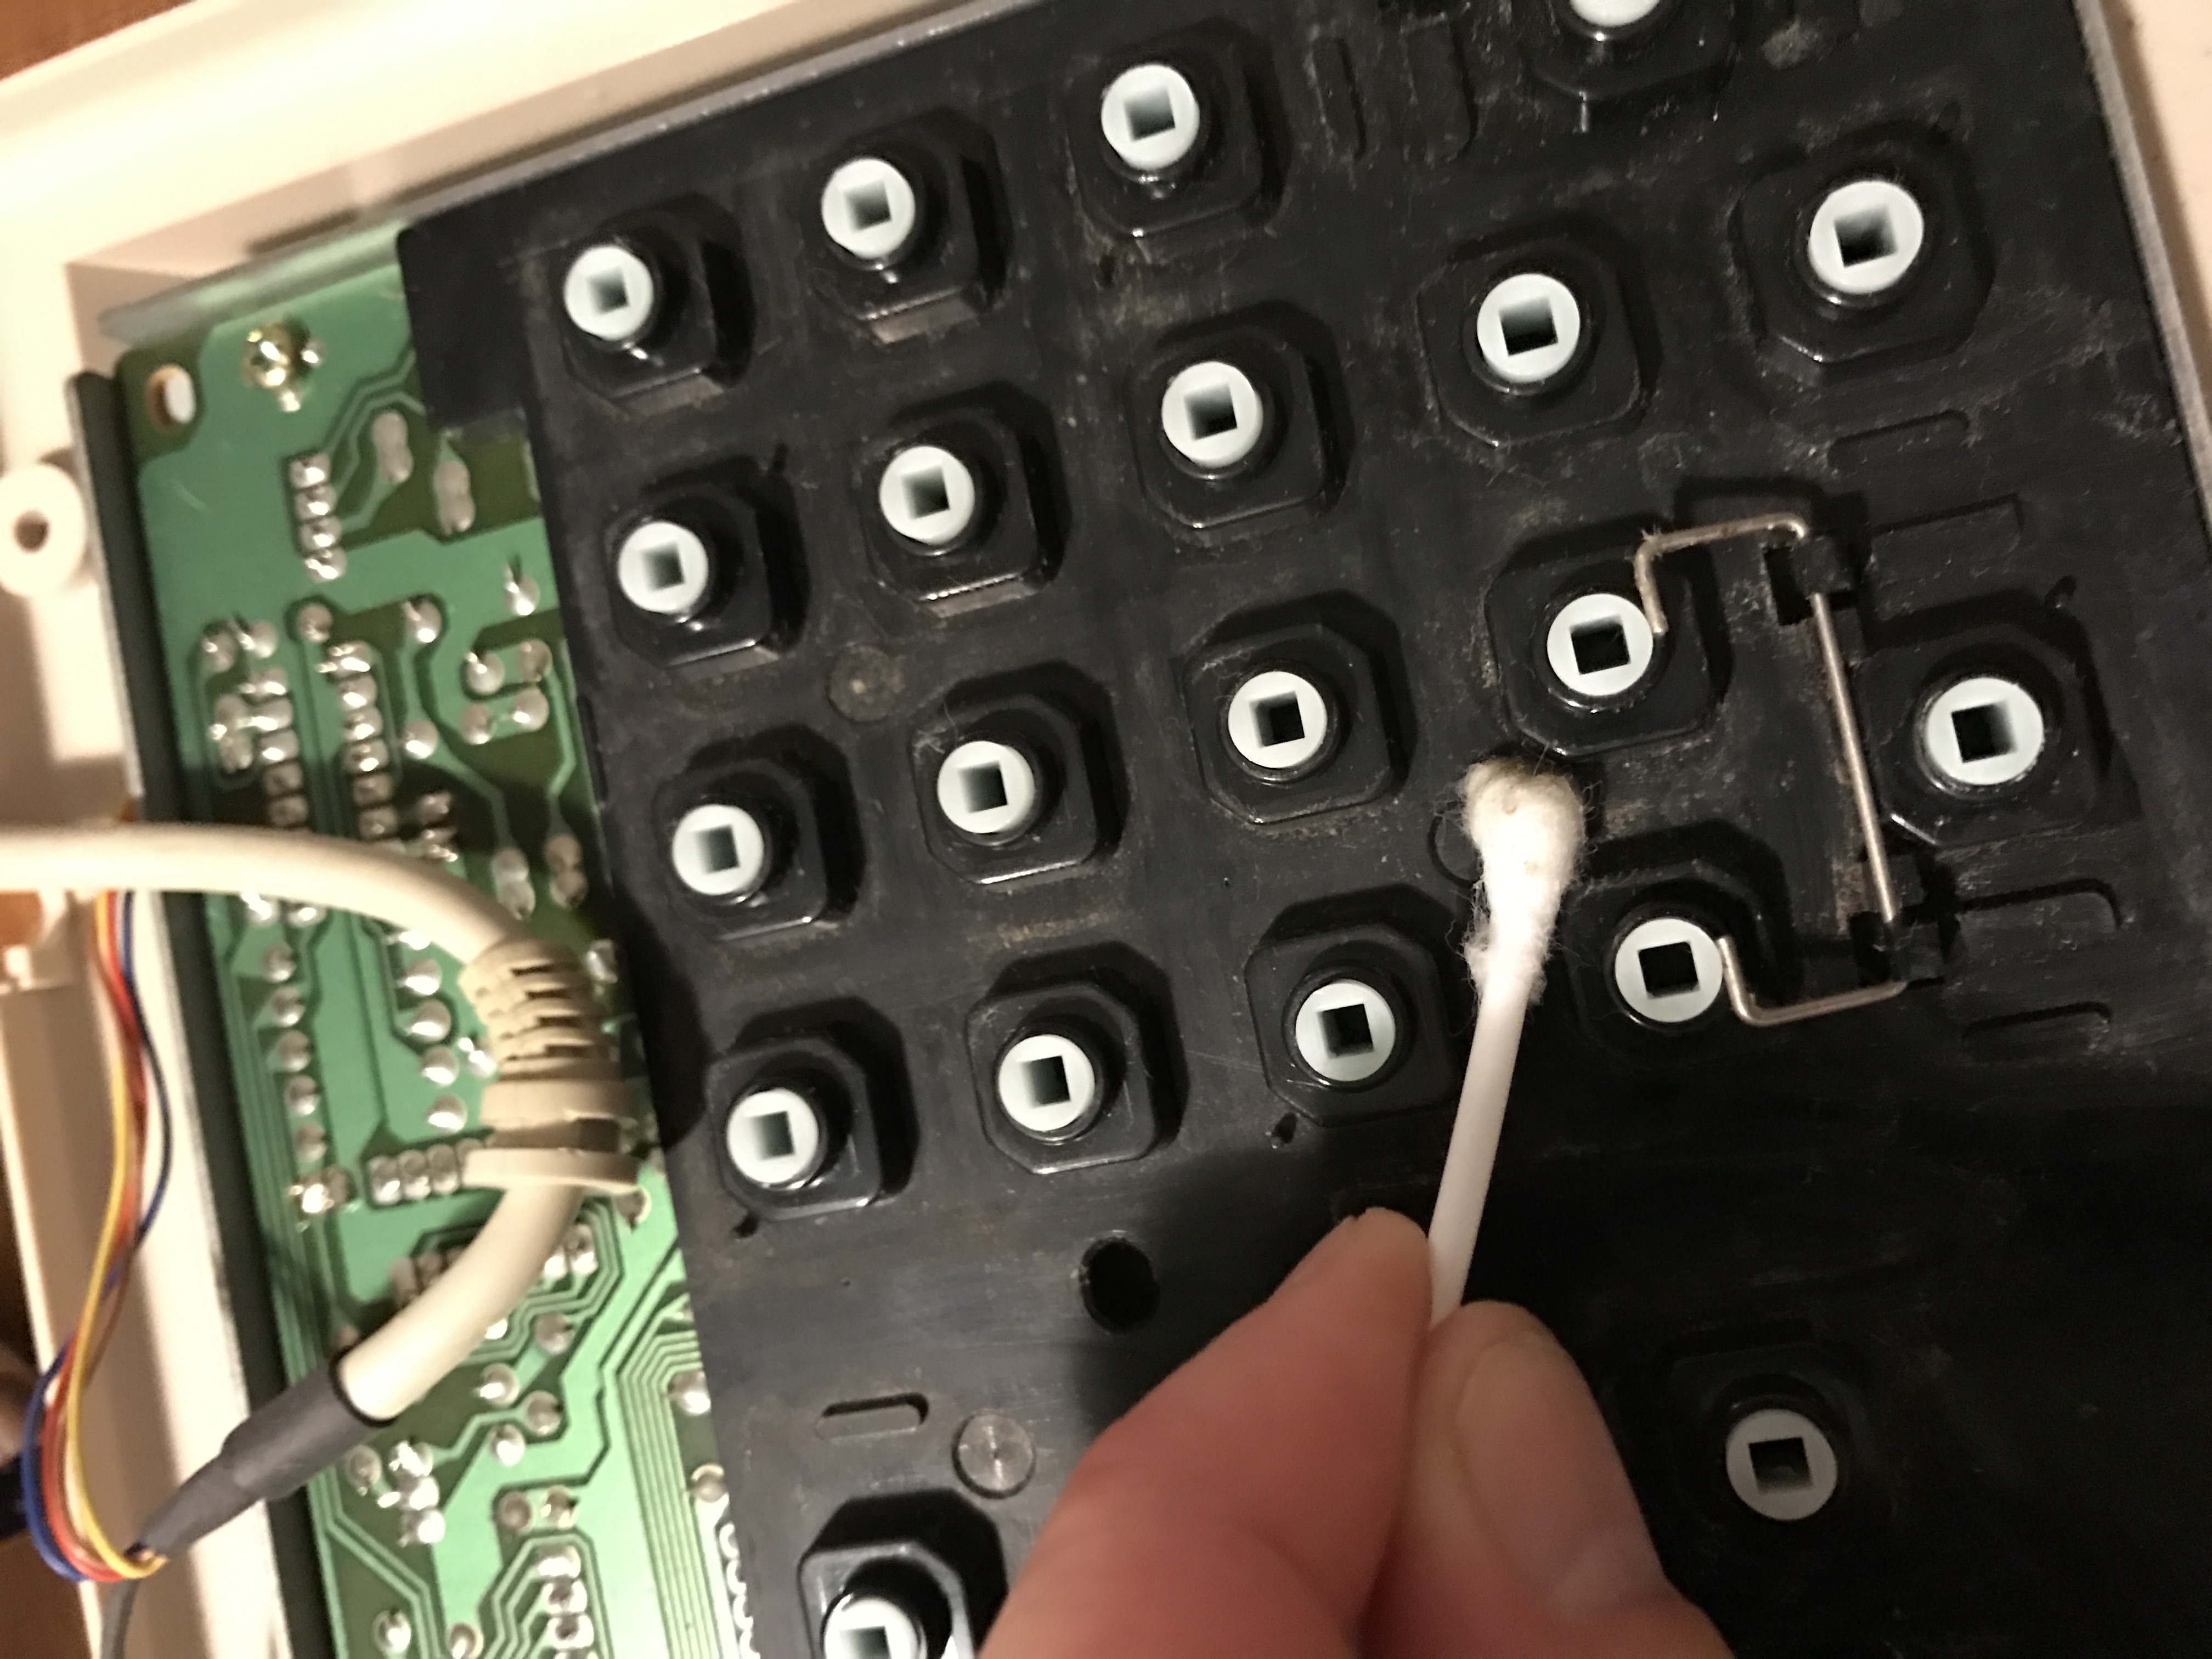
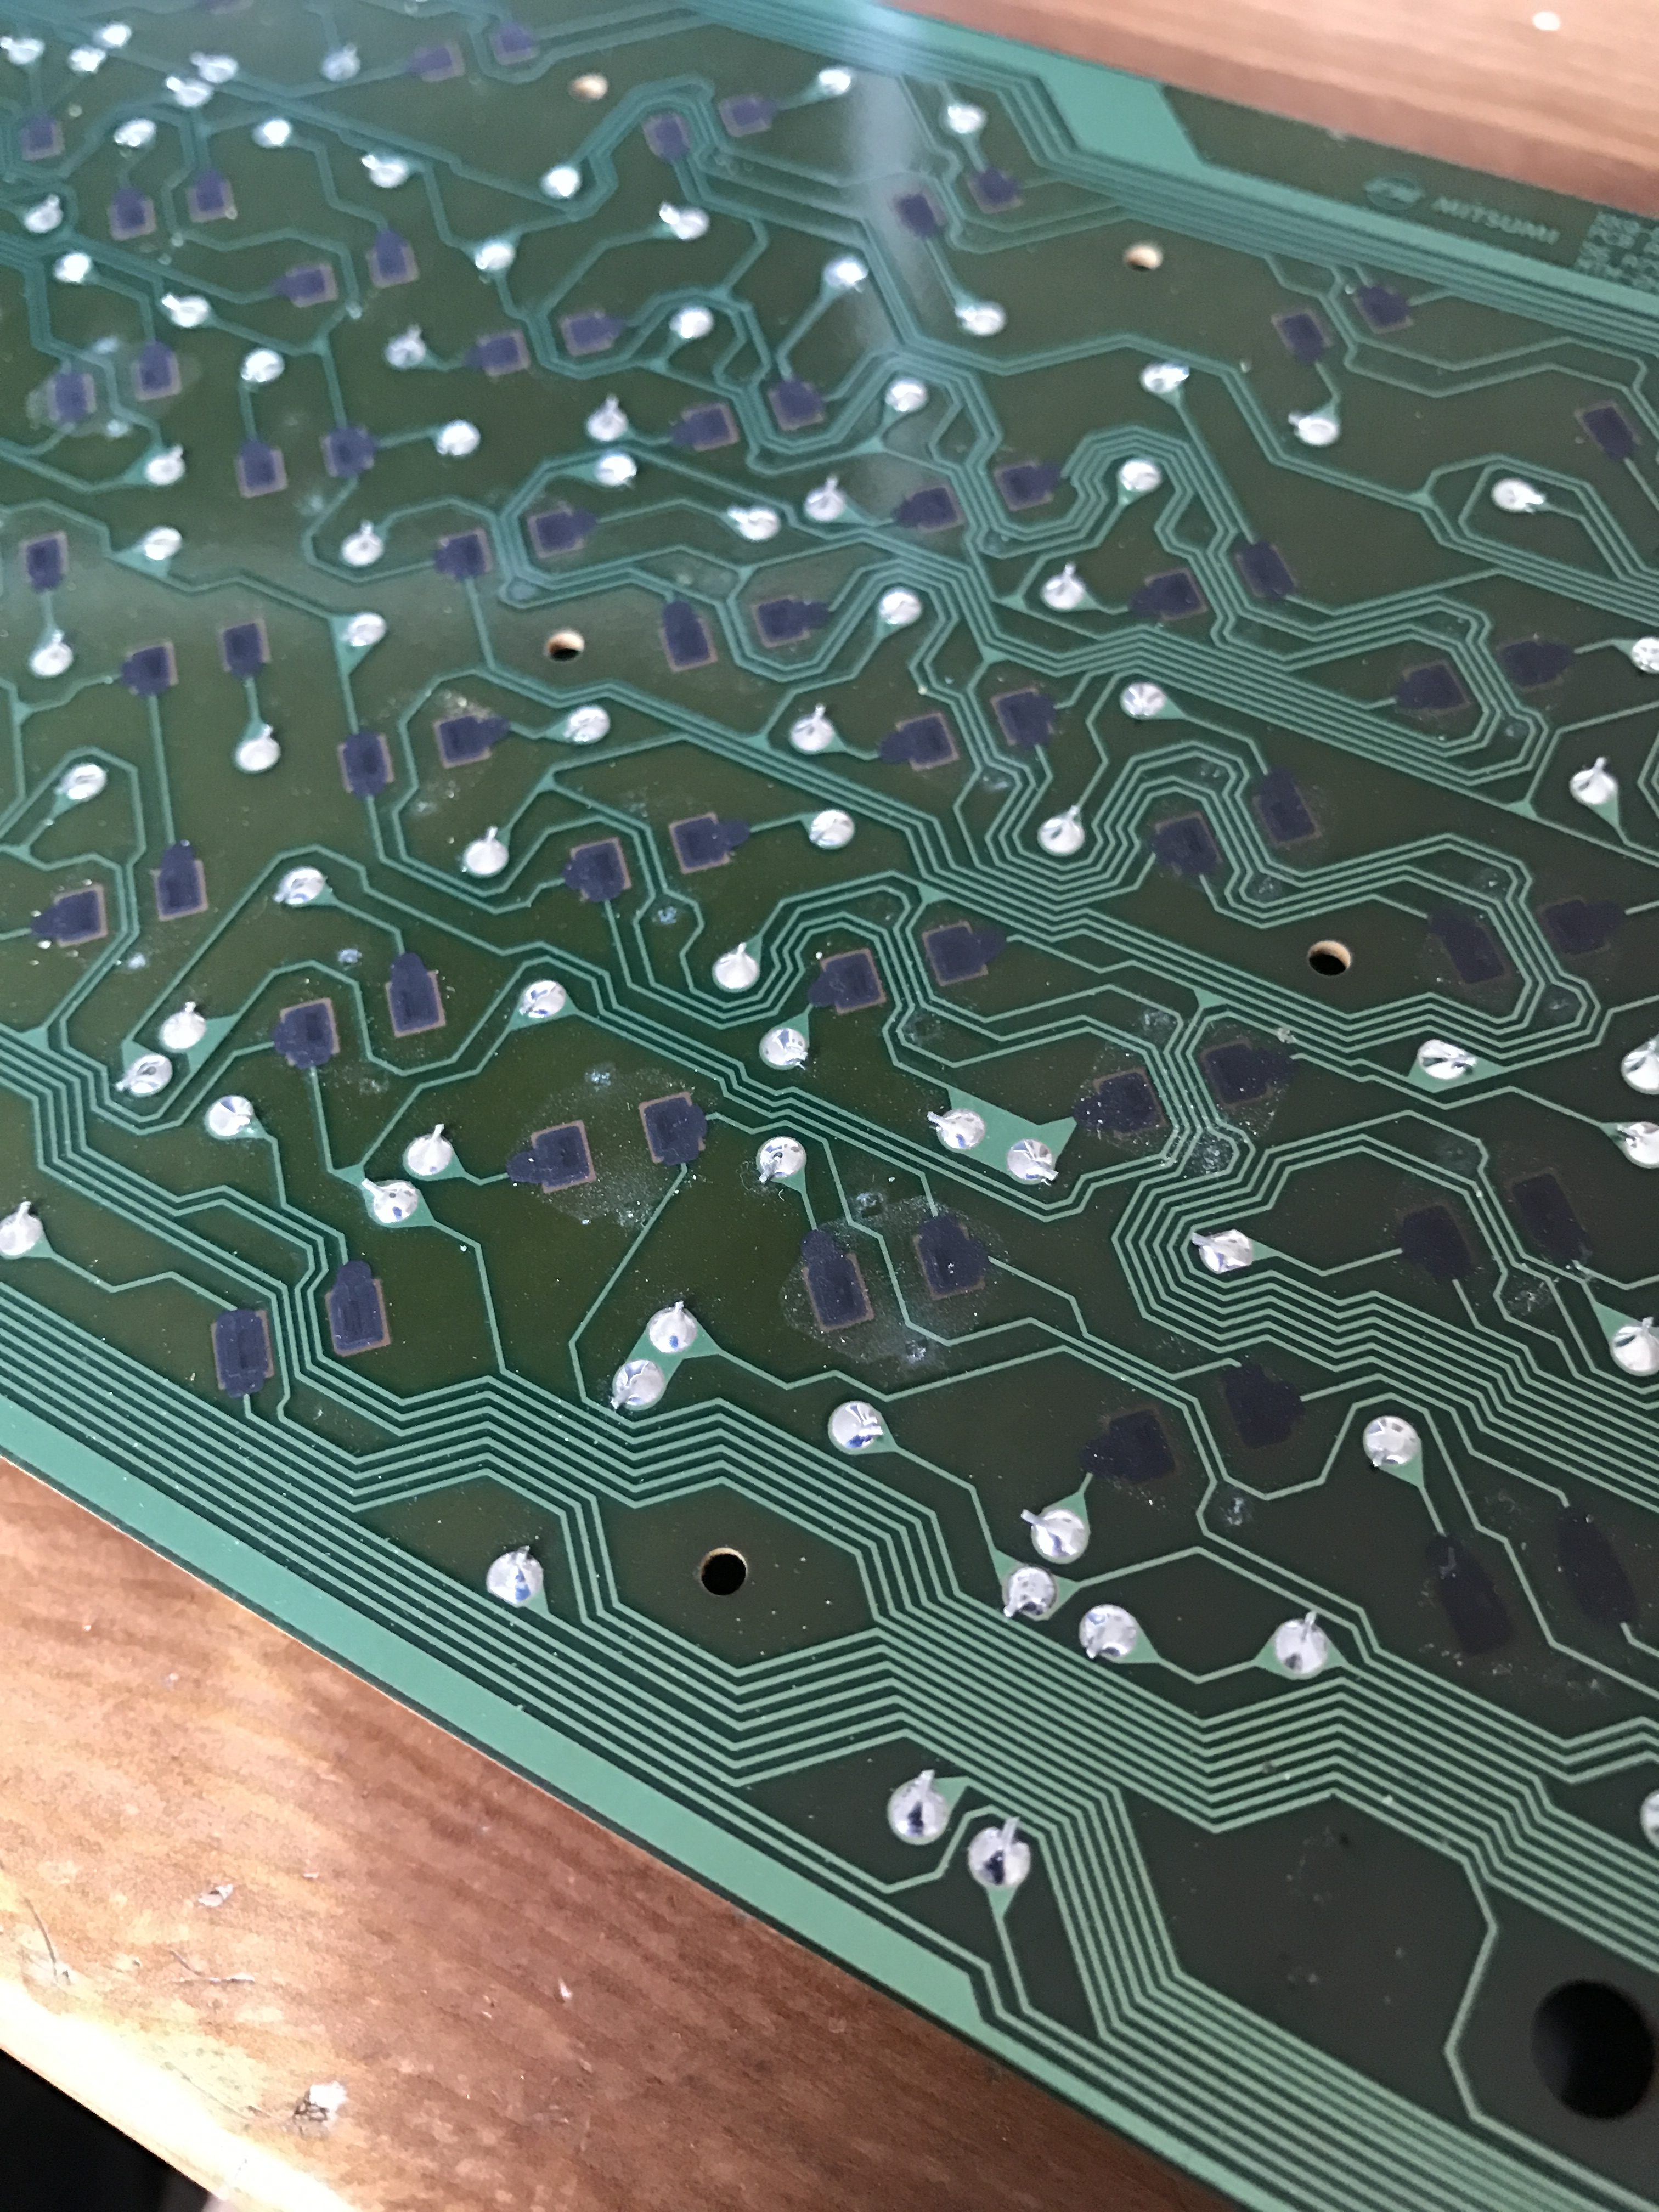
There were quite a few keys that didn’t work on the keyboard. I was a bit afraid that there would be broken paths on the key matrix, but upon closer inspection it was obvious that quite a lot of the connections were covered with something semitransparent. I am not entirely sure what it is but it came off with a gentle rub of isopropyl alcohol. I did not want to rub too much off the carbon connectors though, so keep it gentle.
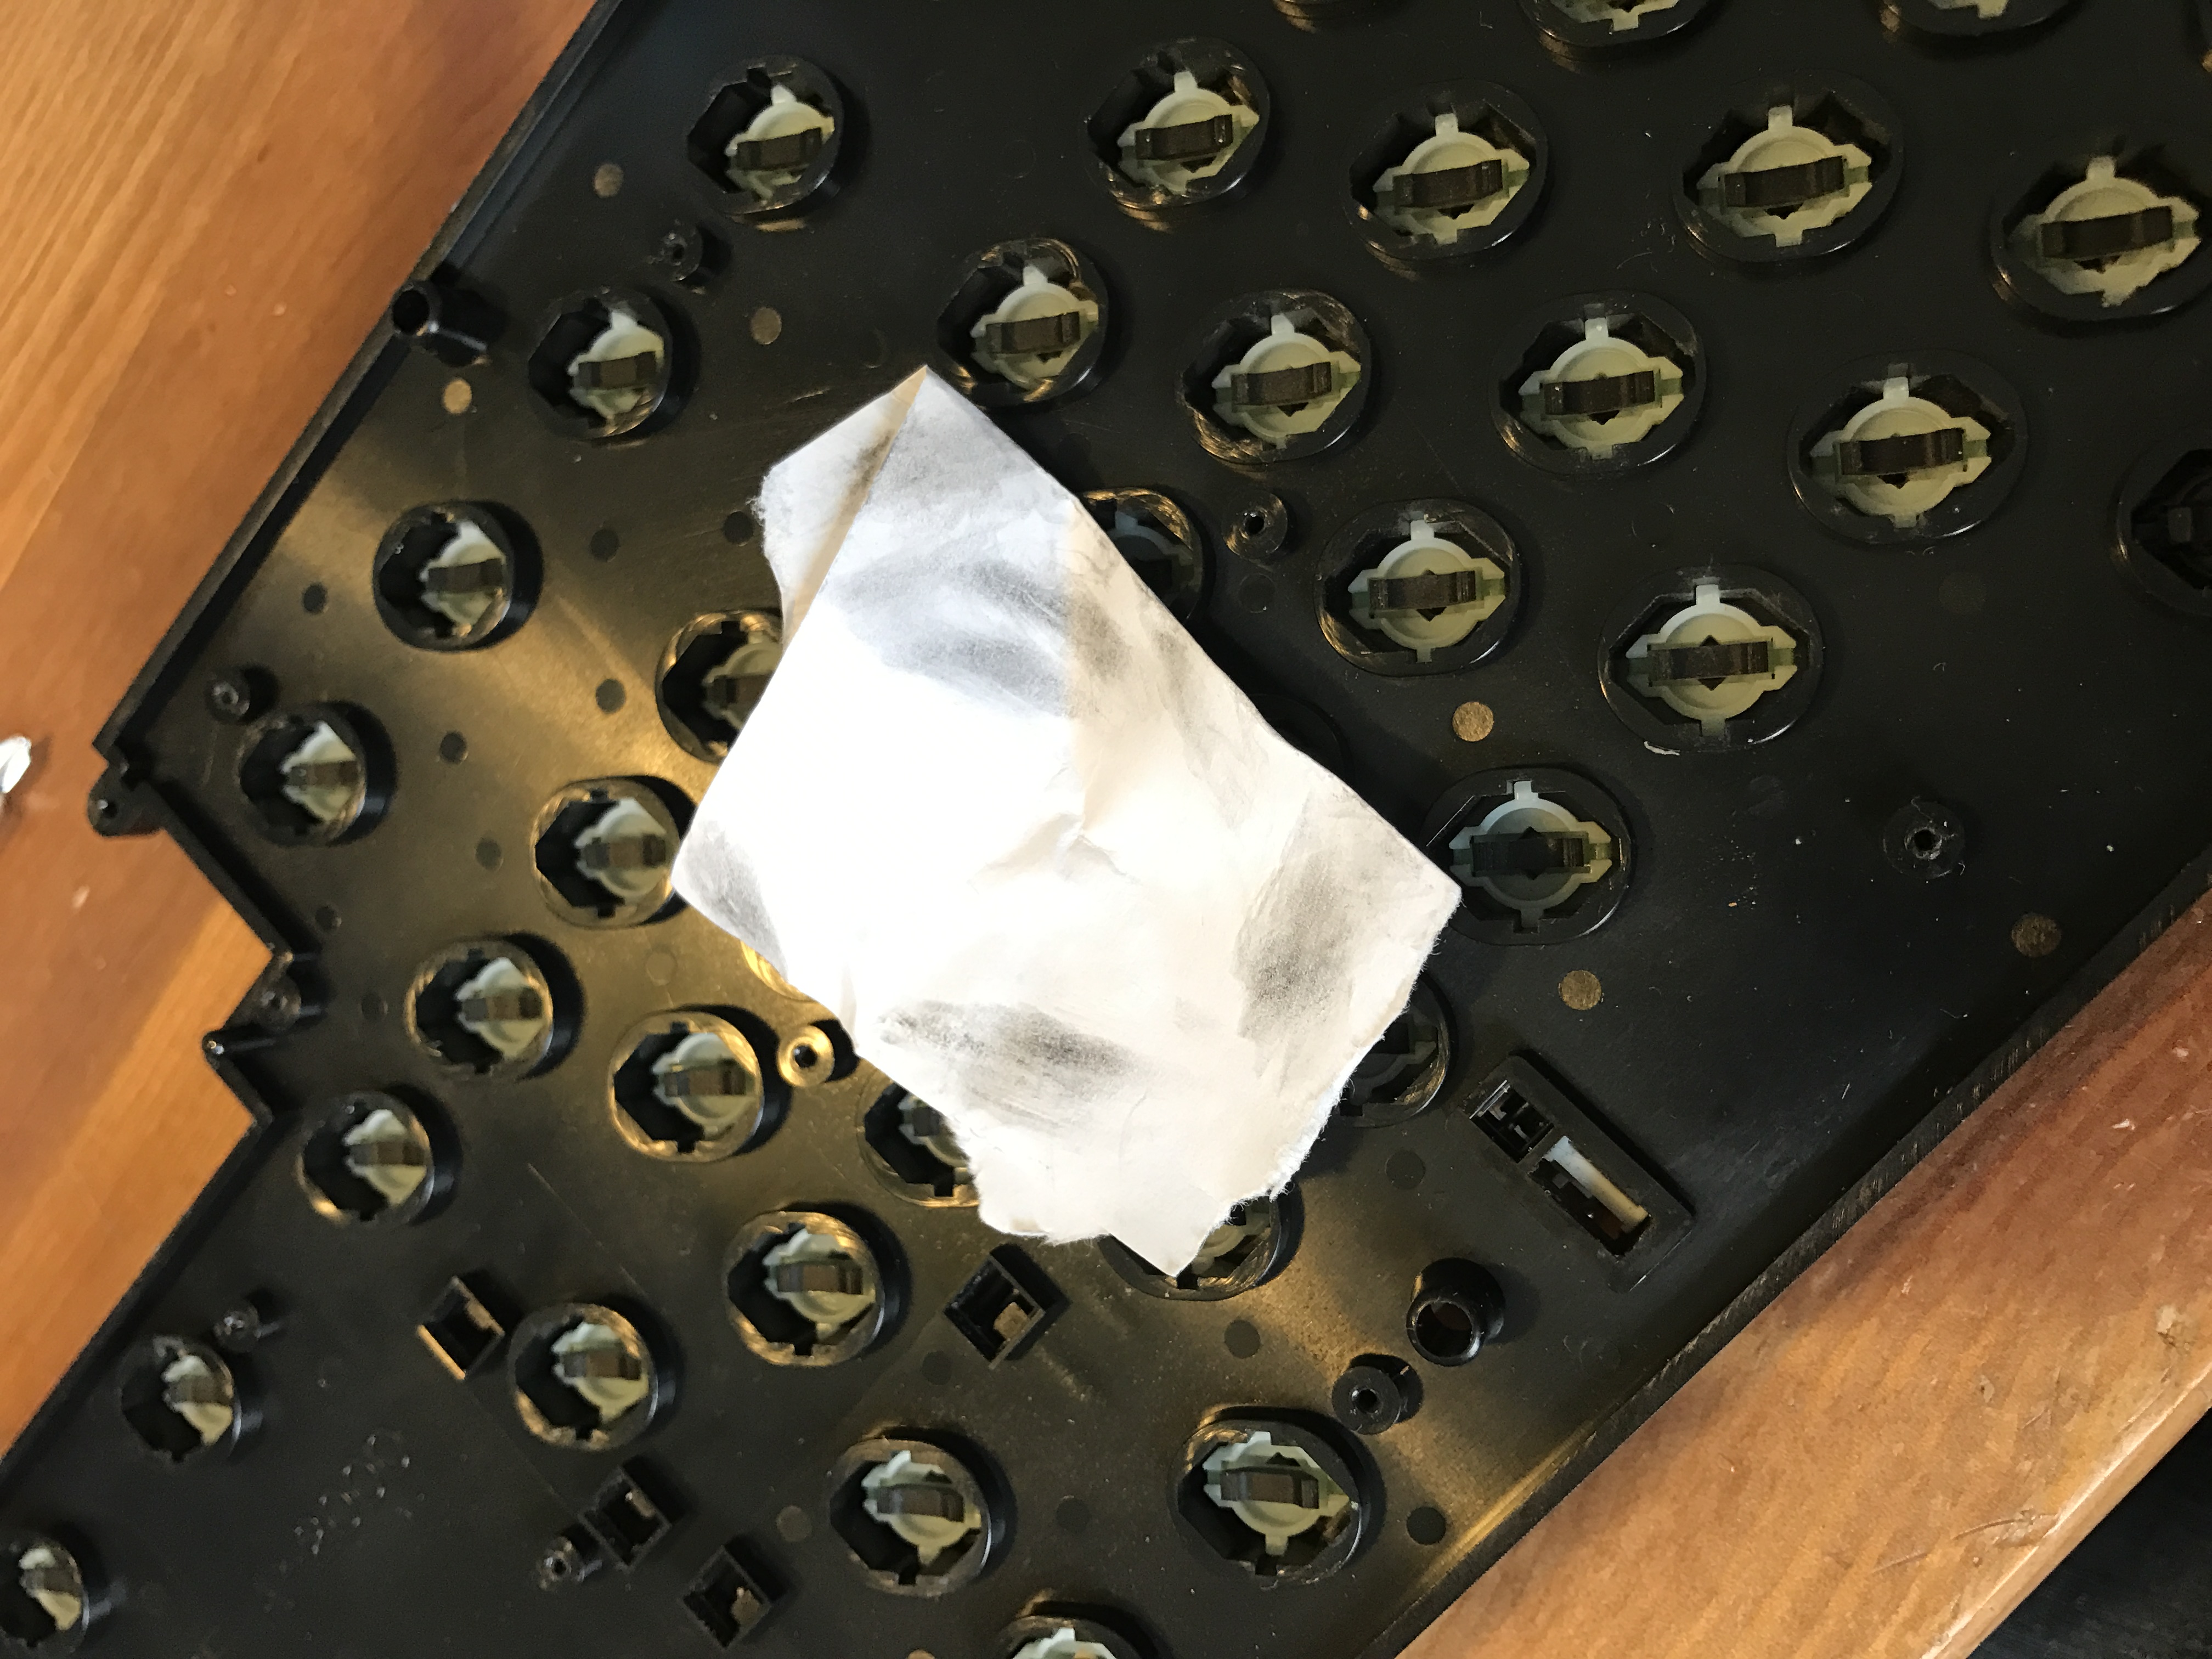
Still a few of the keys didn’t function perfect, they had to be pressed very hard. It got a lot better when I cleaned the rubber pads with just ordinary paper. After doing this I was down to only two keys that had to be pressed hard, and with those I used a pencil to rub them gently. I have heard, and also now started to notice after a few months of use, that it’s not a long term solution but it definitely worked for now. There’s apparently a carbon mixture that can be bought and applied that is used for this exact purpose but I haven’t tried that yet.
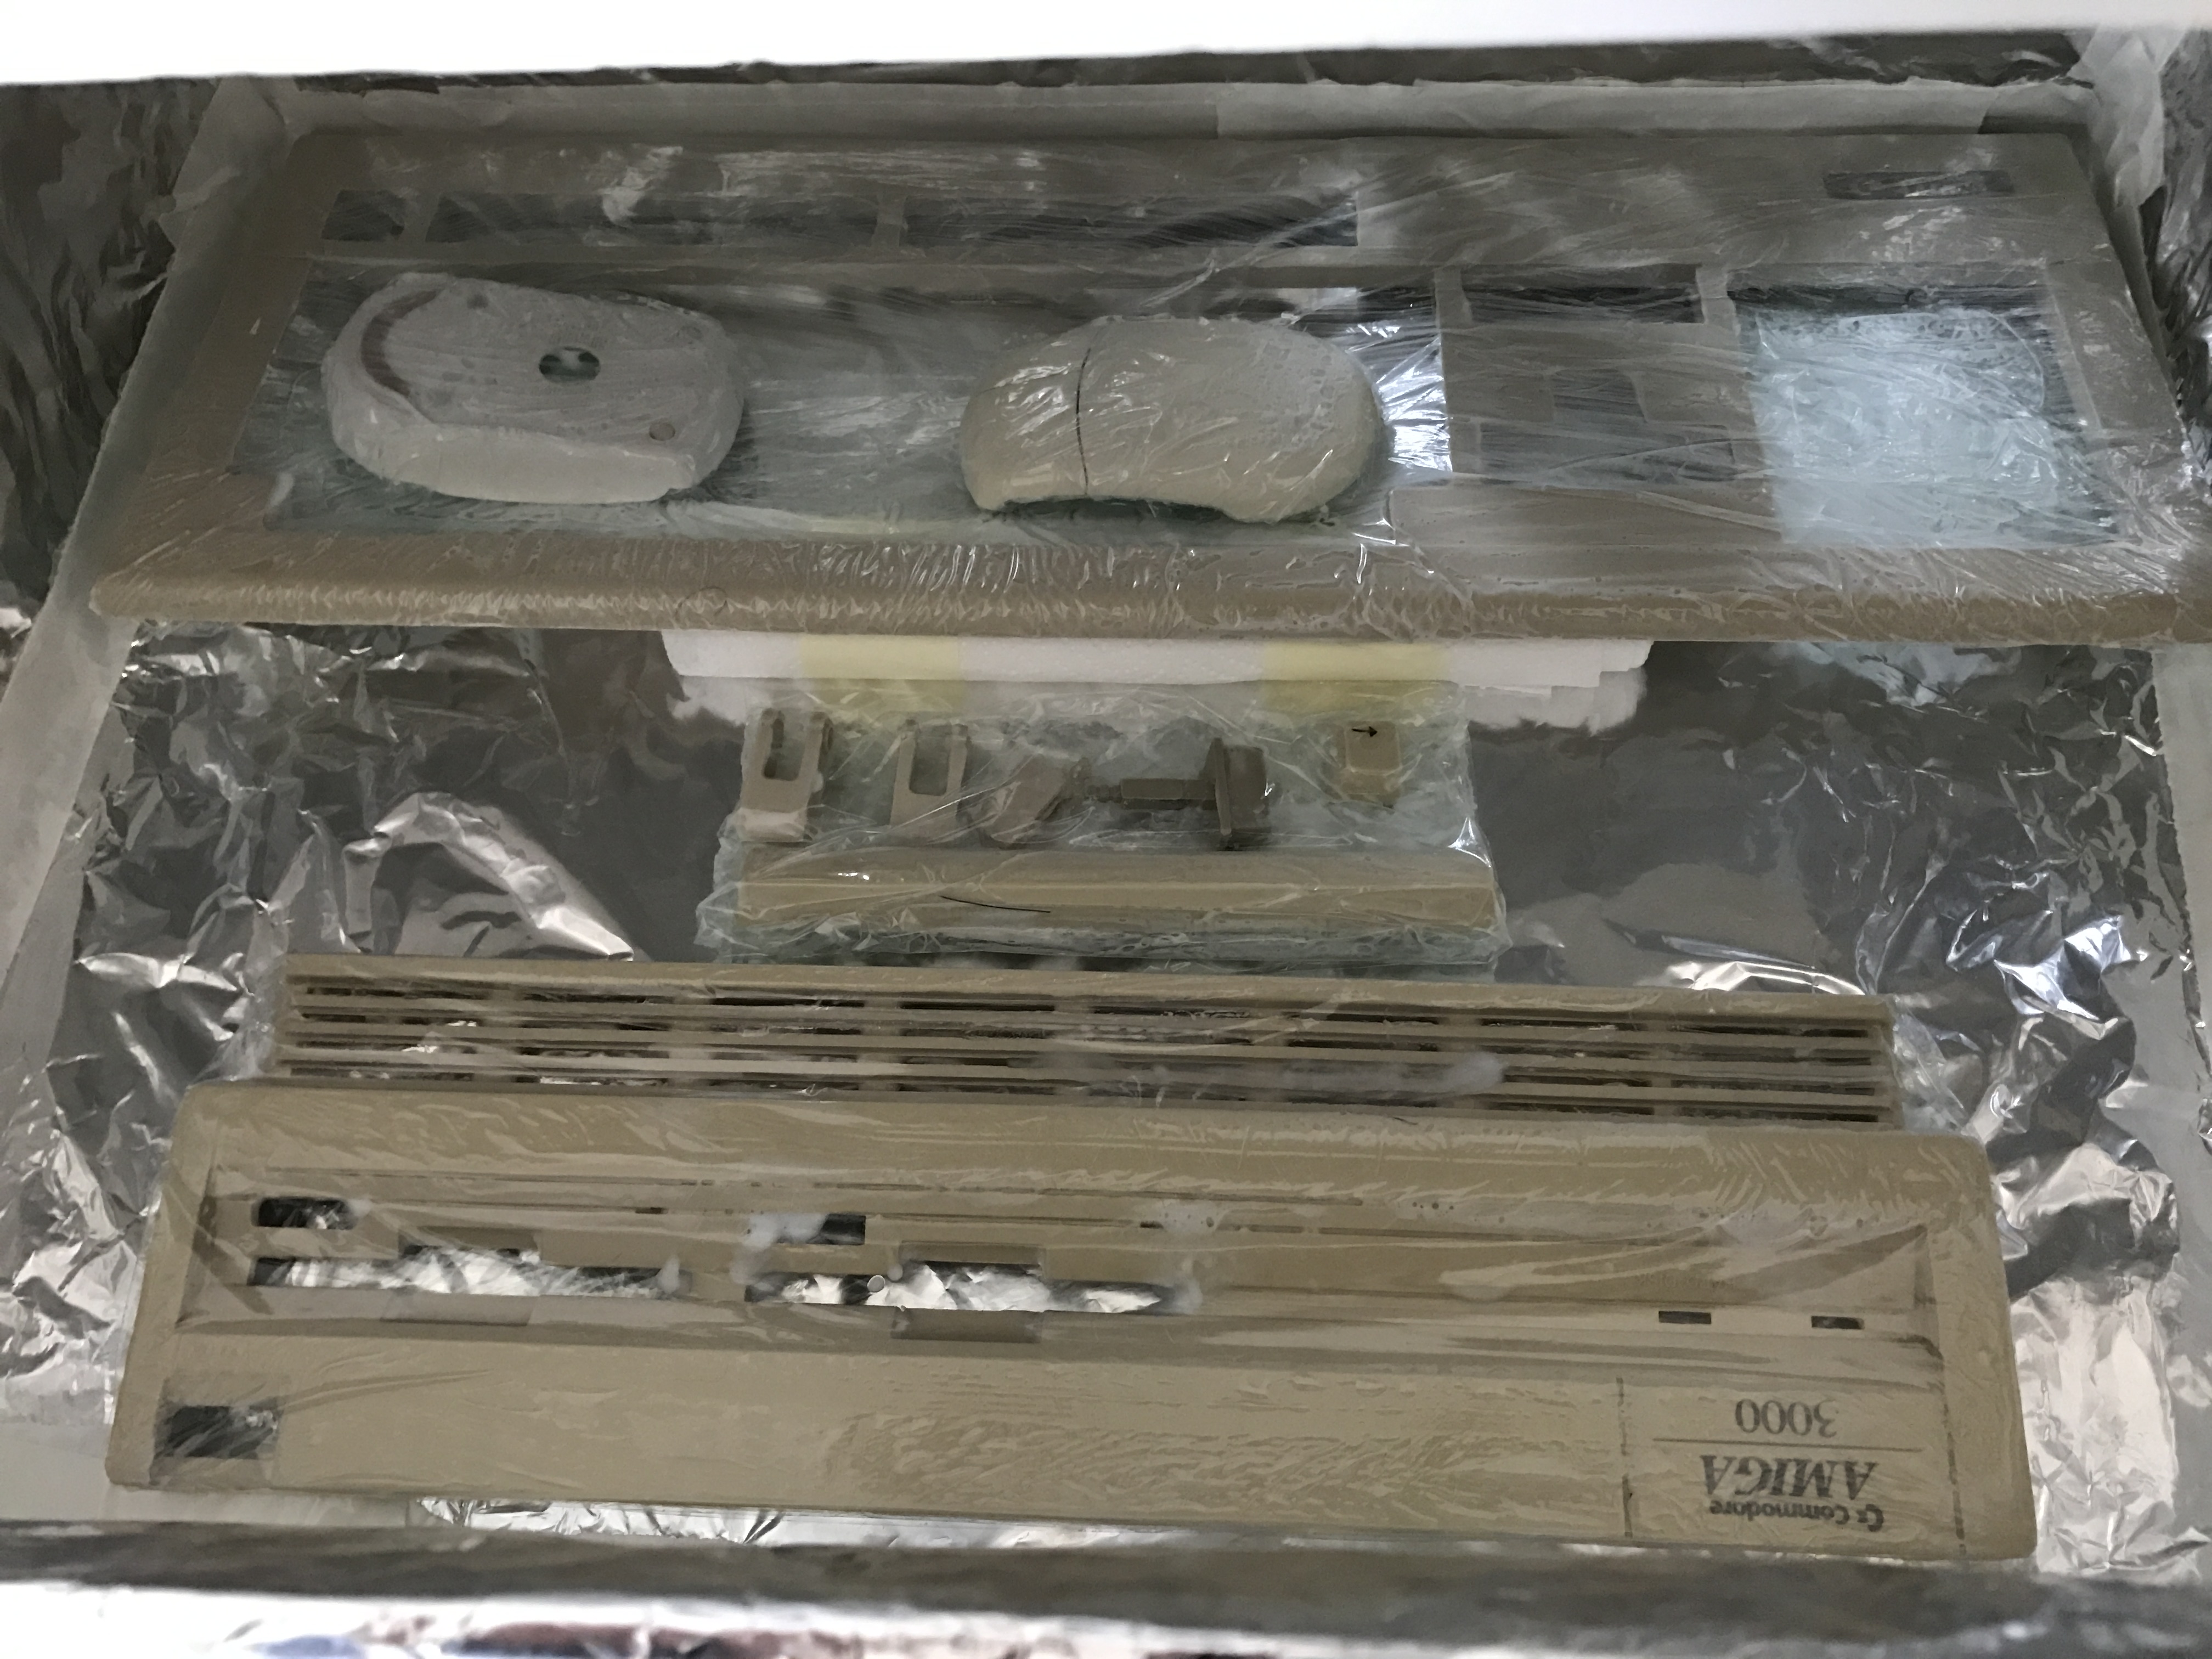
Now that all was prepared, washed and Retrobrited, it was time to assemble.
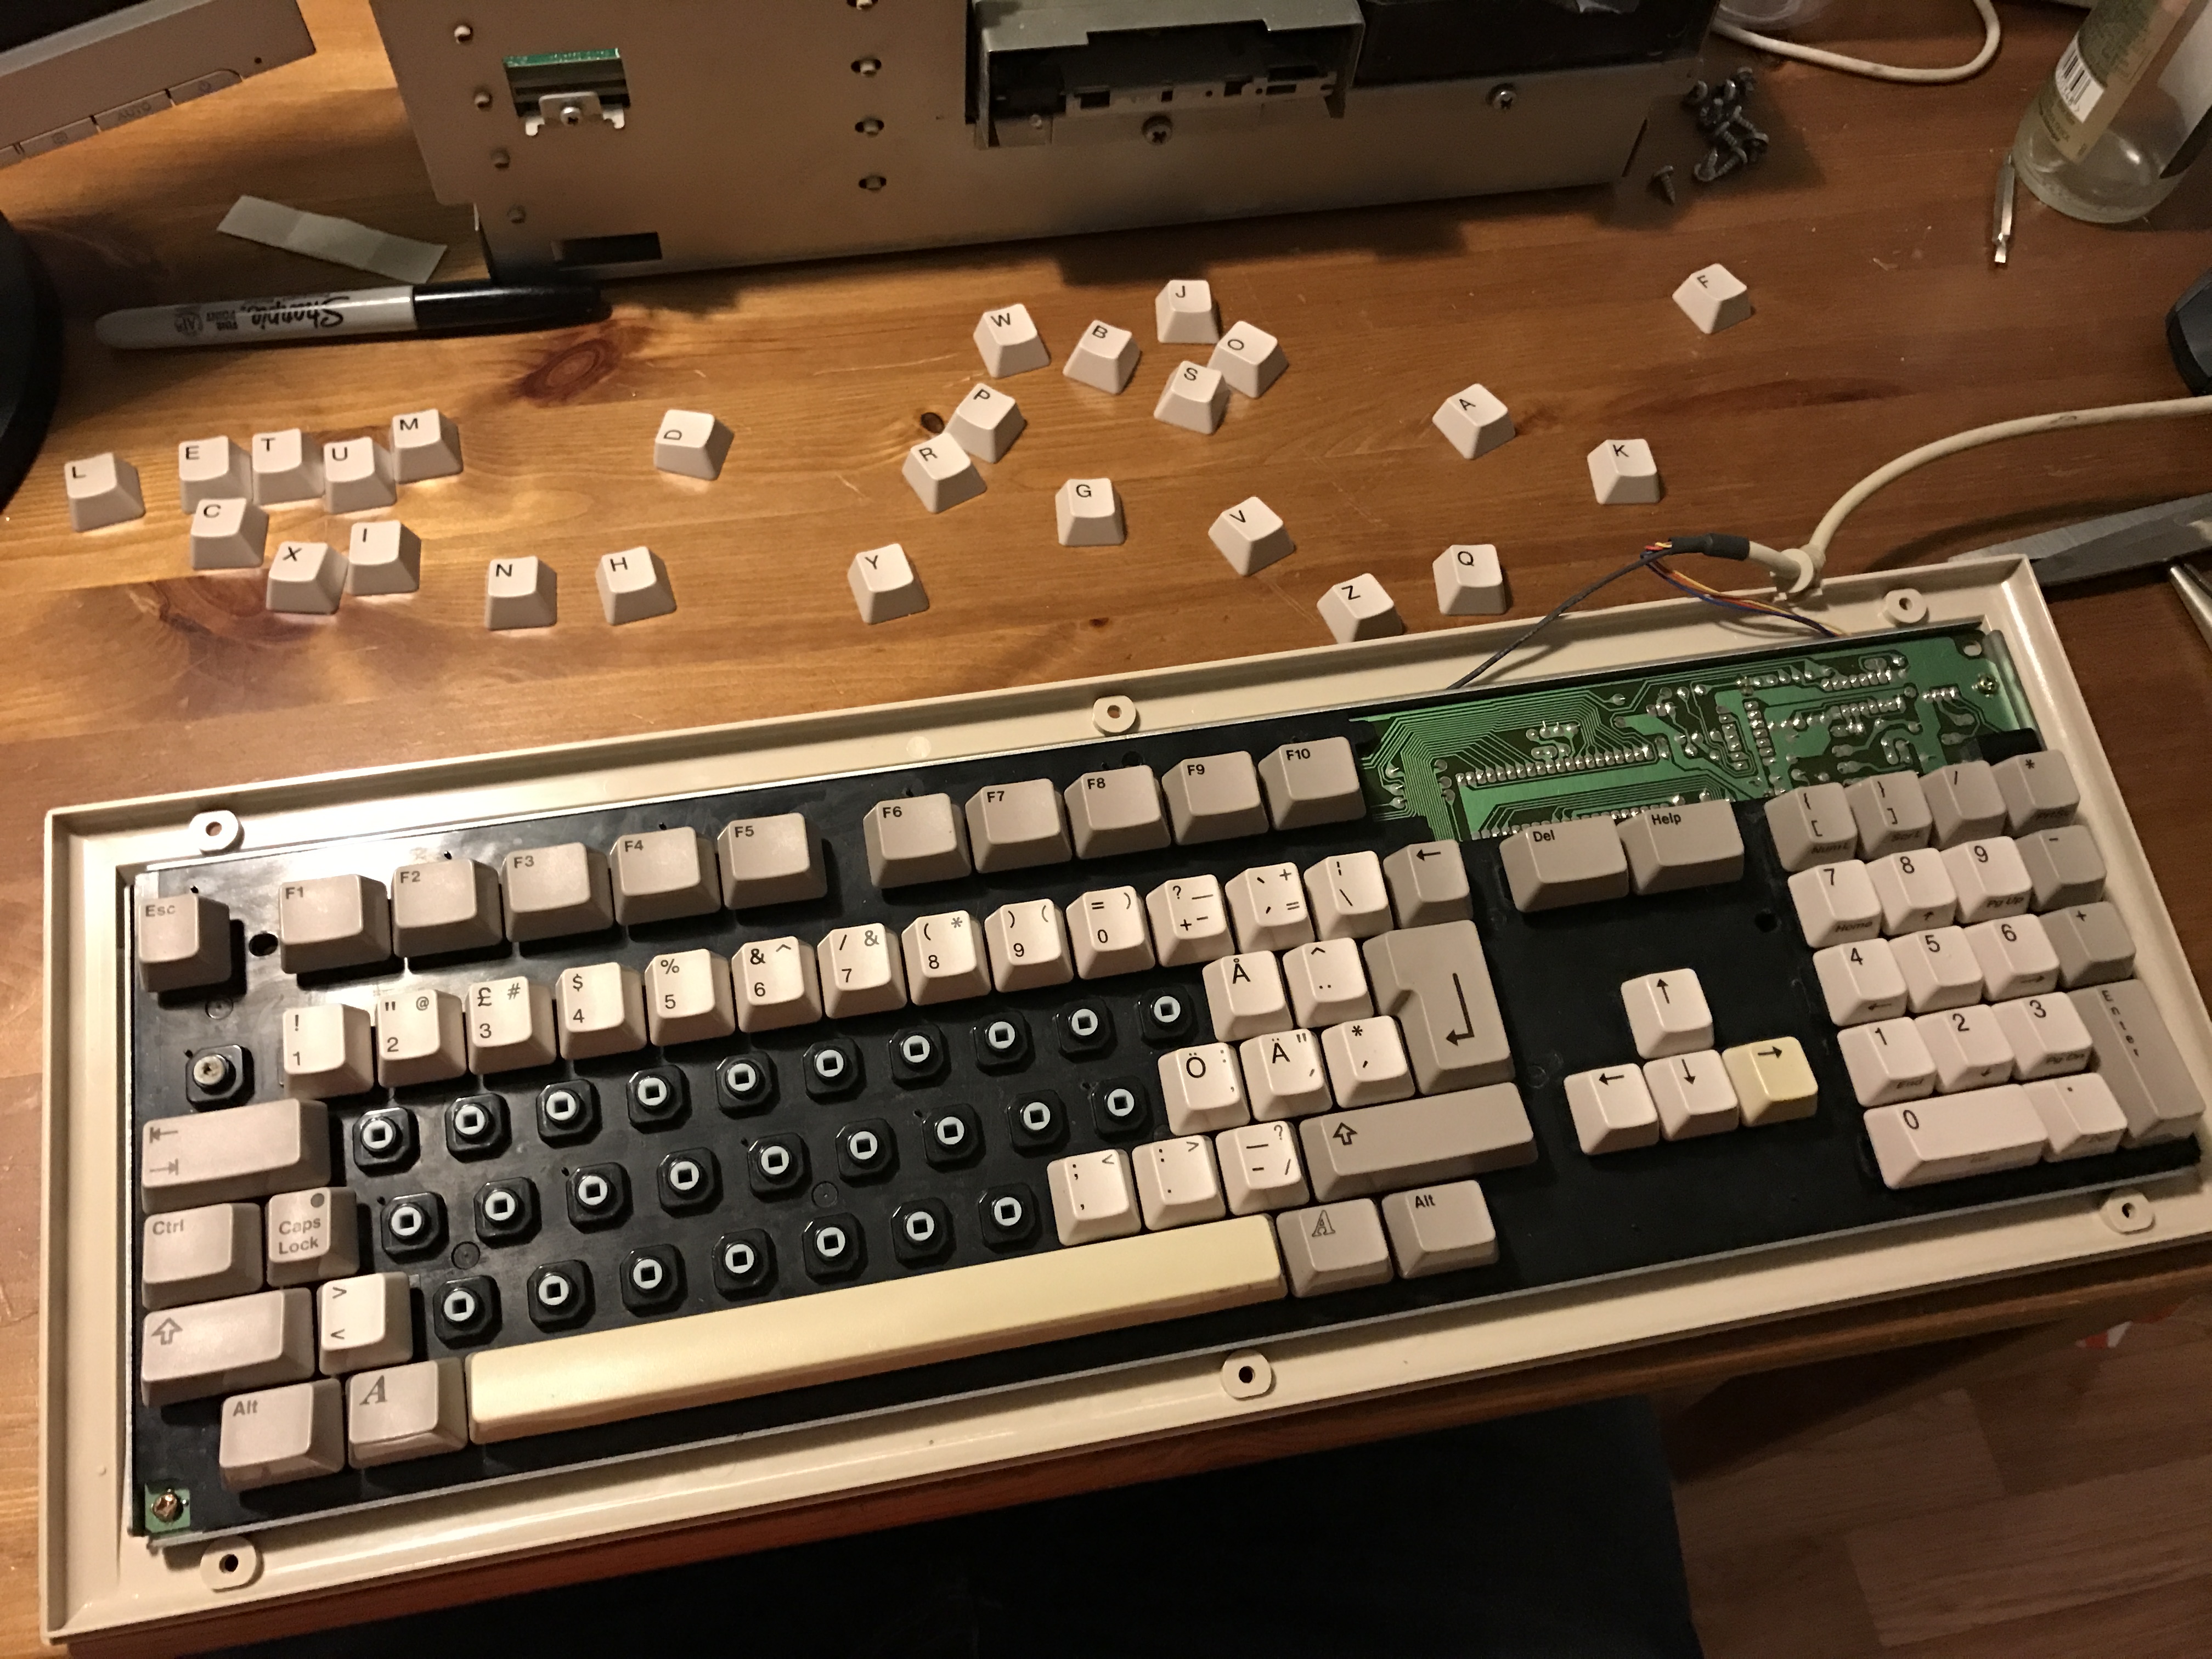
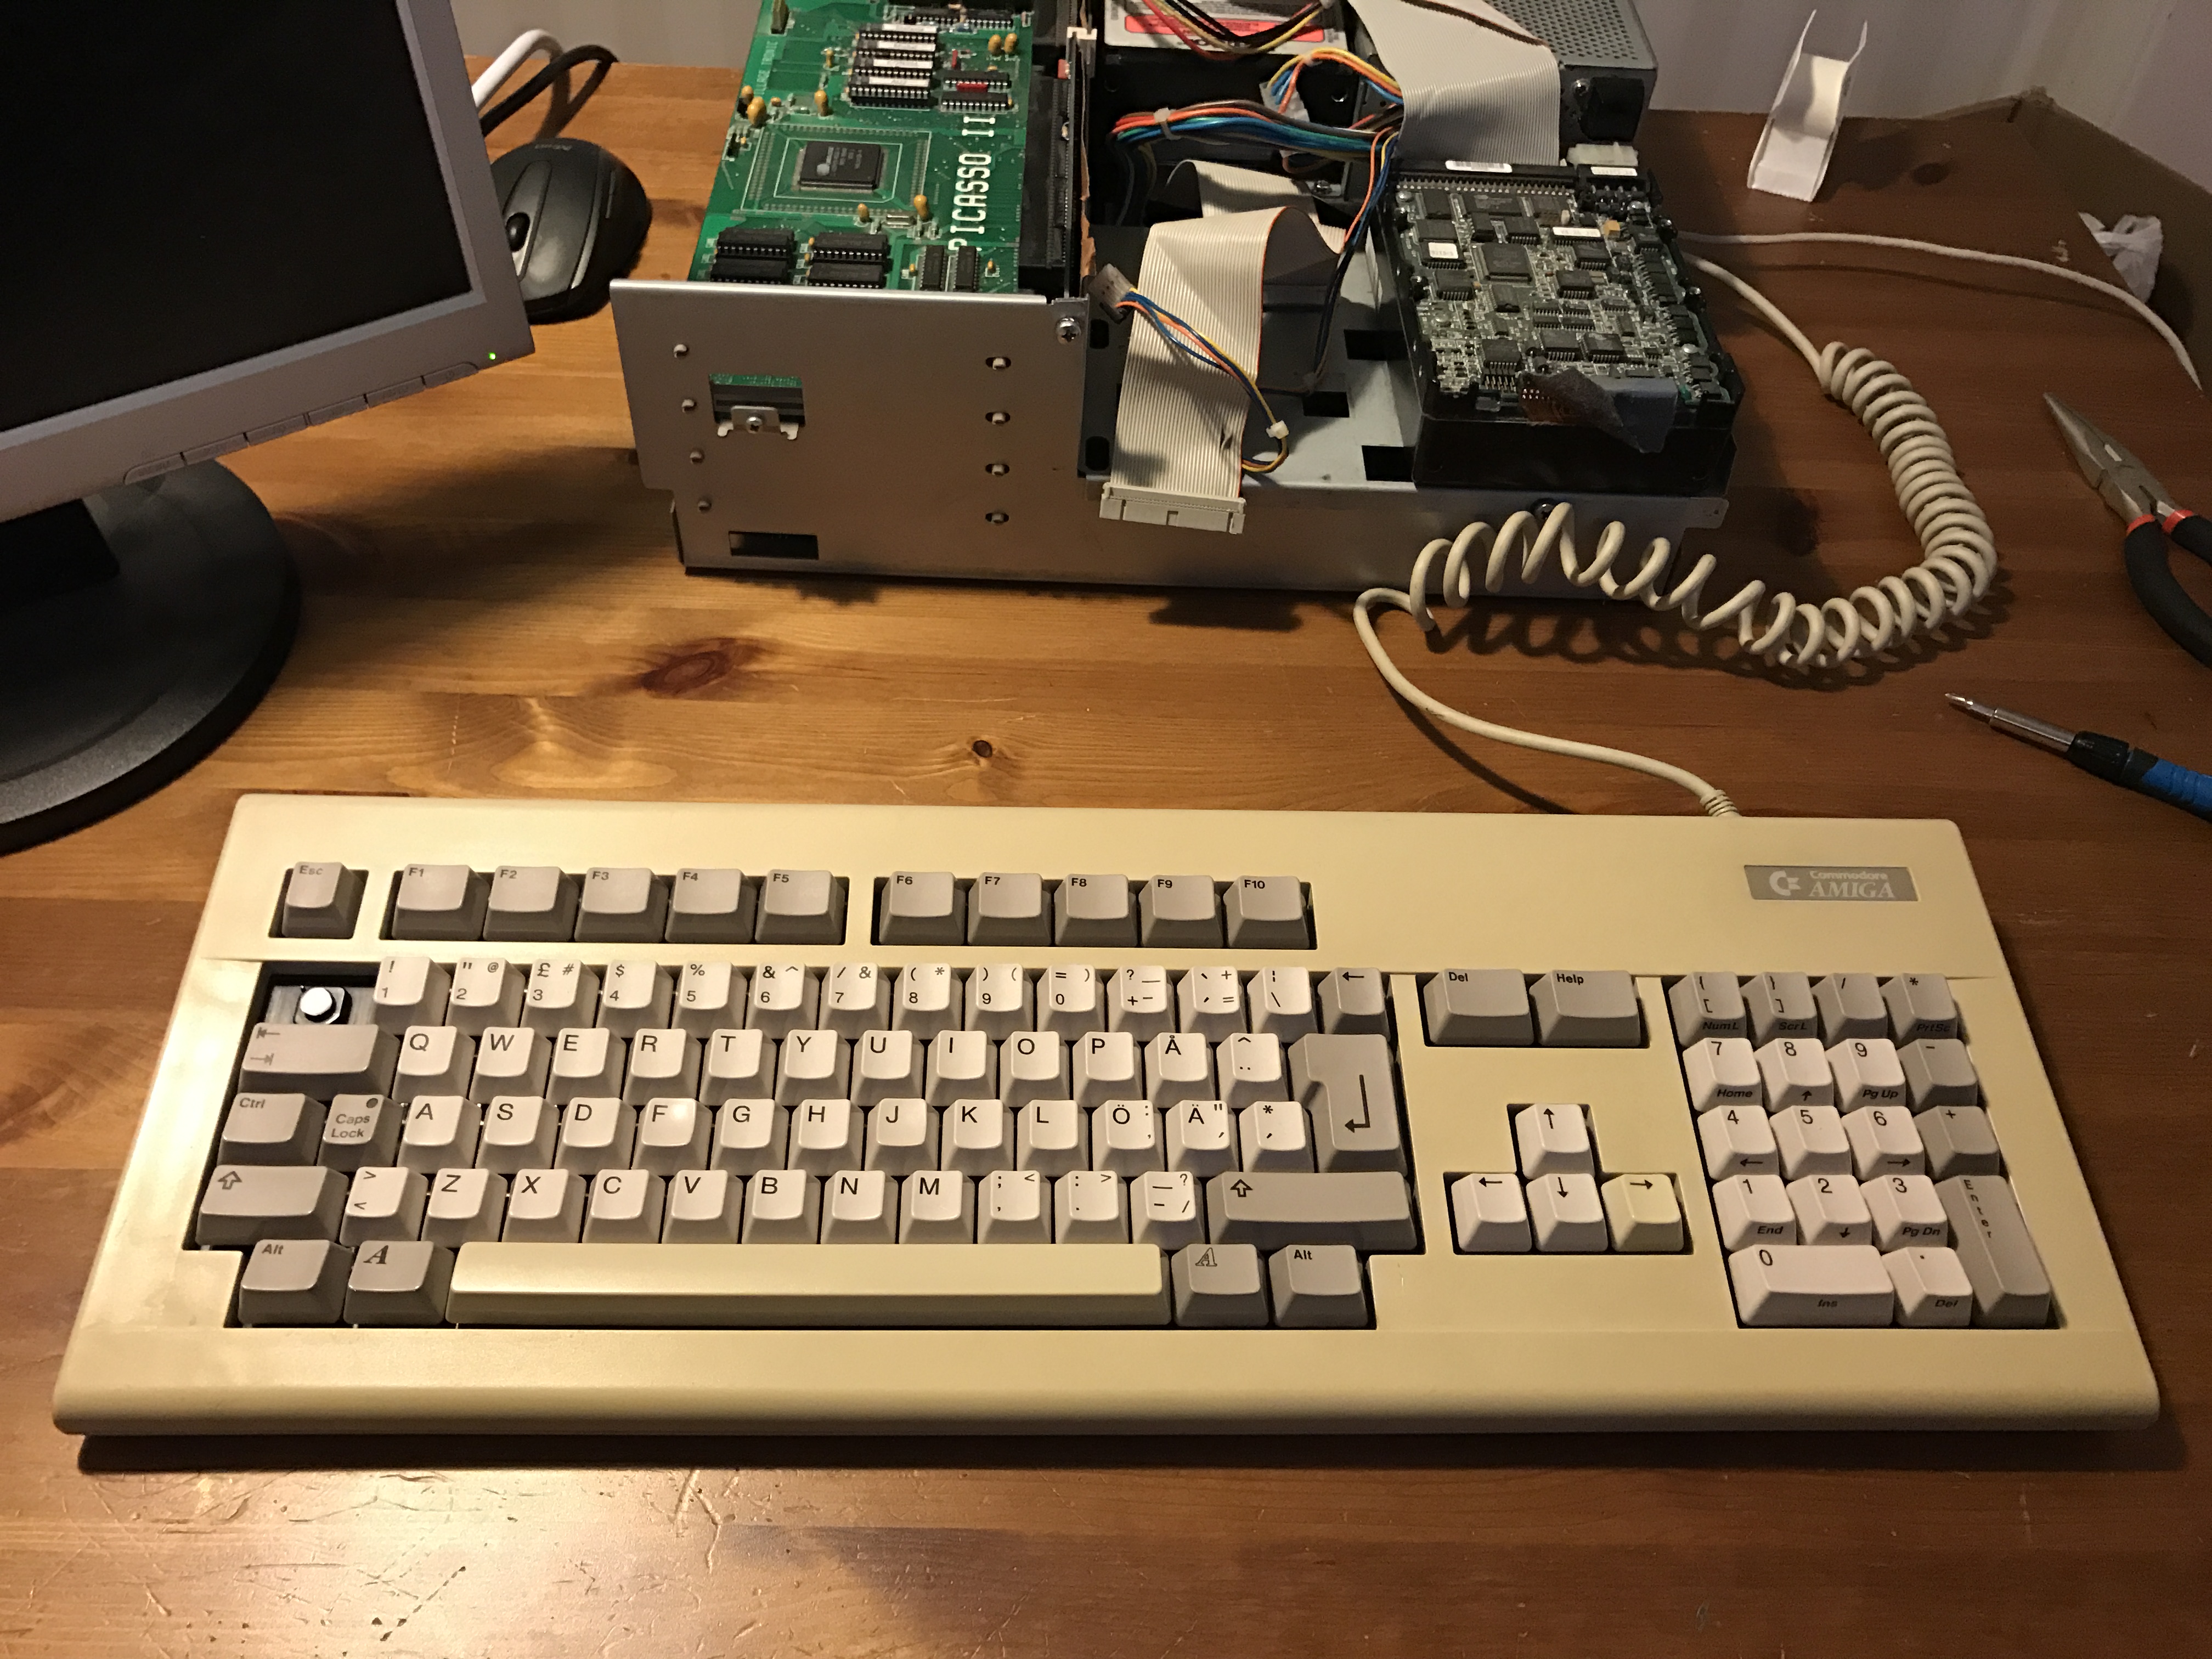
This first assembly (last picture above) shows the first assembly after only the keys had been Retrobrited. It’s obvious that there’s quite a difference between the keys and the casing, and also that not all of the keys (most notably the space bar and right arrow) had been equally brighted. Those keys took another run in the UV-light, and after that they were quite close to the others in colour.


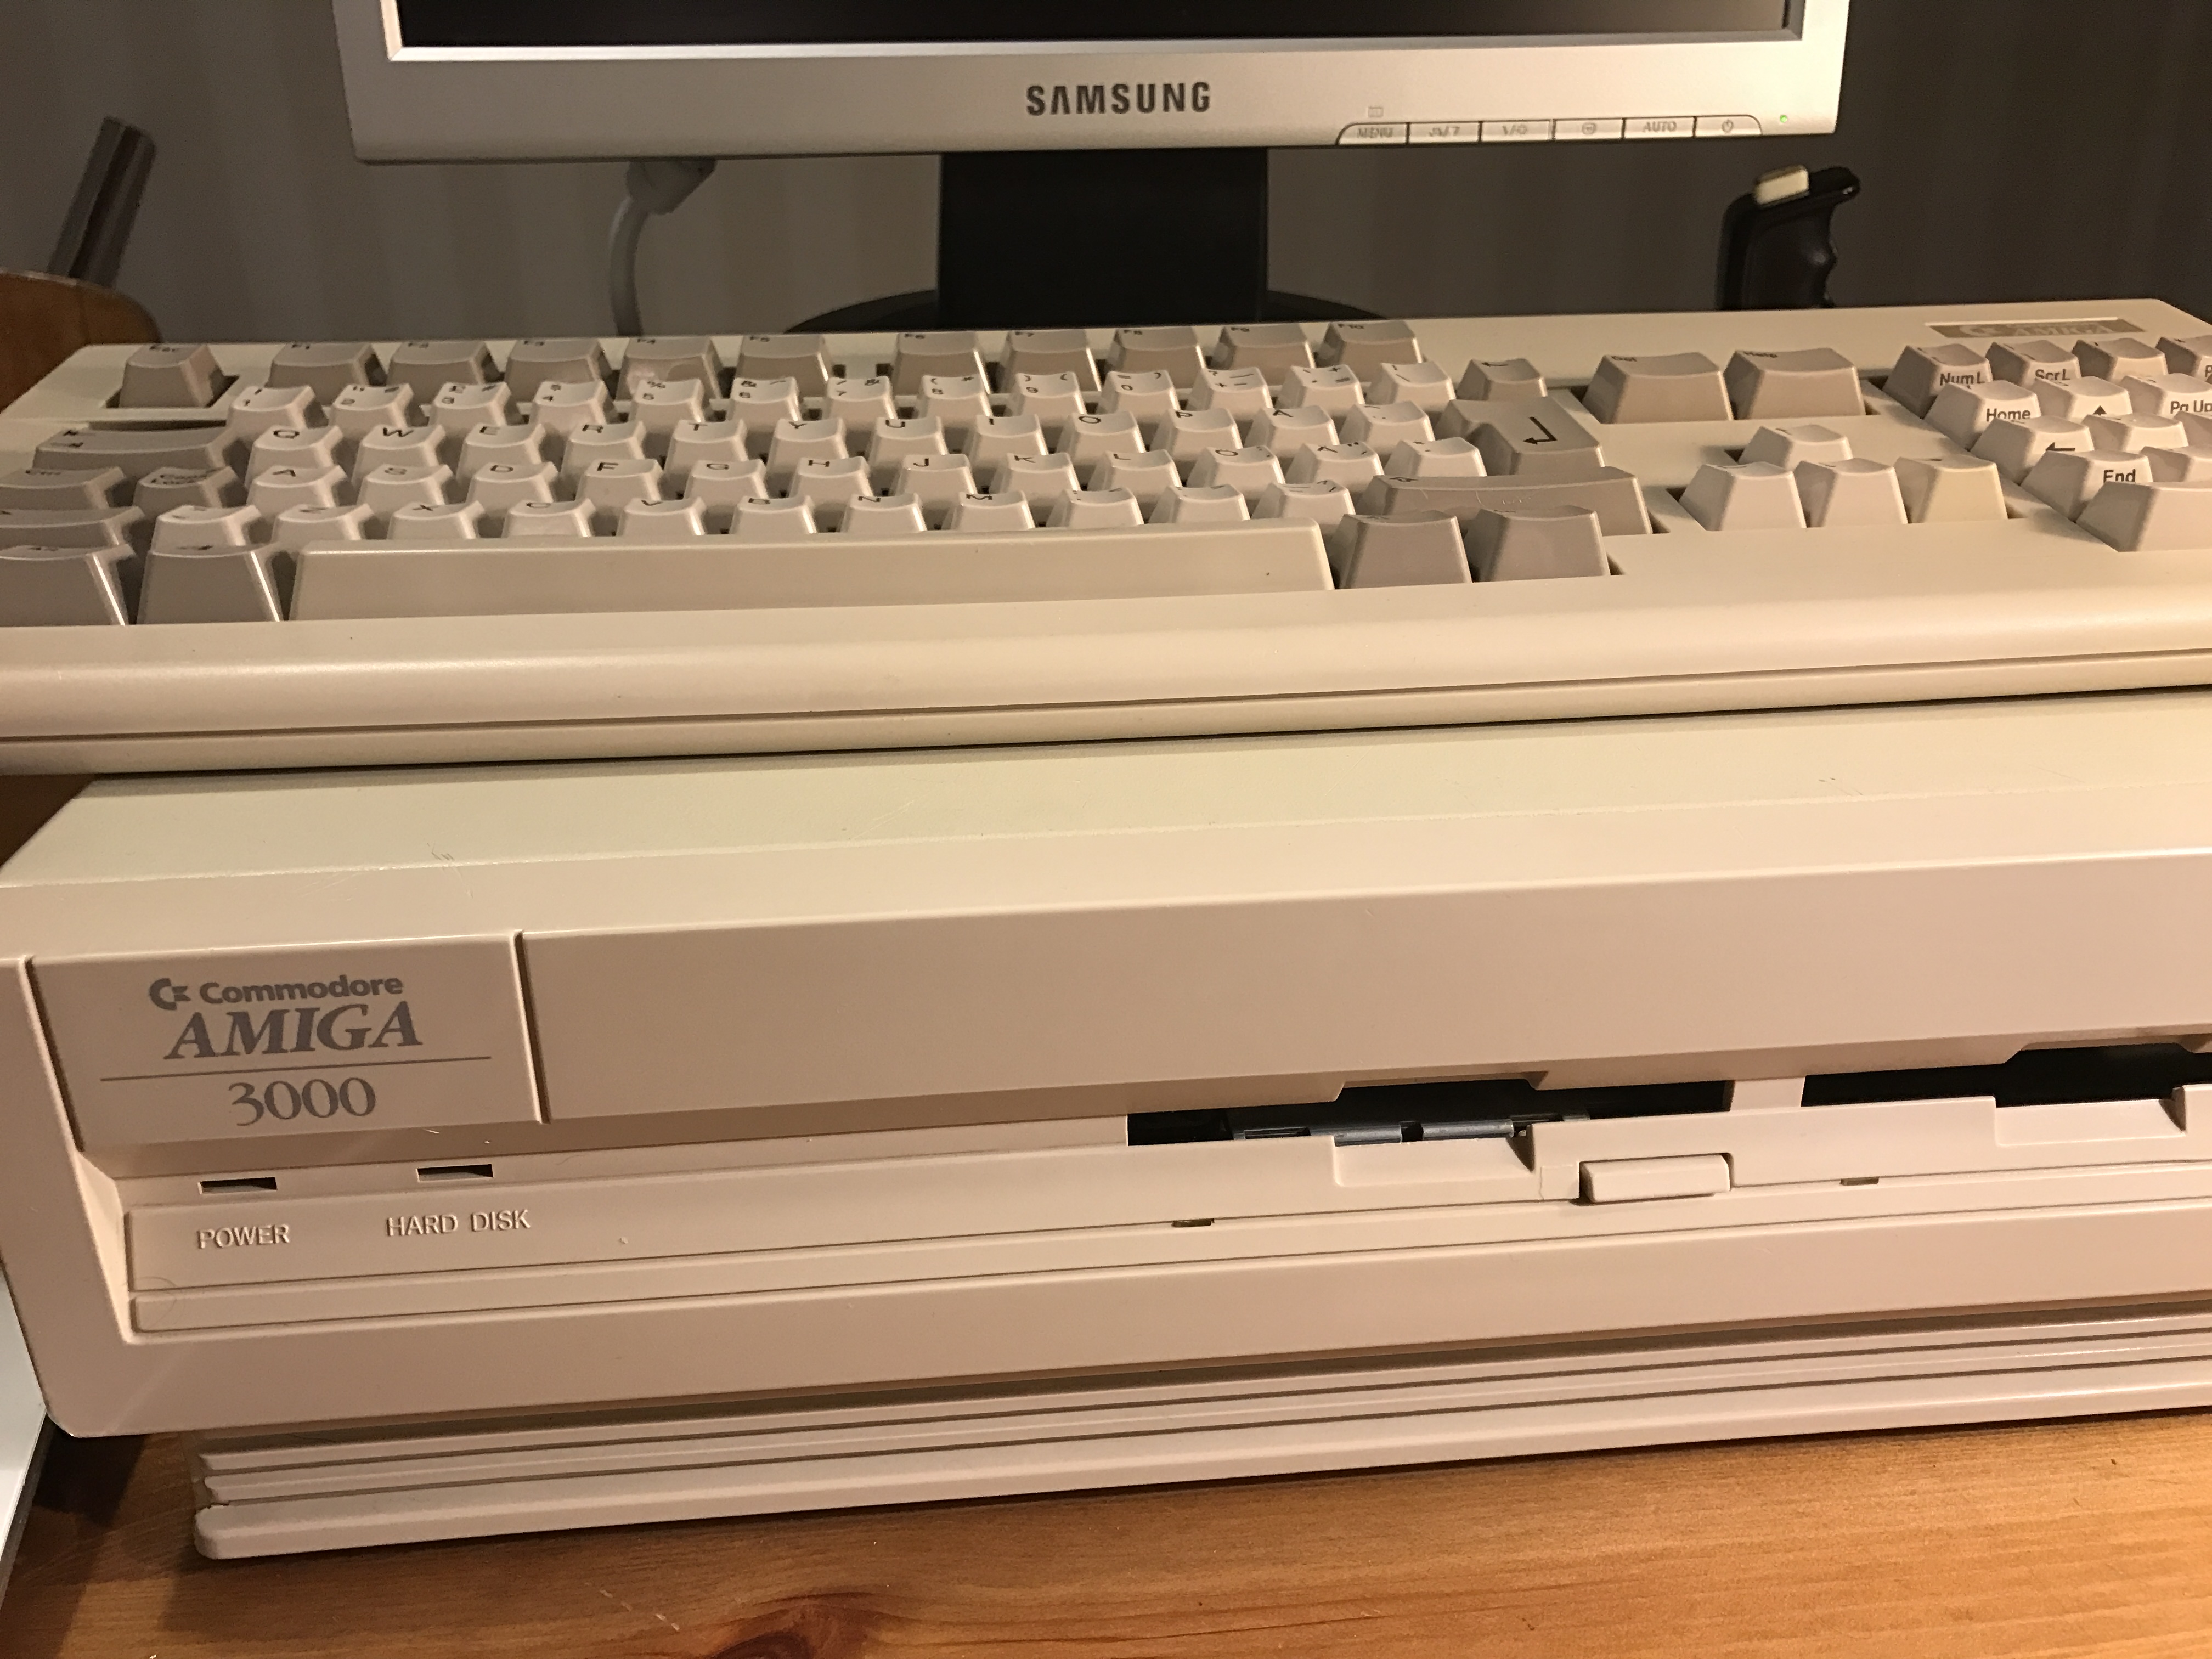
Unfortunately light conditions (very varying light through the big windows next to the workspace) proved it hard to make a good comparison between the pre- and after keyboard. But it’s very obvious that the Retrobrite did it’s thing and I’m happy with the result. As you can see I was missing a key, that has later been ripped of a broken A500 I bought.
I’m also still missing the diskdrive cover. There was never anyone included in my computer, and I still haven’t bought a spare one. I however do not like the obvious mismatching colour of the new 3D-printed covers you could easily buy of eBay, and it seems like there are virtually none available from original hardware. I guess at some point I’ll have to make a go at one of the new ones and maybe paint it.