Amiga 3000 restoration part 2 – Cleaning motherboard, memory and kickstart upgrade
When the exterior and keyboard was now sorted out, it was beyond time to look at the insides. The first things to do was obviously get rid of all the dust and see how much damage the battery had done. Also a quick recap of what hardware I had in my Amiga.
- Kickstart 1.4 (original A3000 ROM’s) – softkicked to 3.1
- 4 MB of fastmem, 256 KB x 4 ZIP 80ns
- Picasso II RTG card with 2 MB video memory
- 2 Maxtor 200 MB hard disks
- Buster 7
A huge problem I remembered from using the computer was the very low amount of memory. Especially since I had a RTG card installed, and a quite heavy Workbench setup running DOpus 5 Magellan etc. I remembered having multiple startup sequences starting if you pressed various keys, depending on what I was going to do with the computer. I also tried to run some kind of virtual memory, that just made everything so extremely slow that the computer was hardly useable.
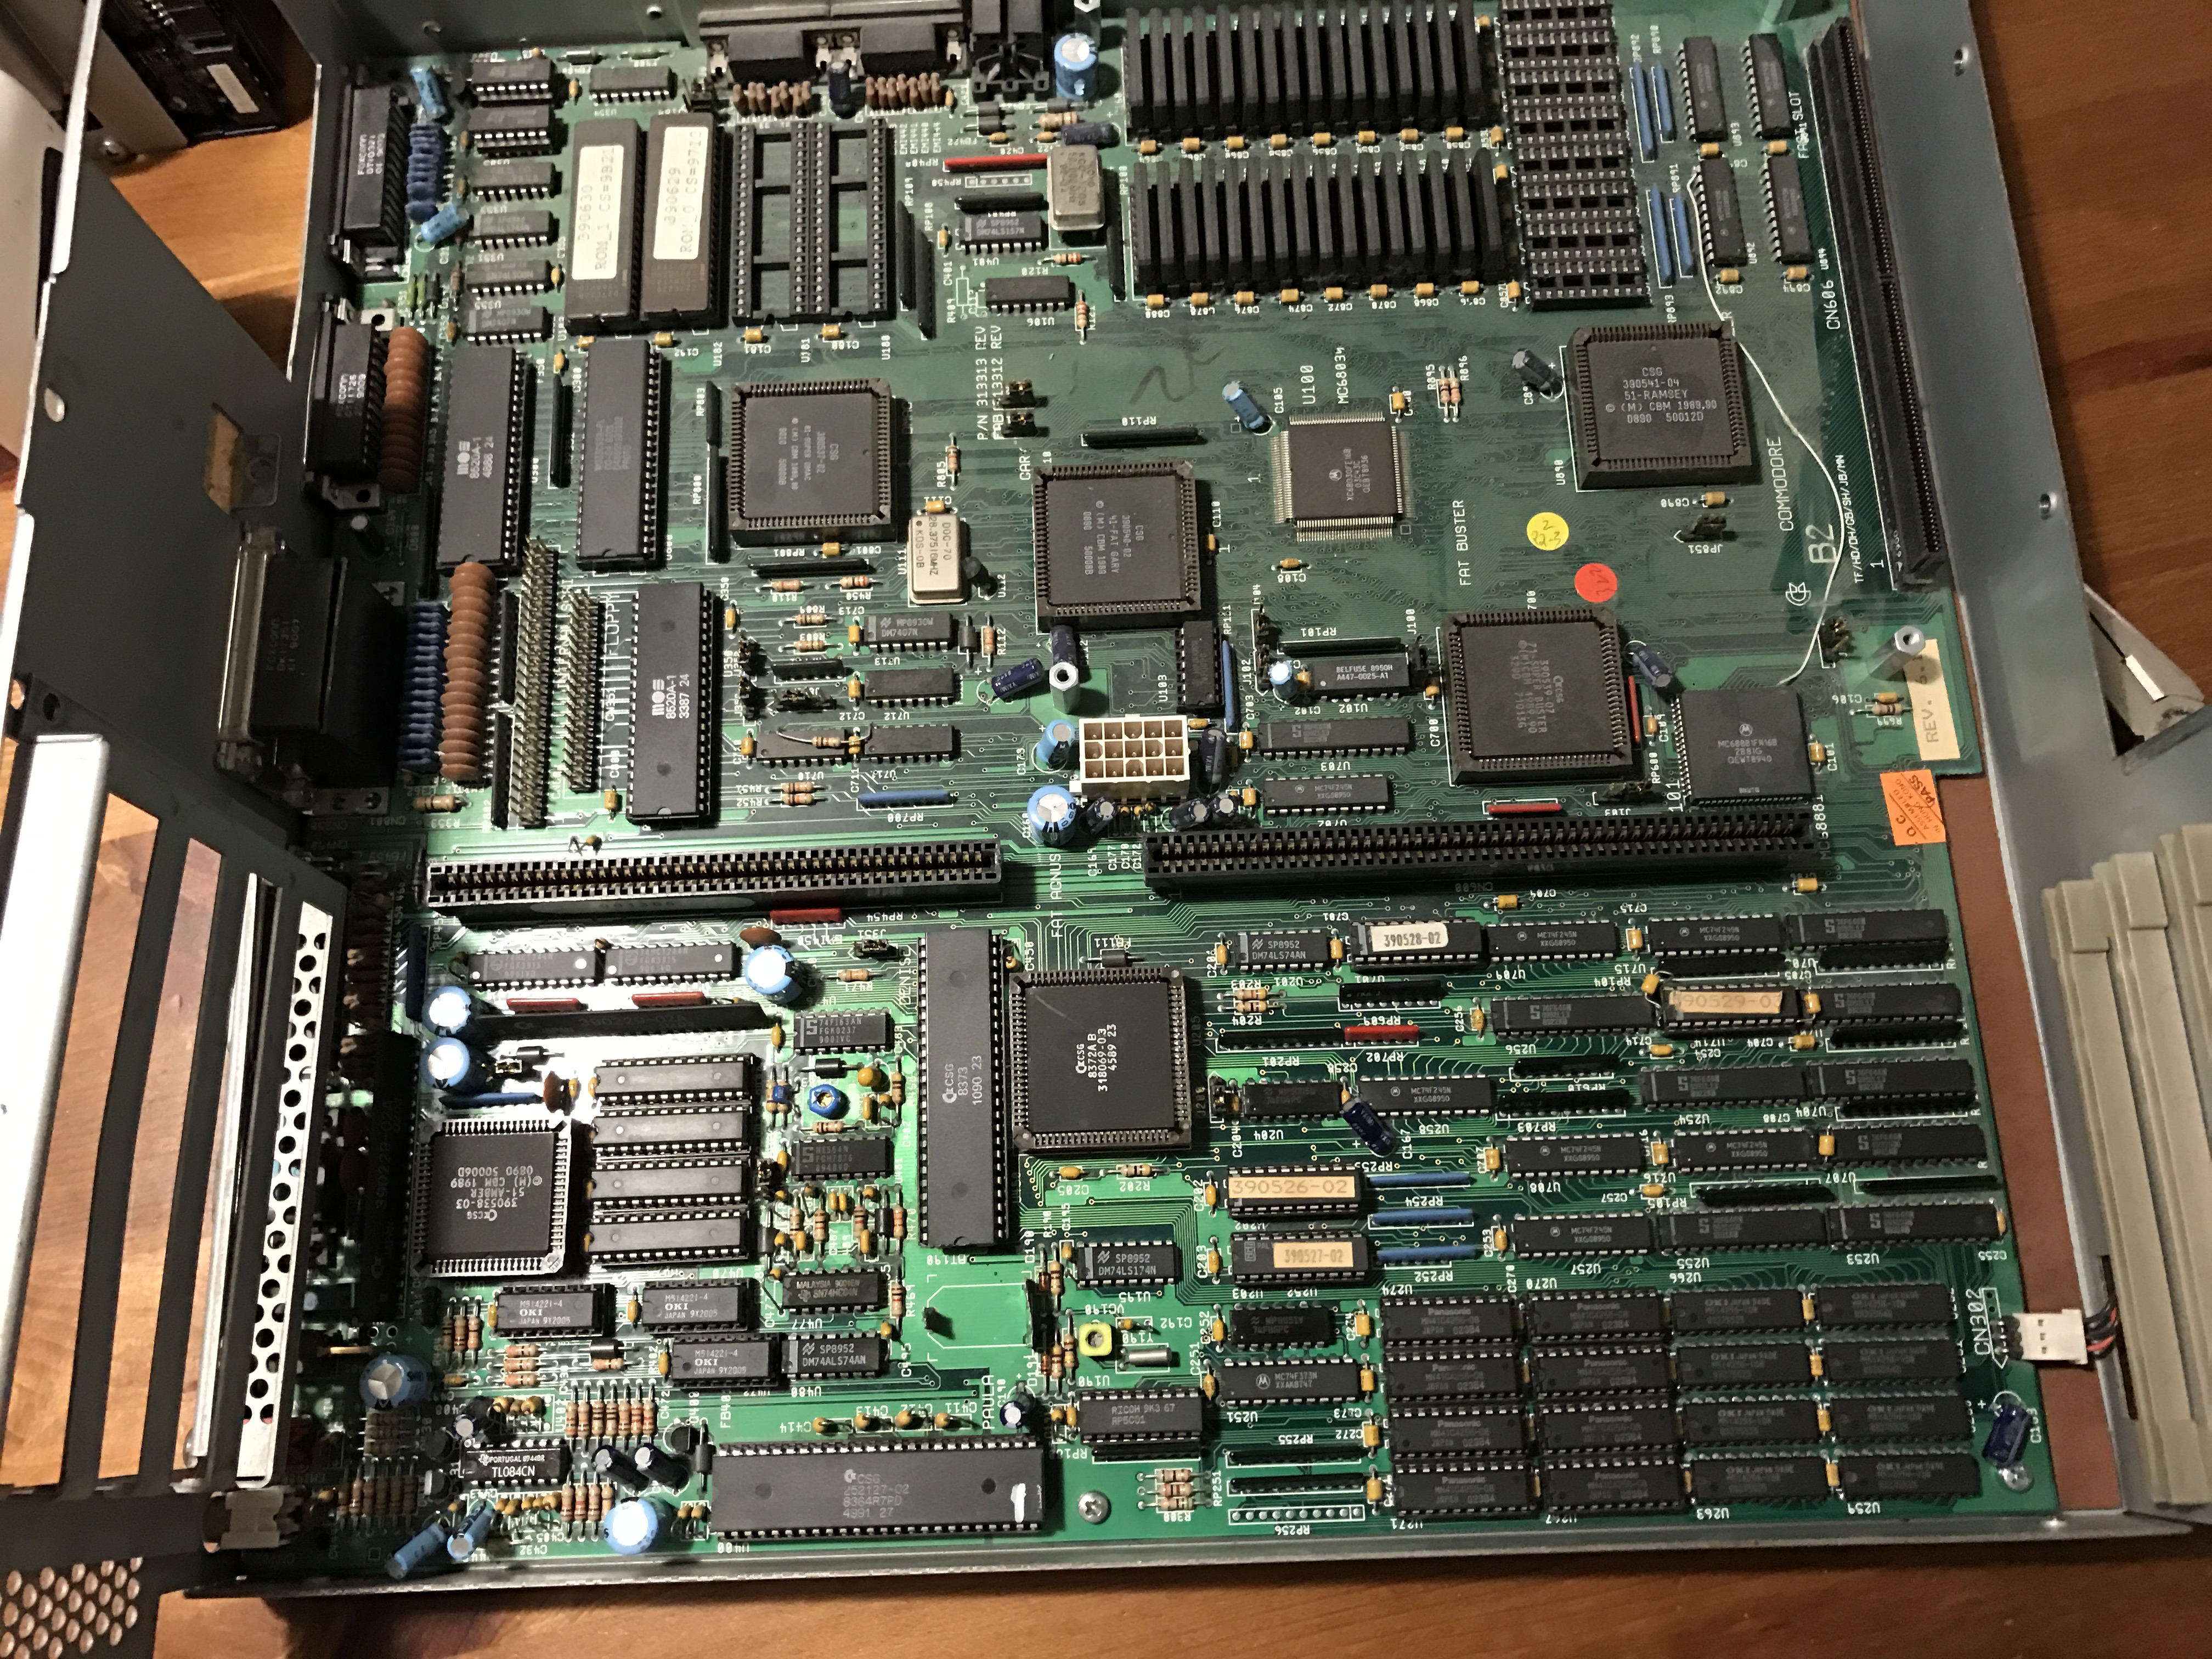
Anyway, back to the process at hand. The first glances showed a dusty but not too dirty setup and to my extreme relief the battery didn’t look great but it could have been soooo much worse.
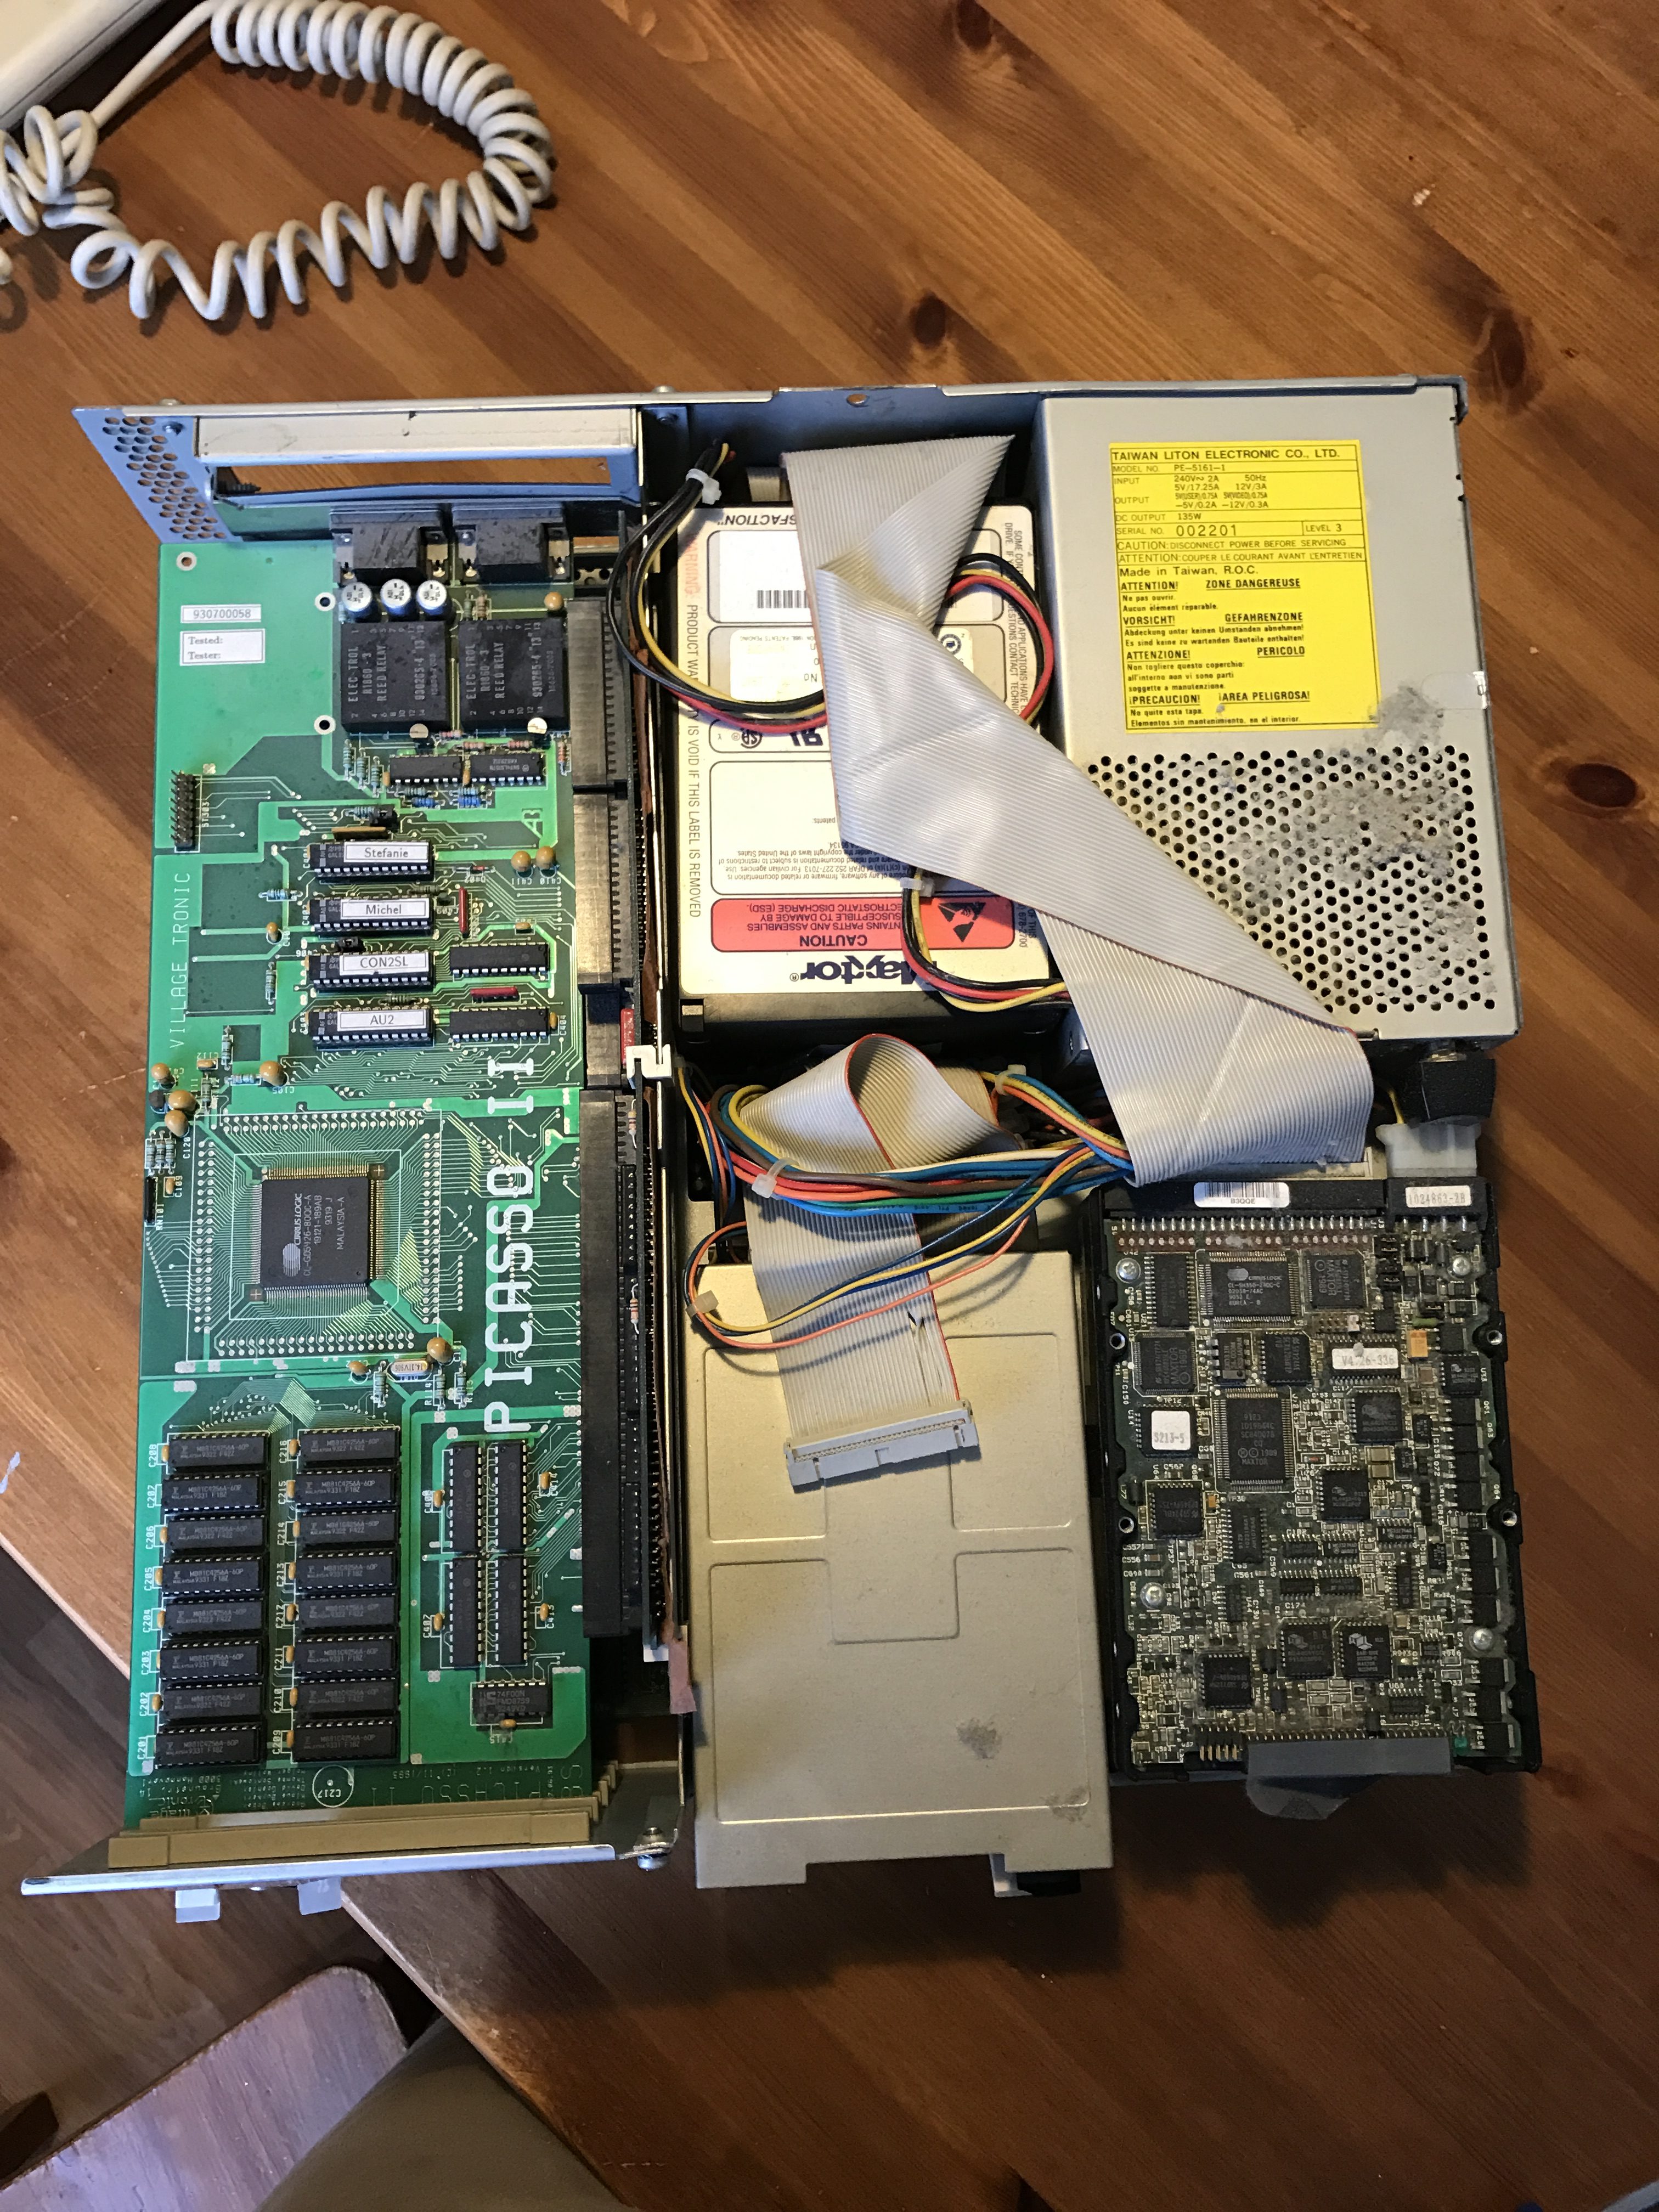
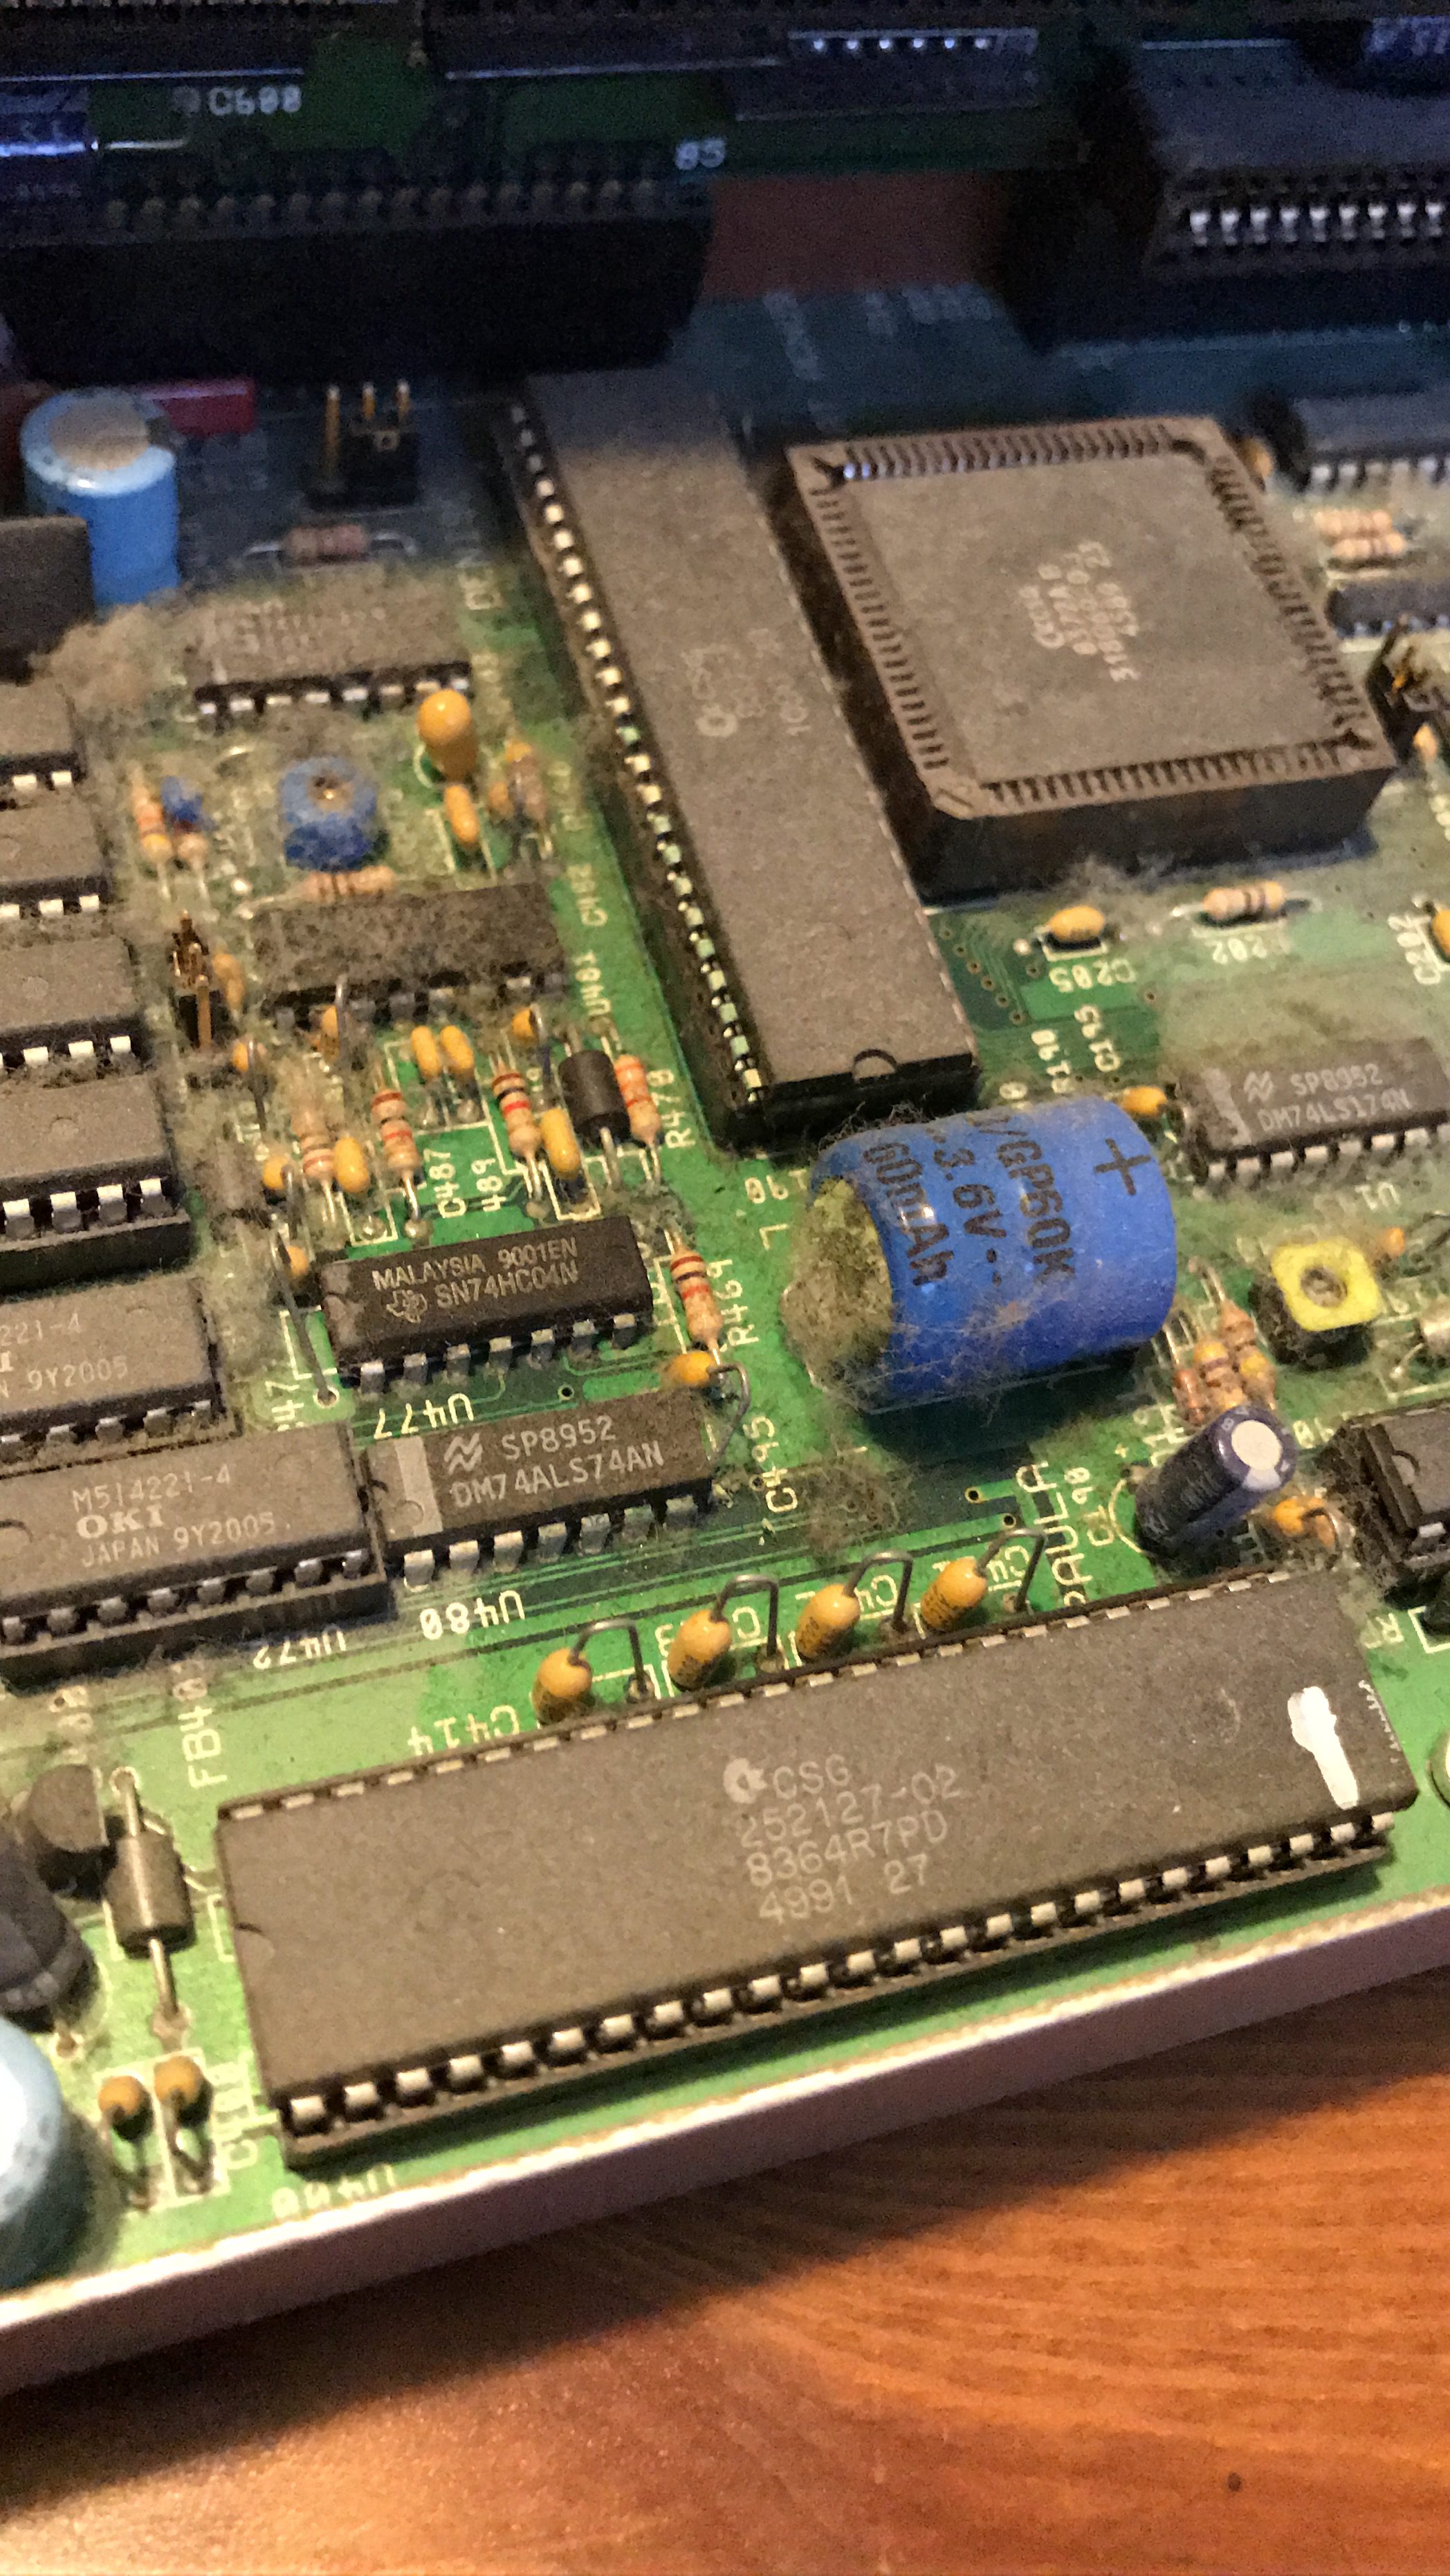
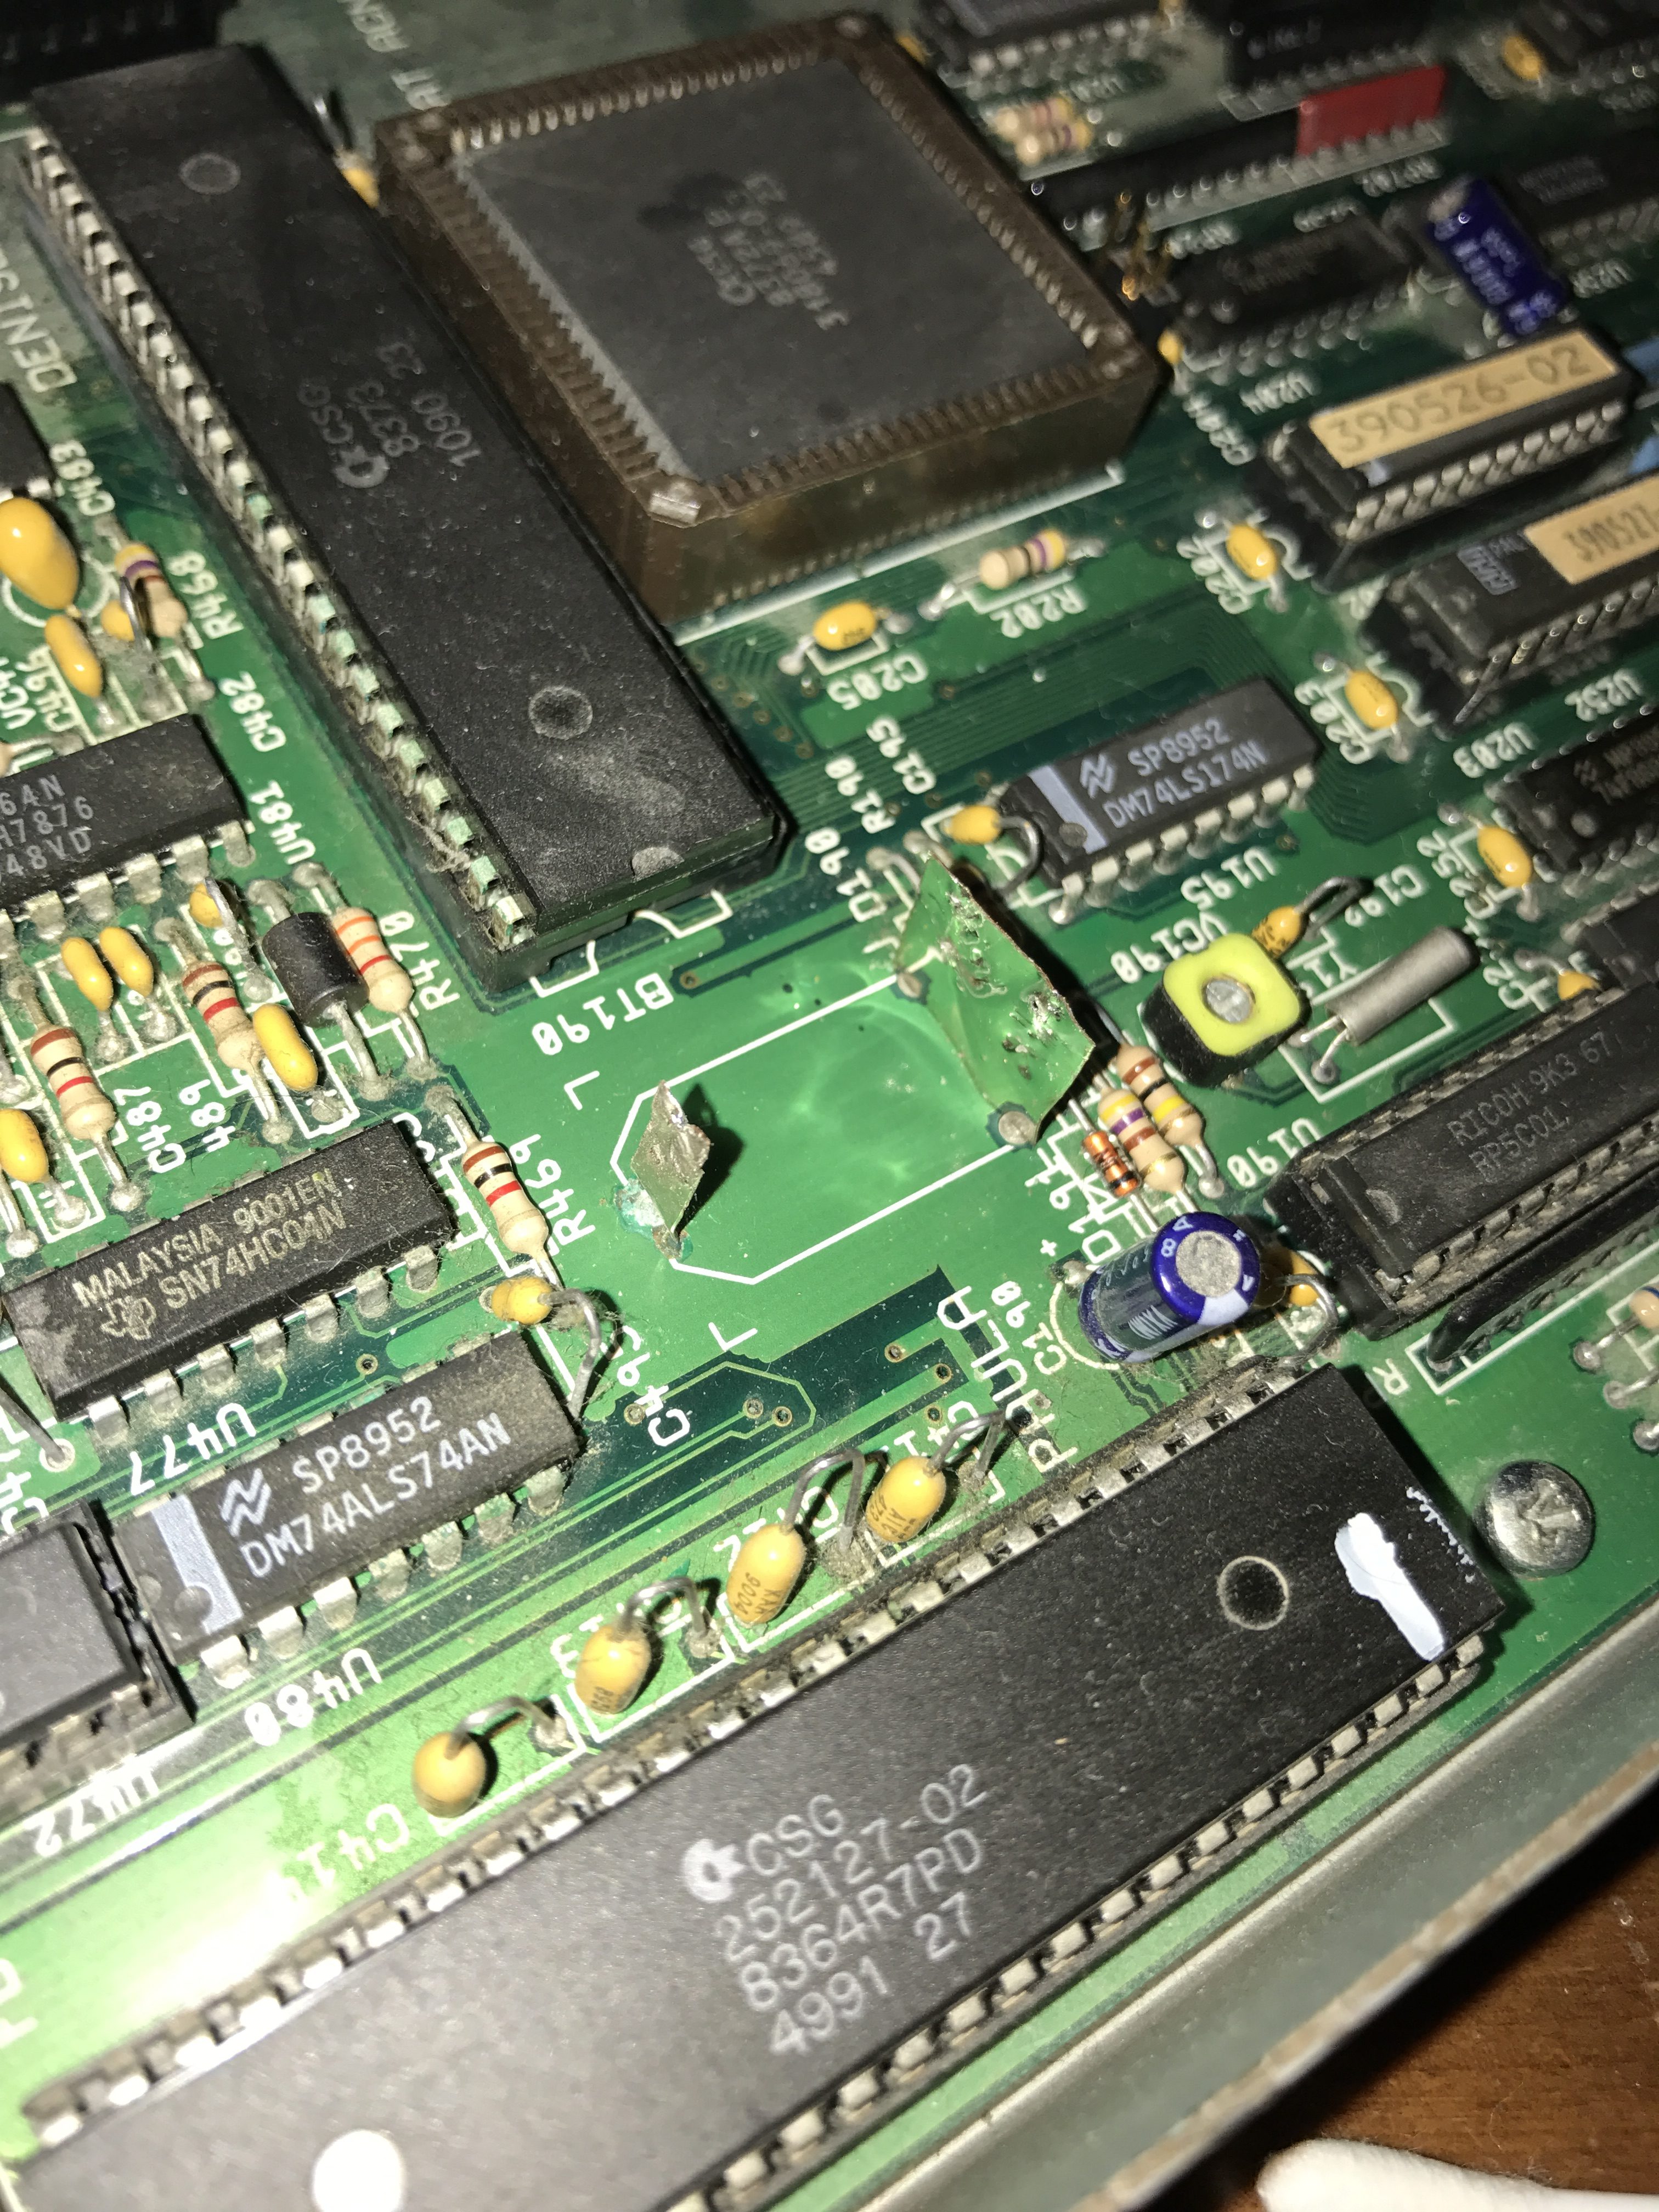
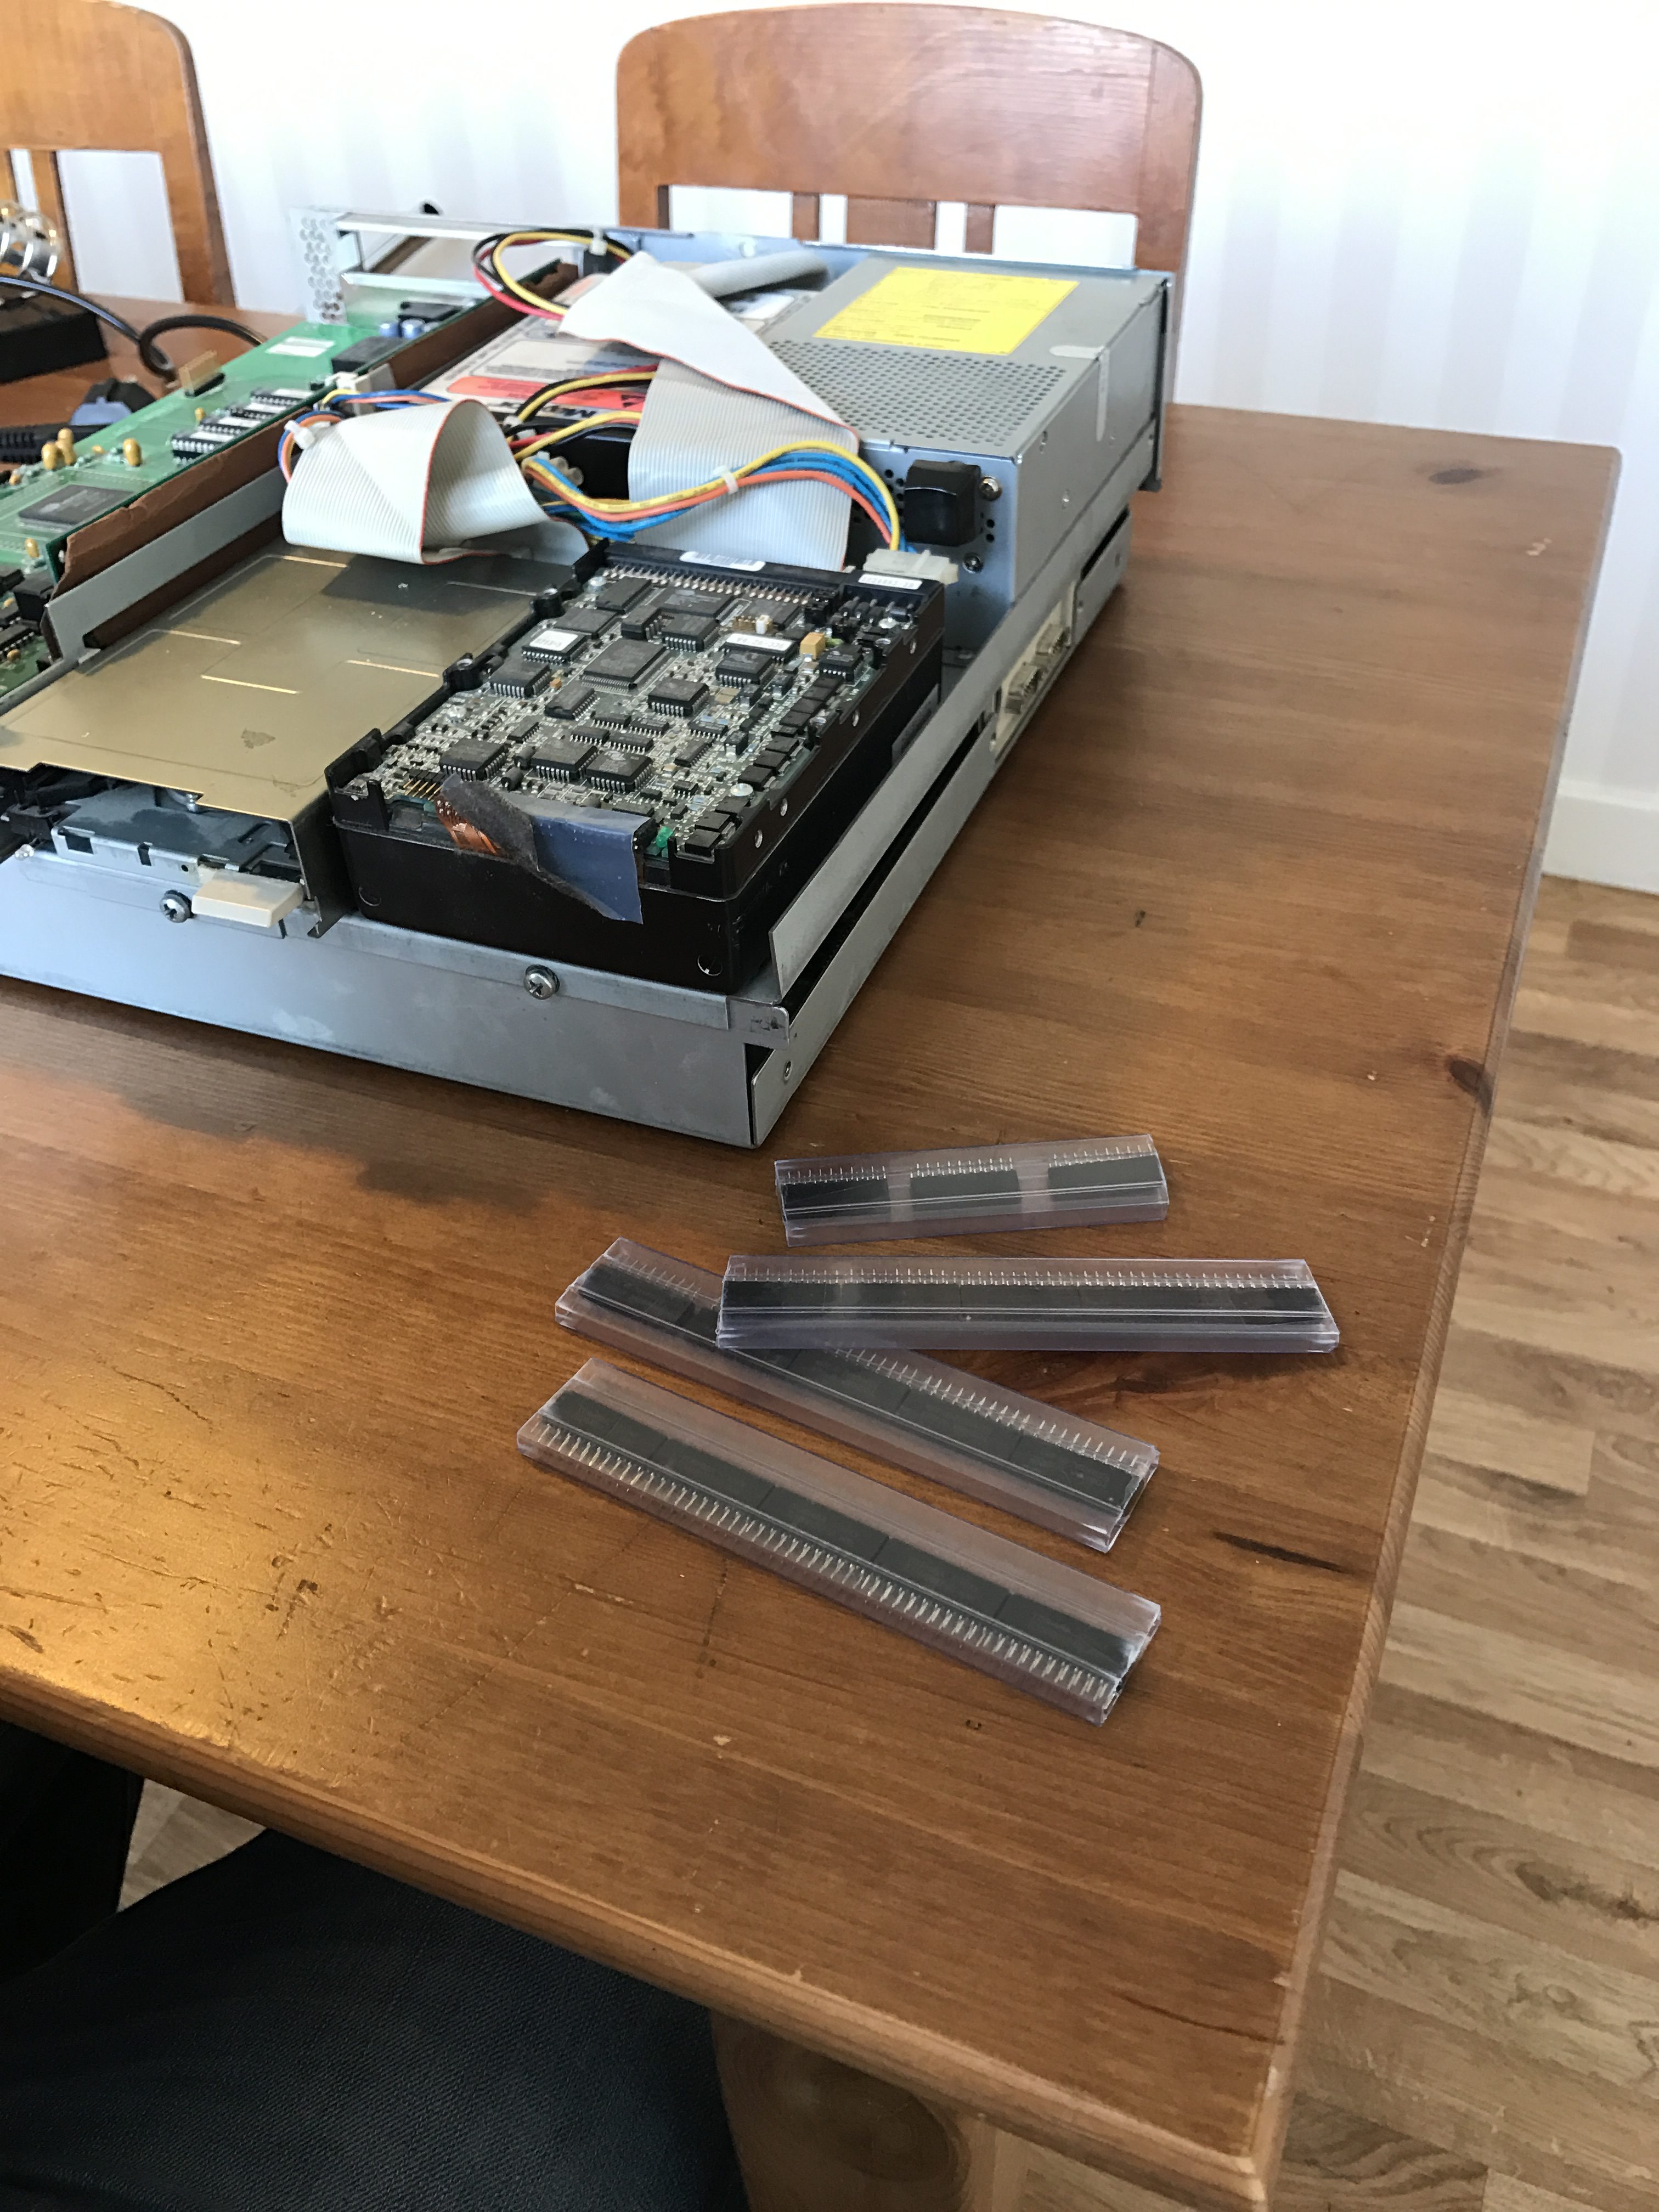
First a thorough clean of the insides, taking apart all boards and drives. The Amiga 3000 definitely has a “unique” layout with the big dock at the right side of the computer that is locked to the daughter board by plastic S-shaped brackets making it anything but easy to disassemble. After that I took out the battery, using a screwdriver to bend it off it’s mounting pads. After that everything on the board was cleaned with cotton pads and isopropyl alcohol.

I had ordered new ZIP chips on Ebay to upgrade on board memory (and did a heavy miscalculation to the numbers needed so I only got enough to fill half the sockets). The parts were not too expensive and brand new, shipped from Hong Kong. It took me three weeks to get them though. The removal of the old chips were simple and installation of the new ones quite OK as well. Make sure t0 be firm but gentle, I had one chip where the legs got so badly bent I had to abandon that (luckily I had ordered two “extras”). The board has later been populated with the remaining 8 MB to a total of 16 MB on board RAM.
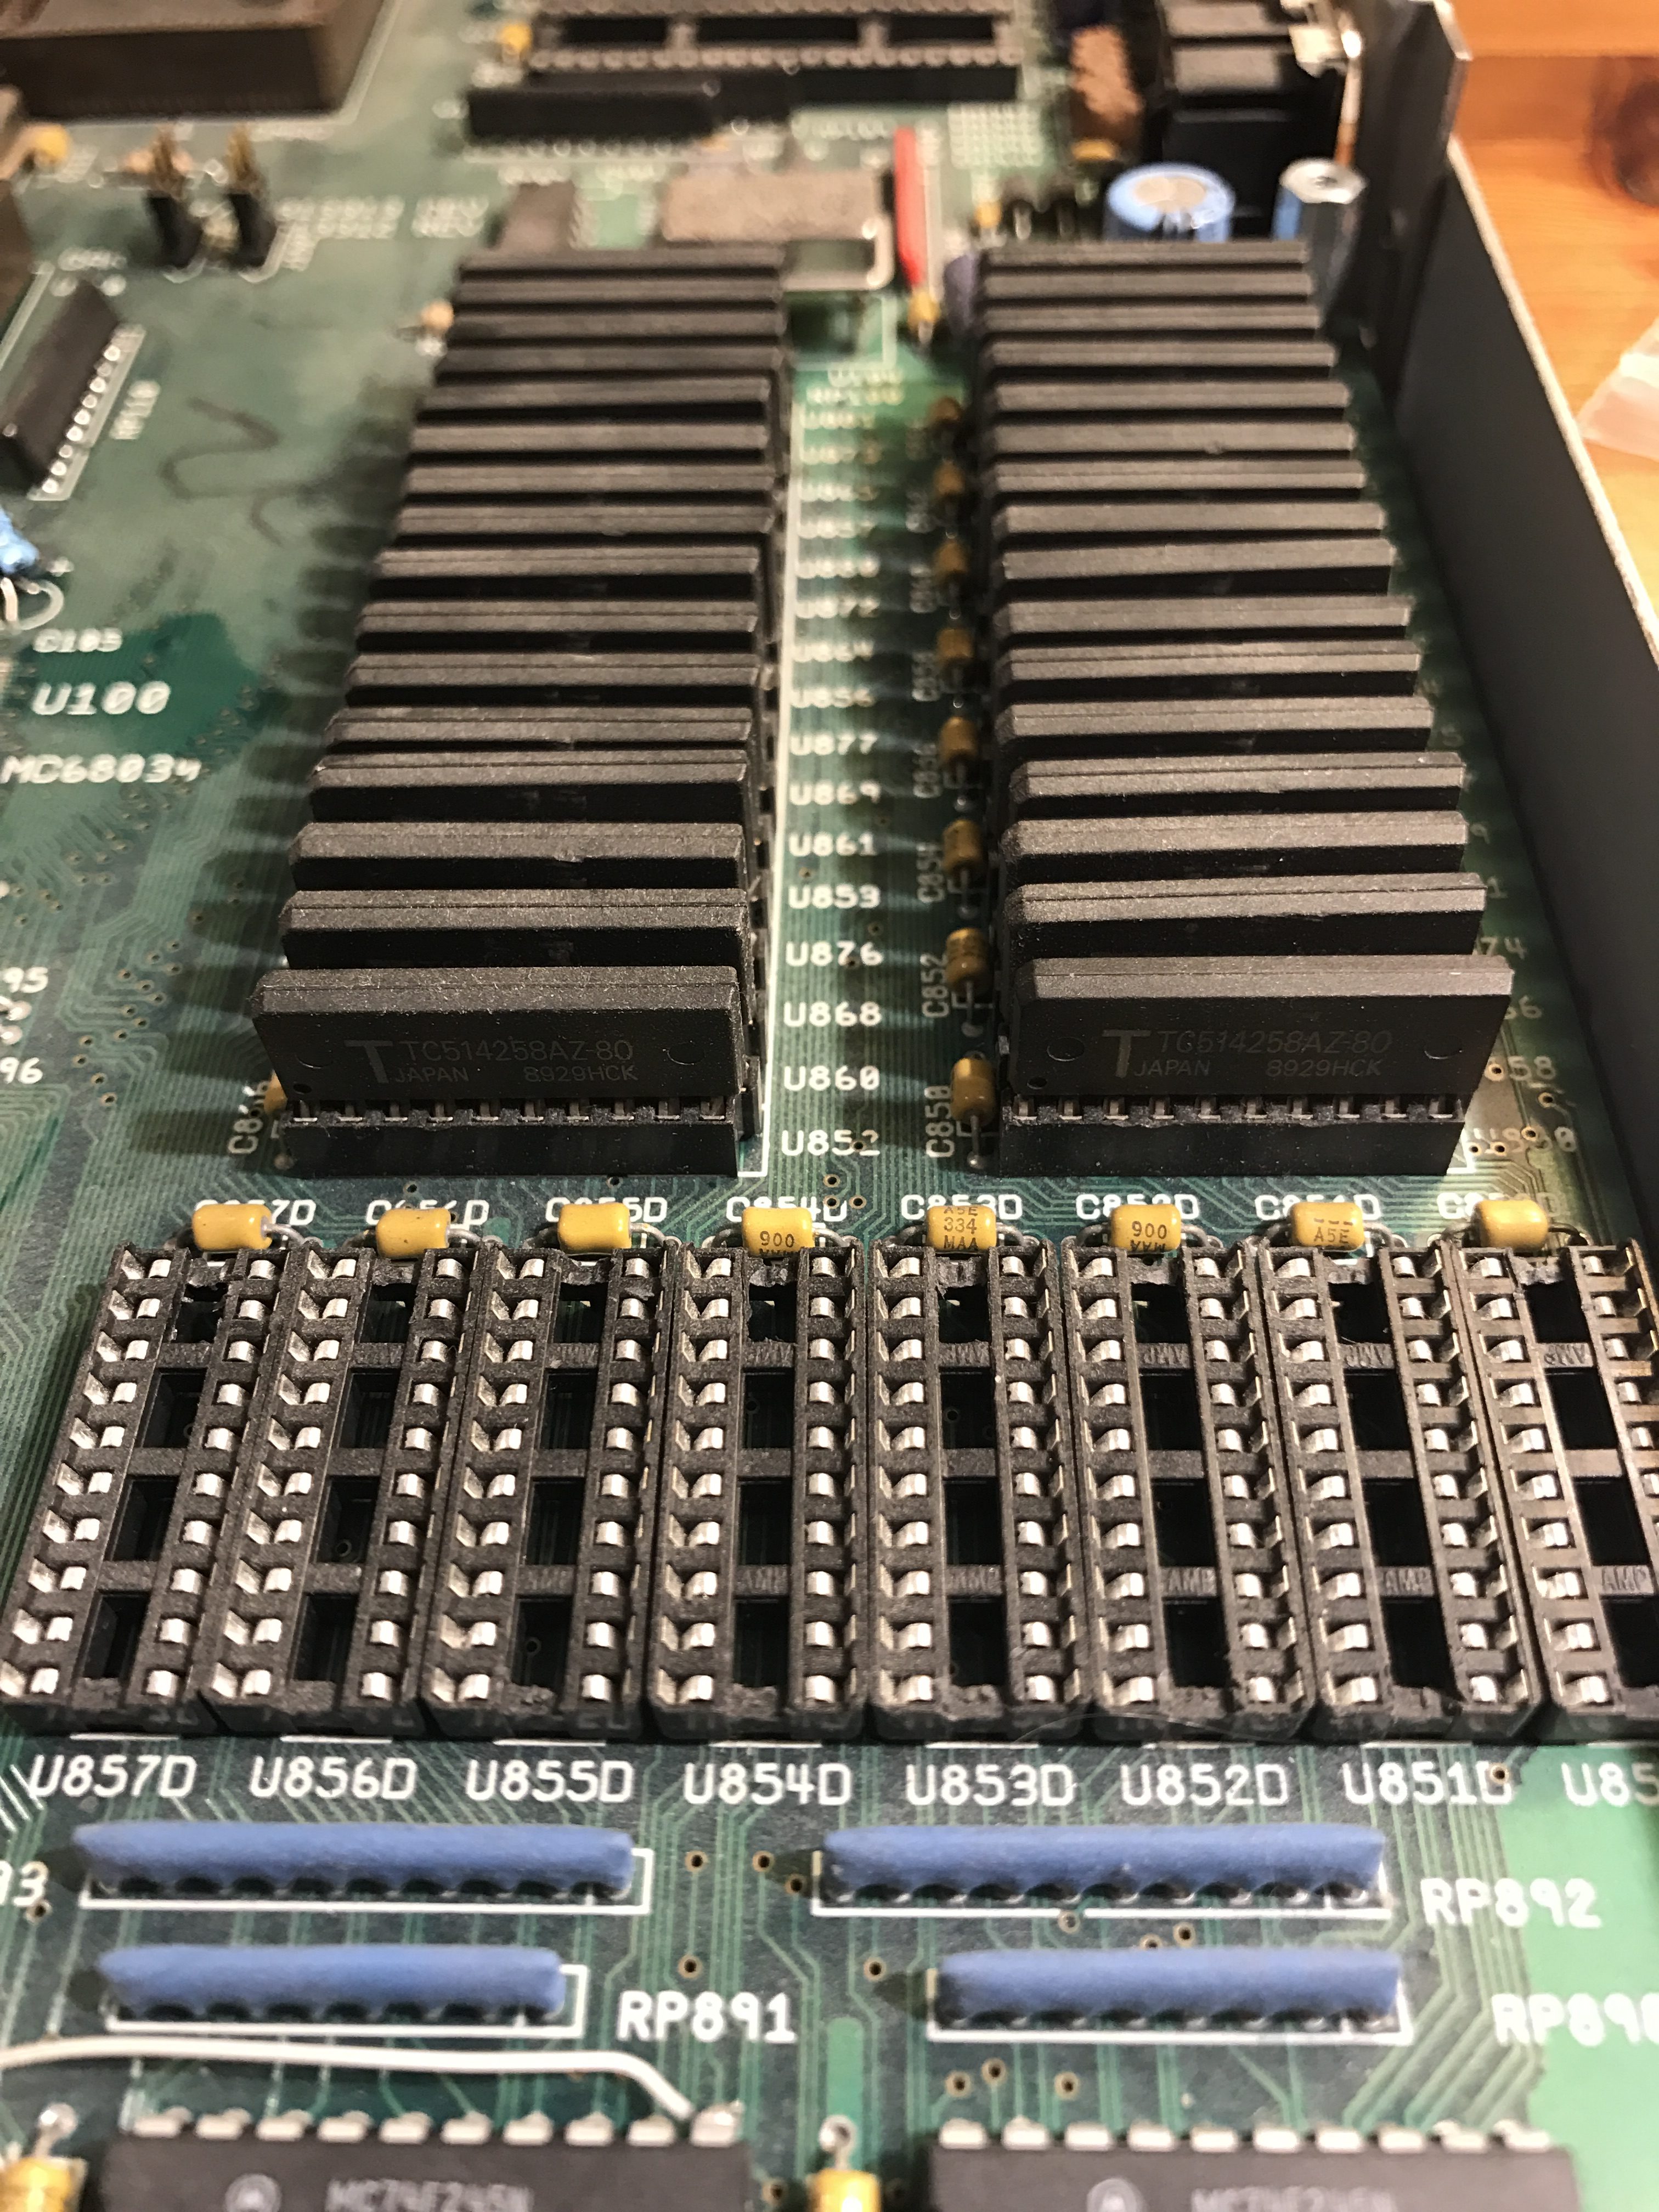
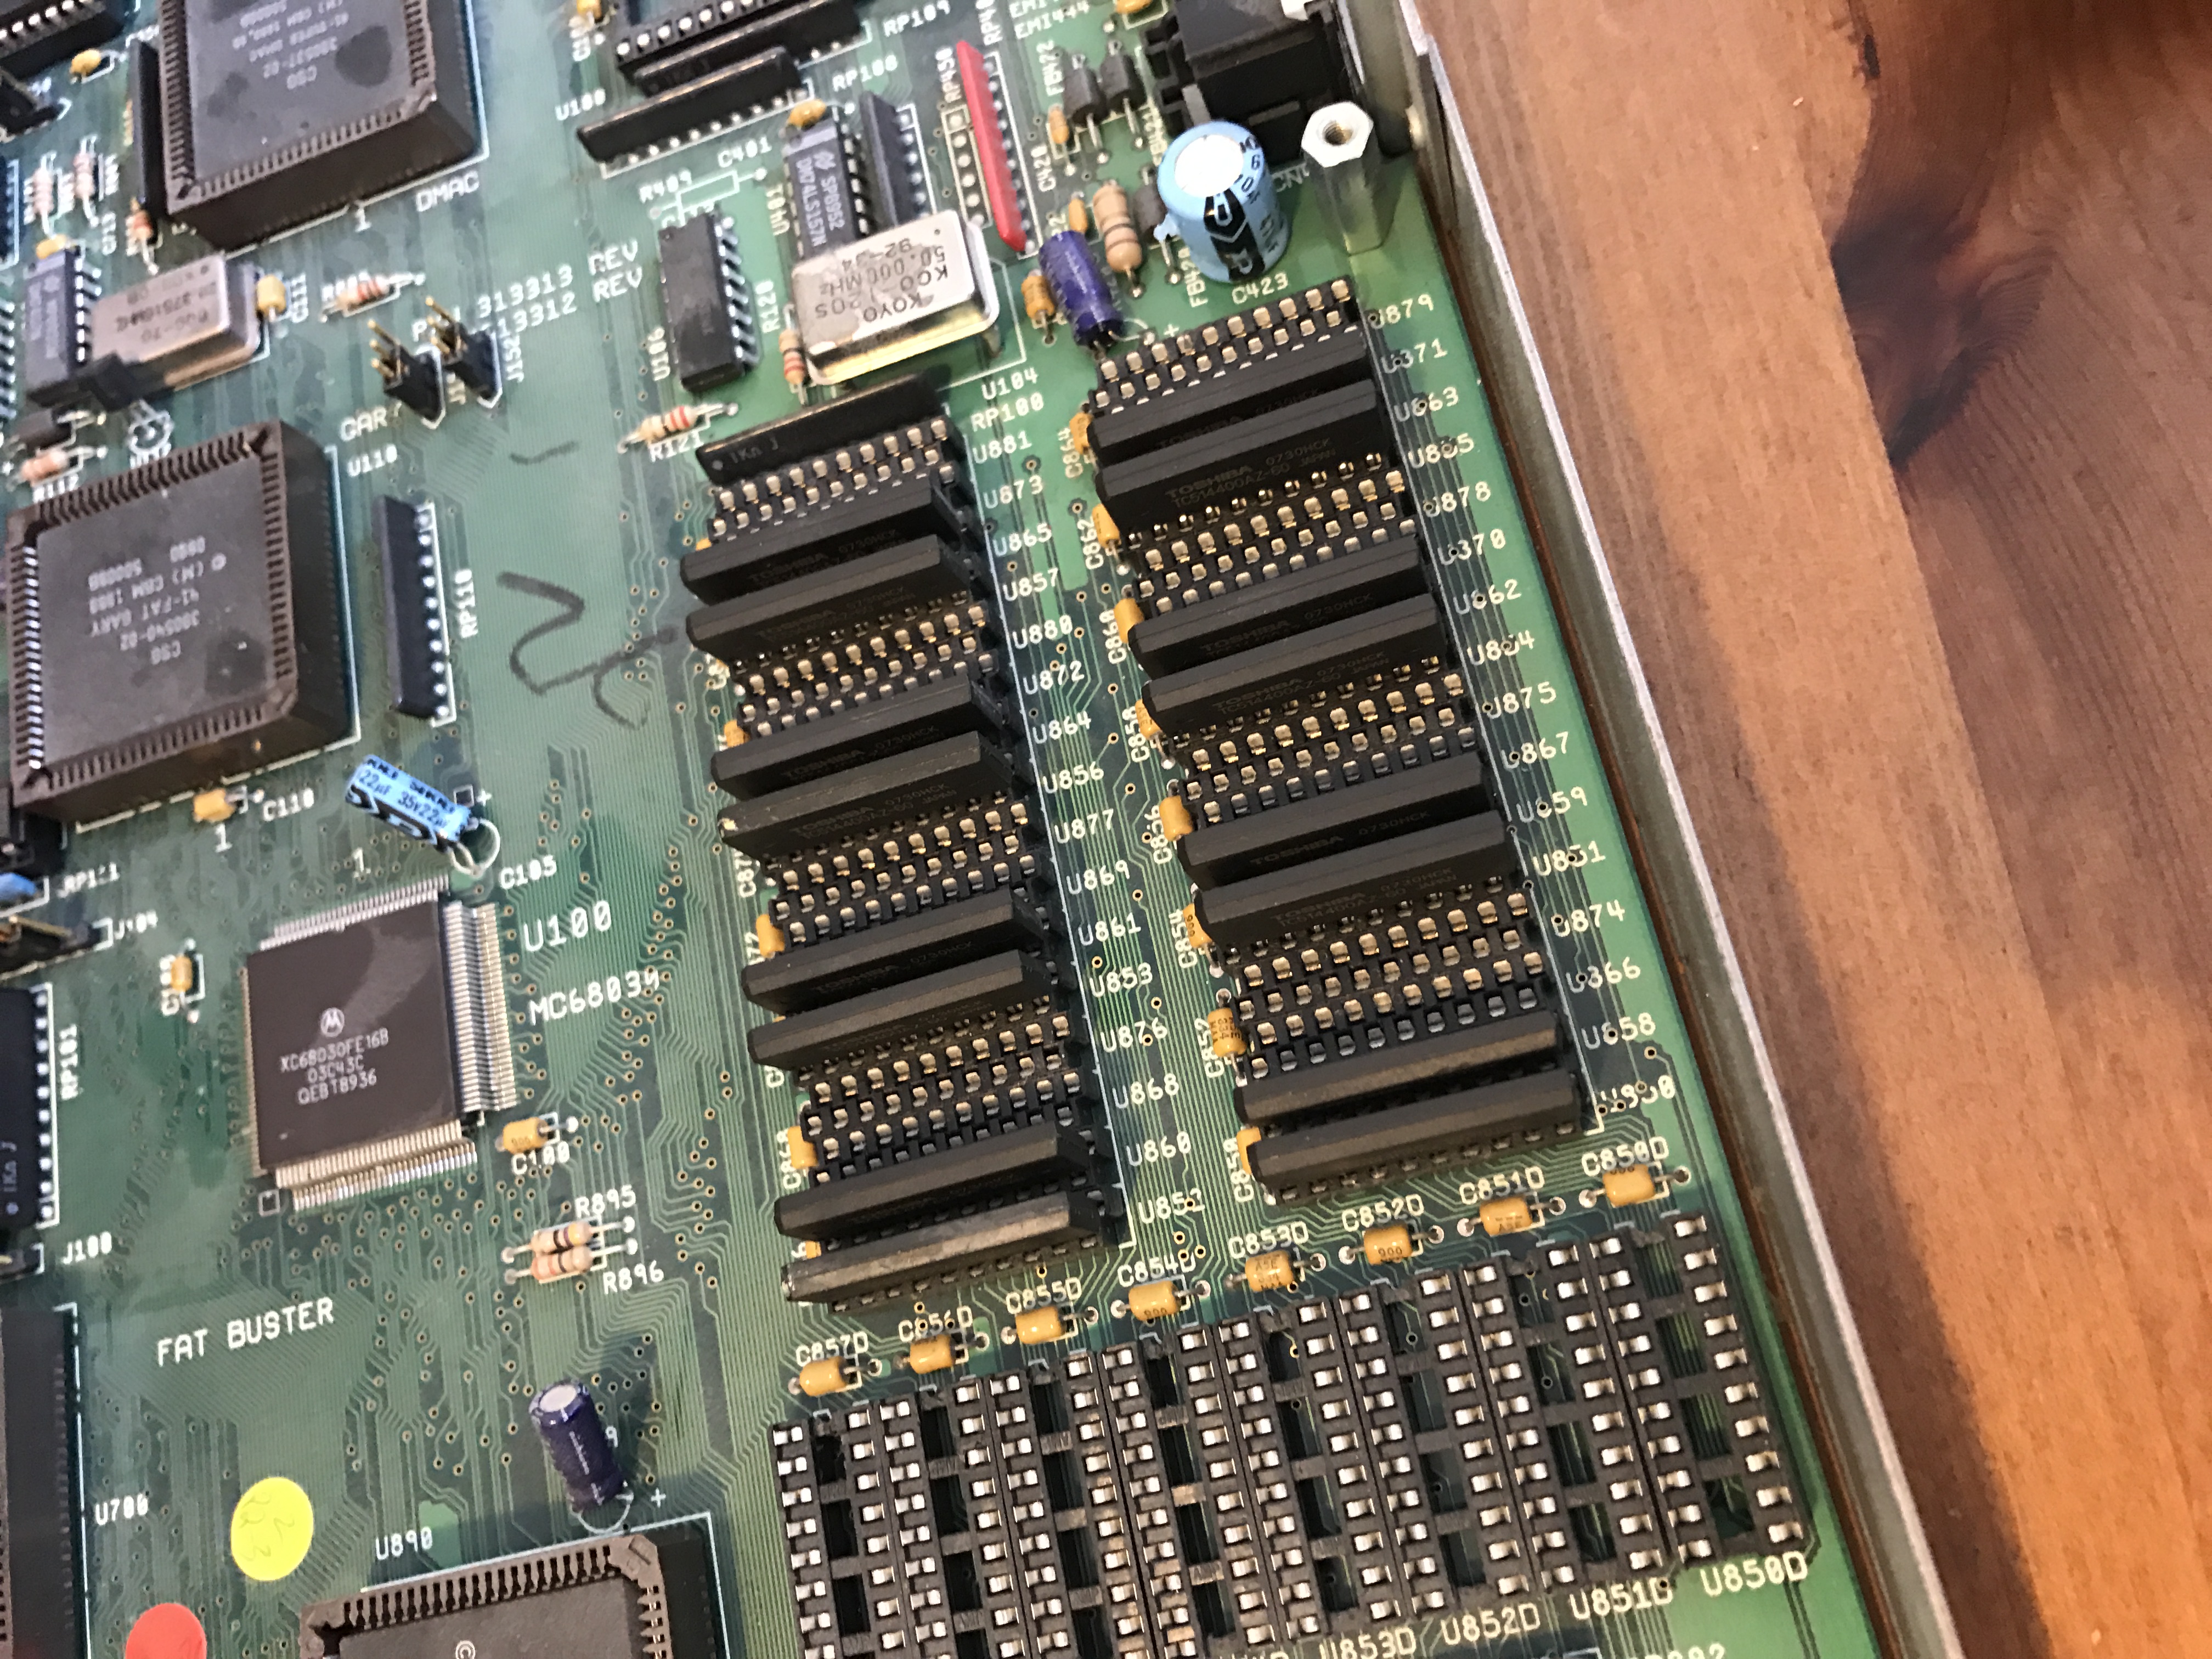
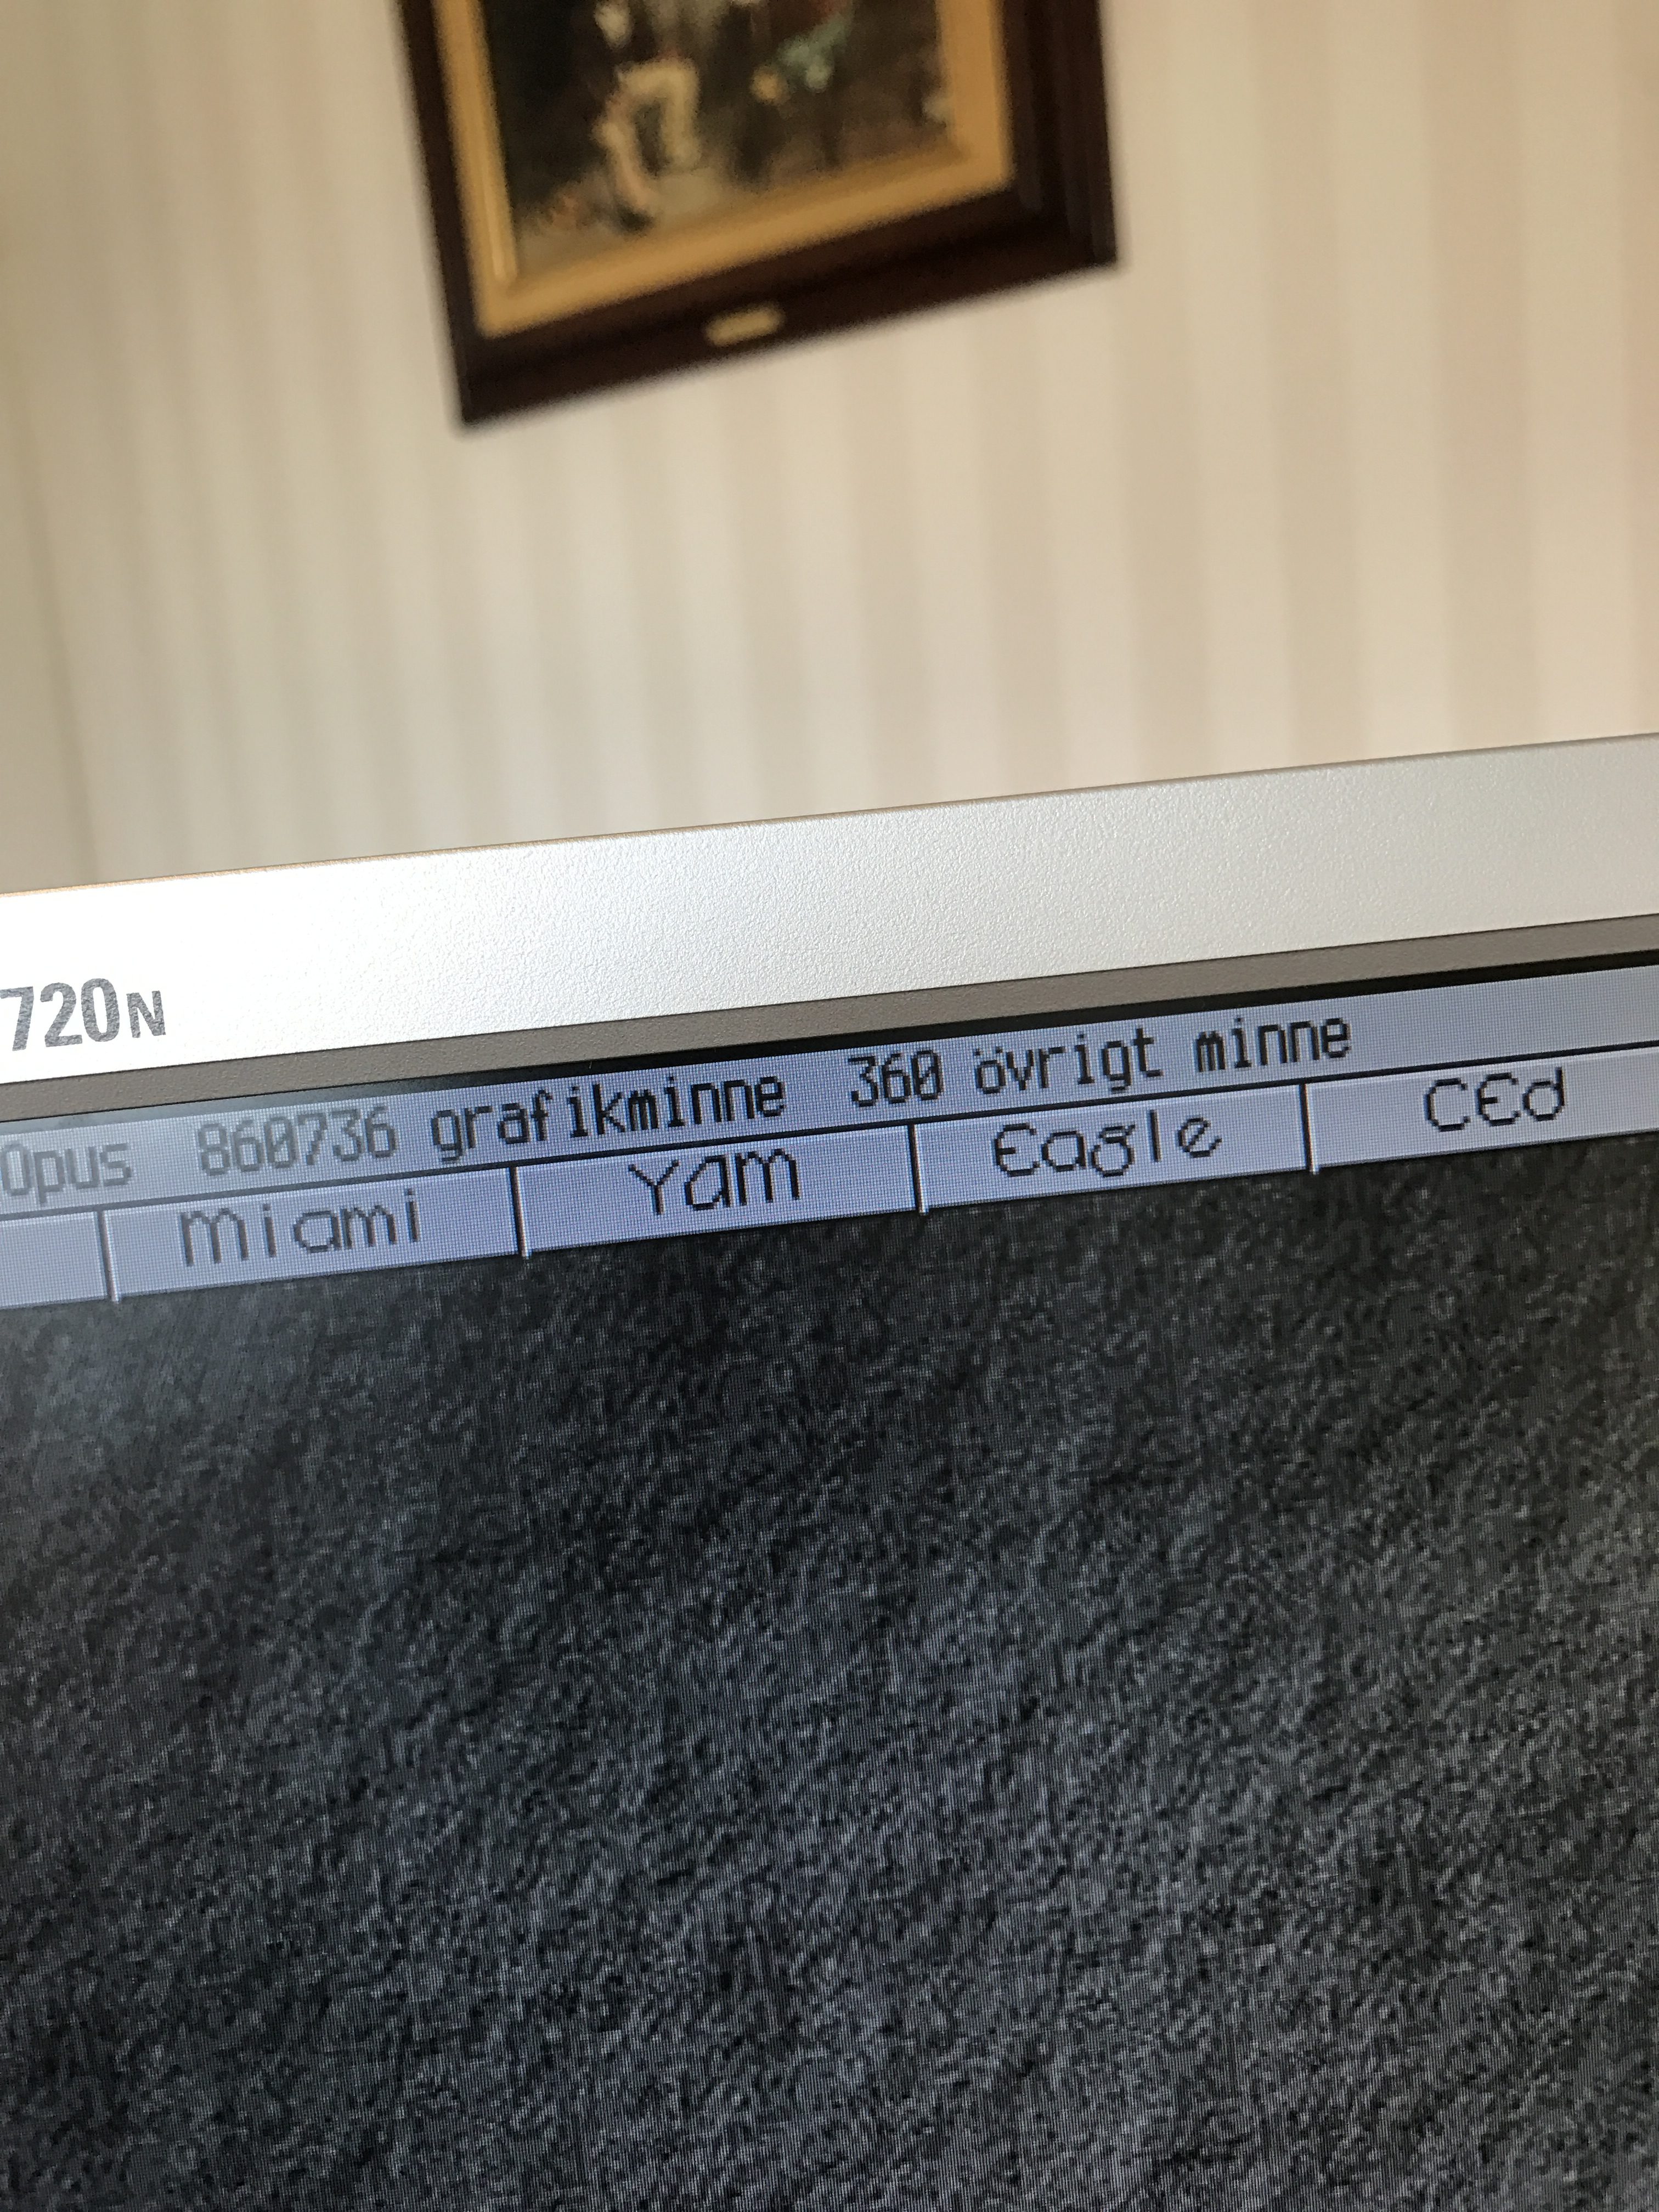
Upon the first boot I got a bit spooked as I didn’t get comprehensible RAM amount in Workbench. It took me some time to realize that I hadn’t done my homework enough and changed the jumper J852 to accept the new 1 MB x 4 sizes of the chips. Therefore I obviously only got 2 MB of RAM before changing the jumper, and by doing so I could relax again. As you can see my basic Workbench setup took about 3 MB of RAM, which obviously made using the computer for example to surf the web or basically run multiple programs (like a TCP/IP stack and AmIRC + AmFTP) a nightmare back in the days.

I resoldered a new battery in replacement of the old one. This was just a quick- and dirty fix using a battery from the local electronics dealer (Kjell & Co) to get the clock working. I’ll make a proper replacement any day now… 😉

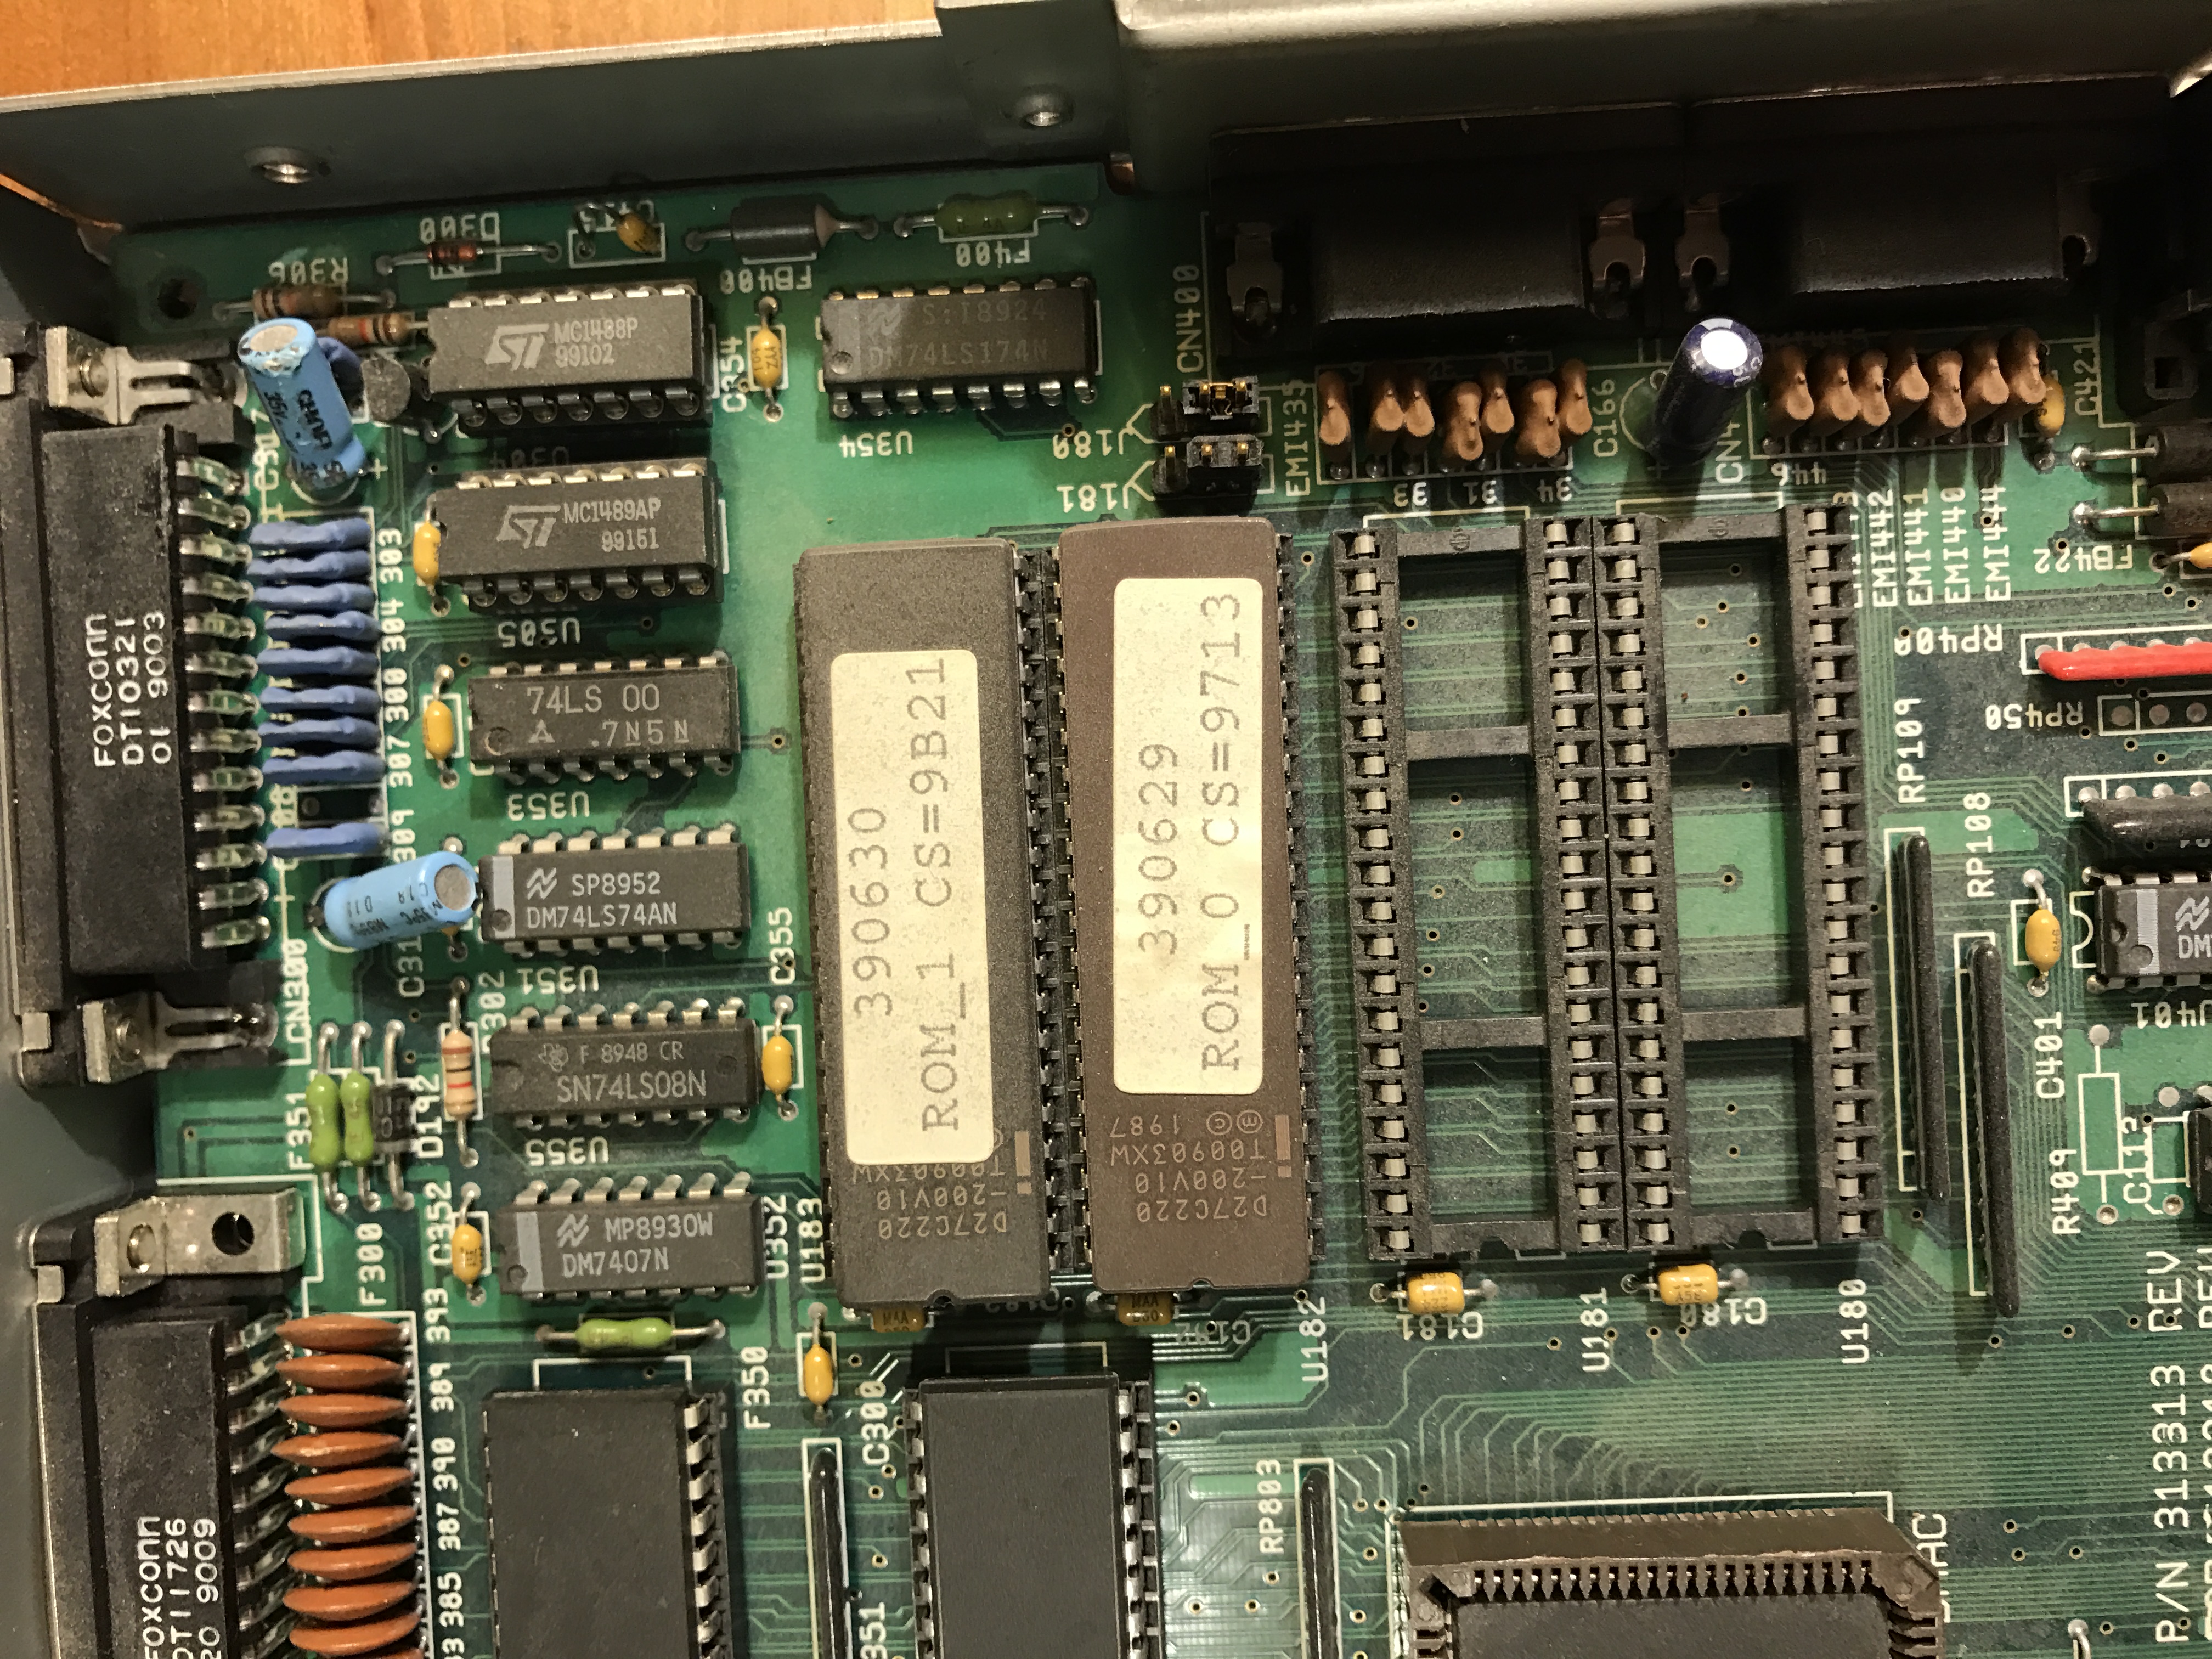
The Kickstart ROM wasn’t technically needed to be replaced, but for one thing I didn’t want to spend 512 KB of precious Fast-RAM on softkicking, and also it felt a lot more solid to use a proper 3.1 ROM. My particular model of A3000 uses the rear two sockets for kickstart ROMs. There are numerous variations to this, a few models also use a ROM tower – a special “hack” from Commodore using an extra board between the sockets and ROM chips.
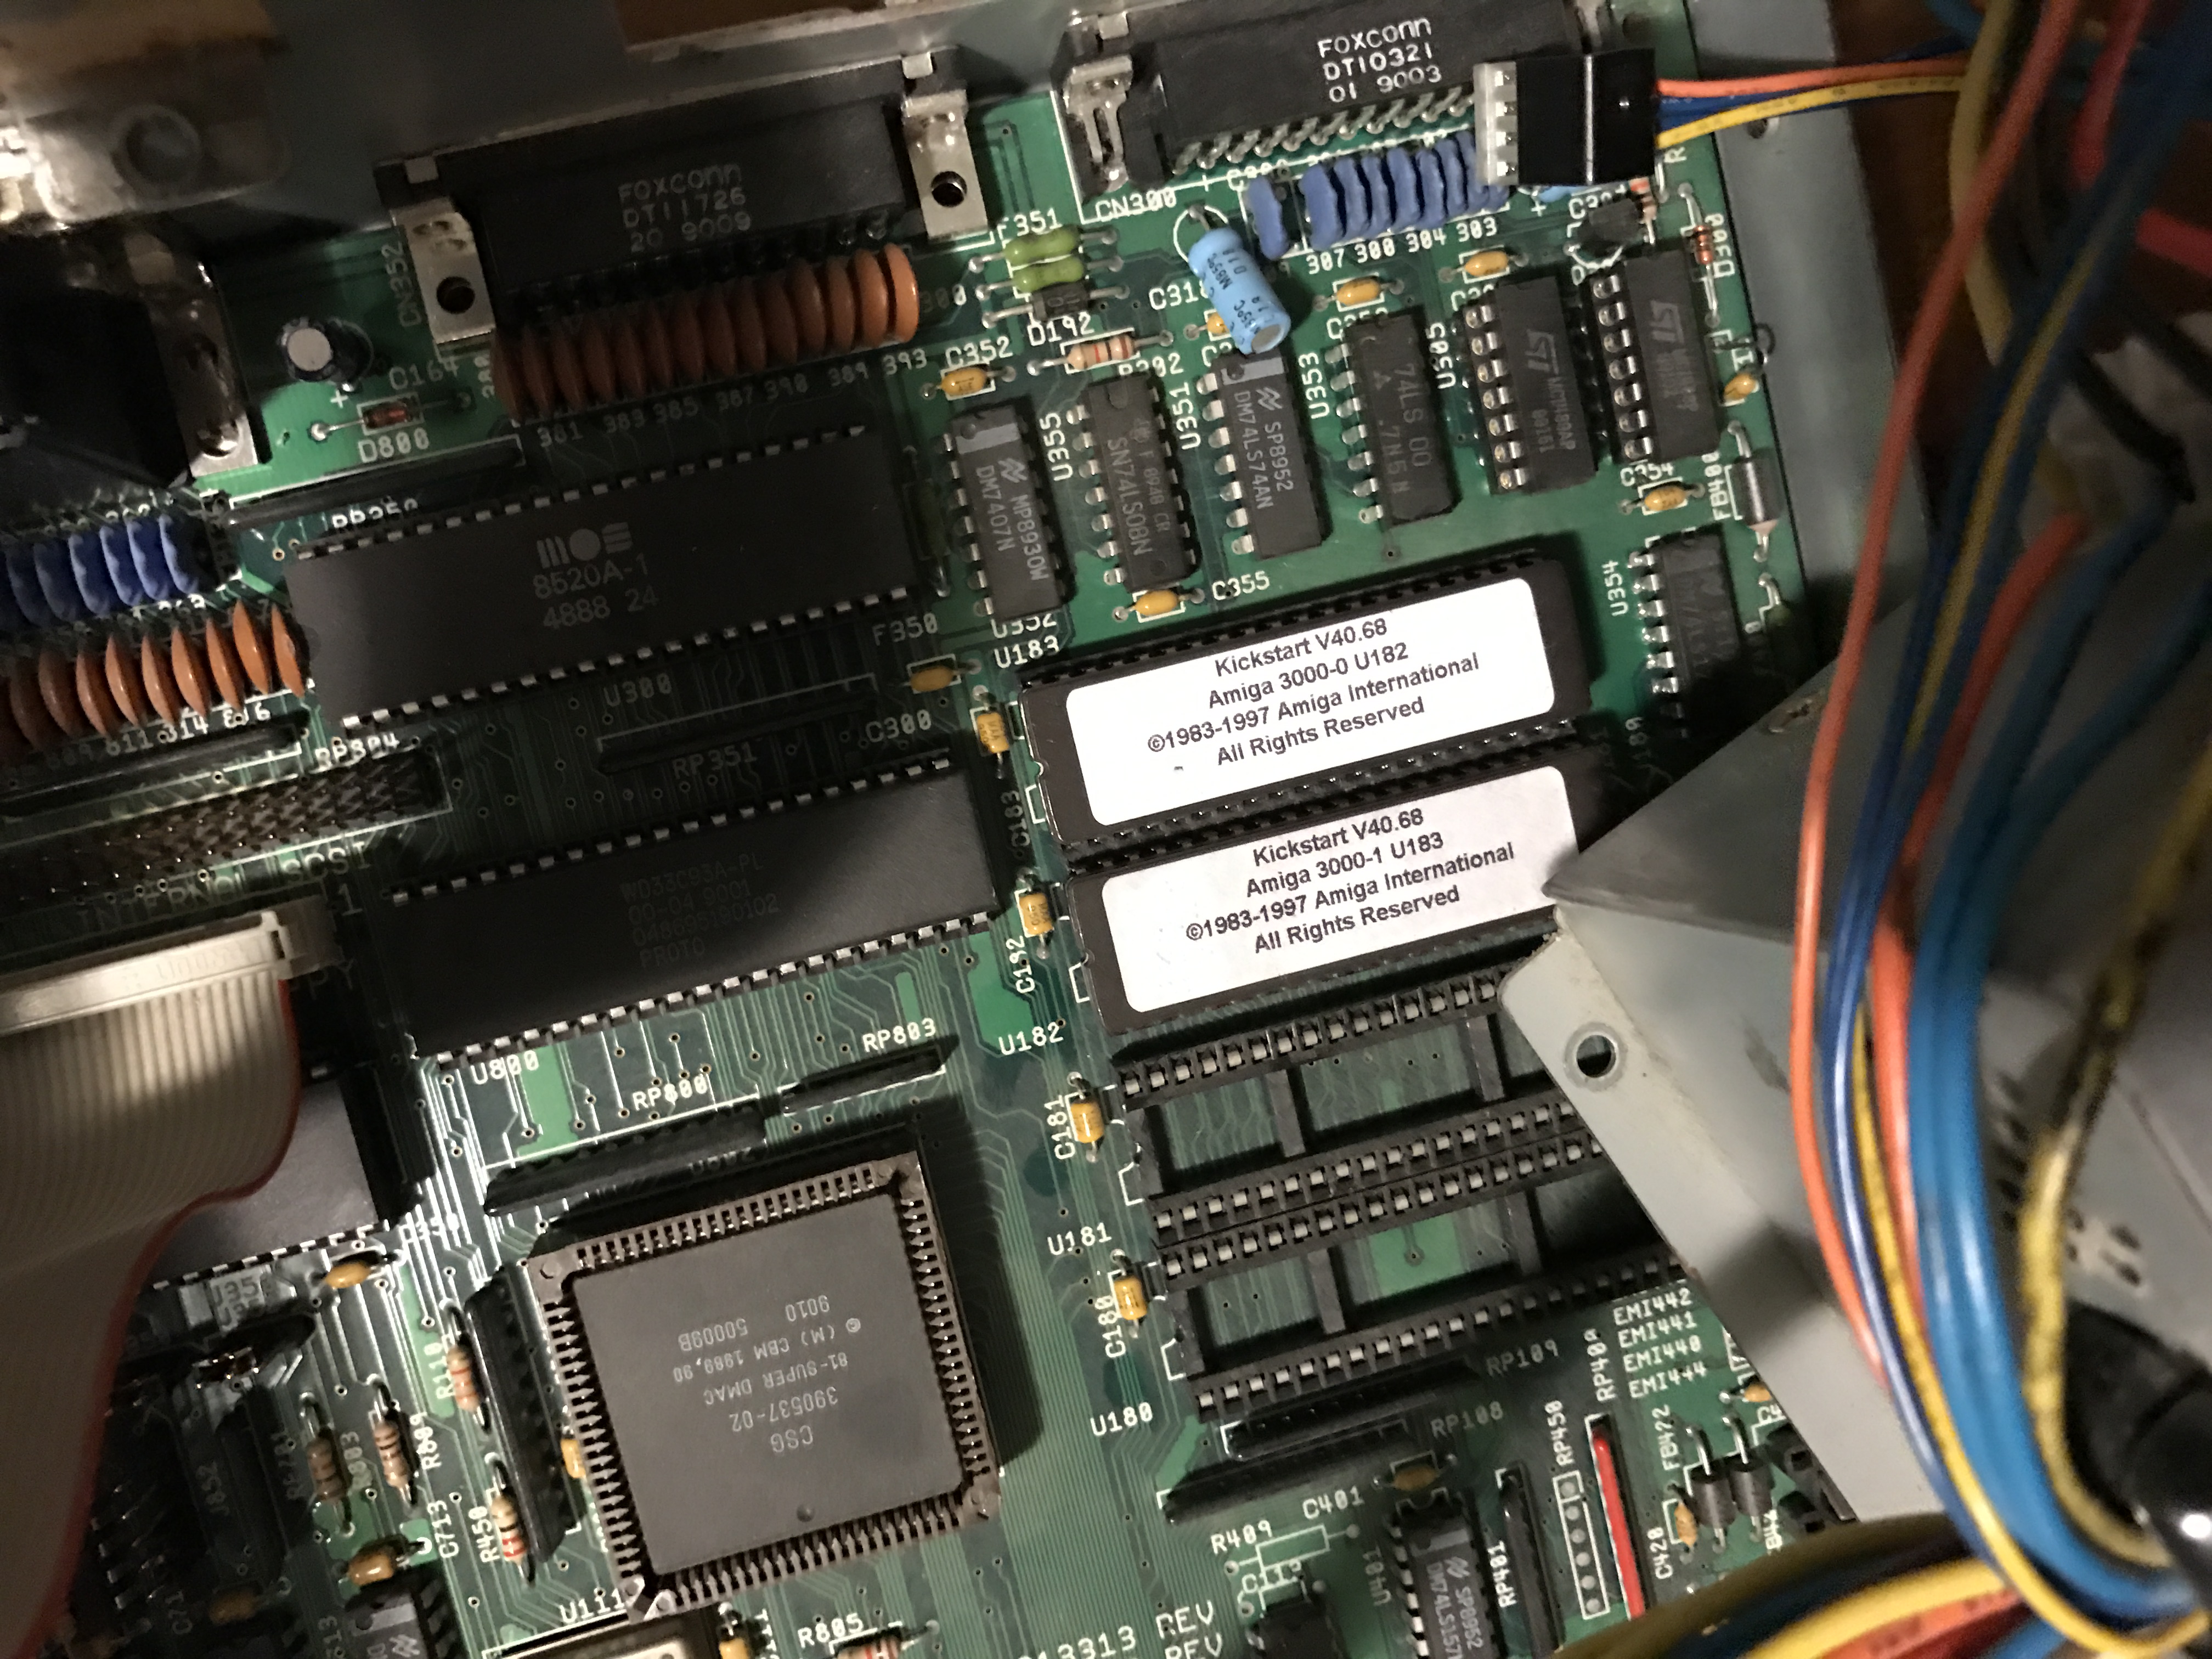
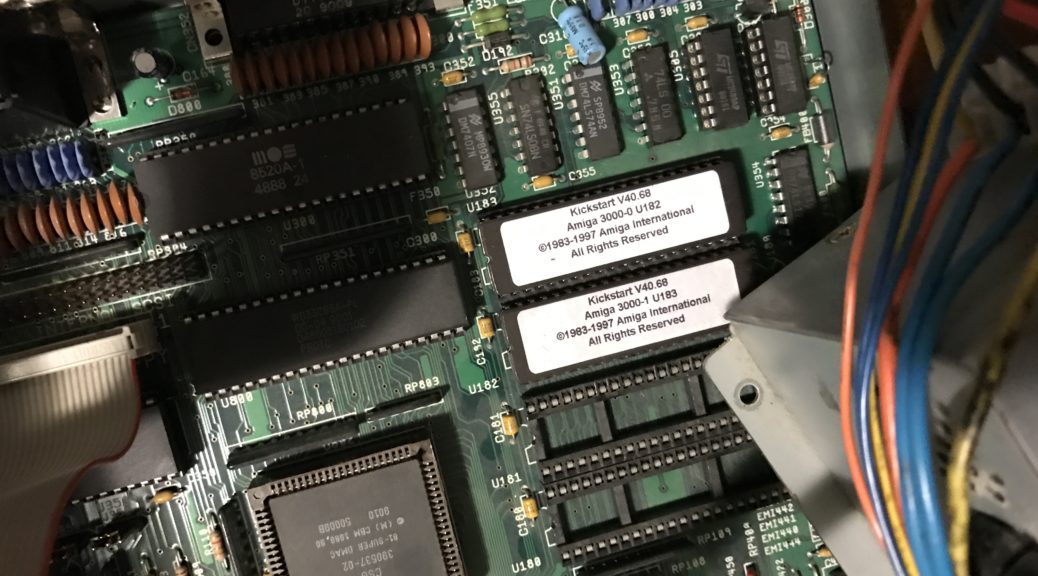
I had ordered a set of Amiga 3000 ROM chips from Amigakit that I couldn’t get to work. They were labeled U180 and U181 which unfortunately were not the sockets that my computer used. I got good help from their support and was offered to return the chips. I instead found someone on Ebay selling 3.1 ROMs for rear sockets for A3000, and ordered them. At first I couldn’t get them to work either, until I decided to go wild and swap them to put the one labeled U182 in socket U183 and vice versa.
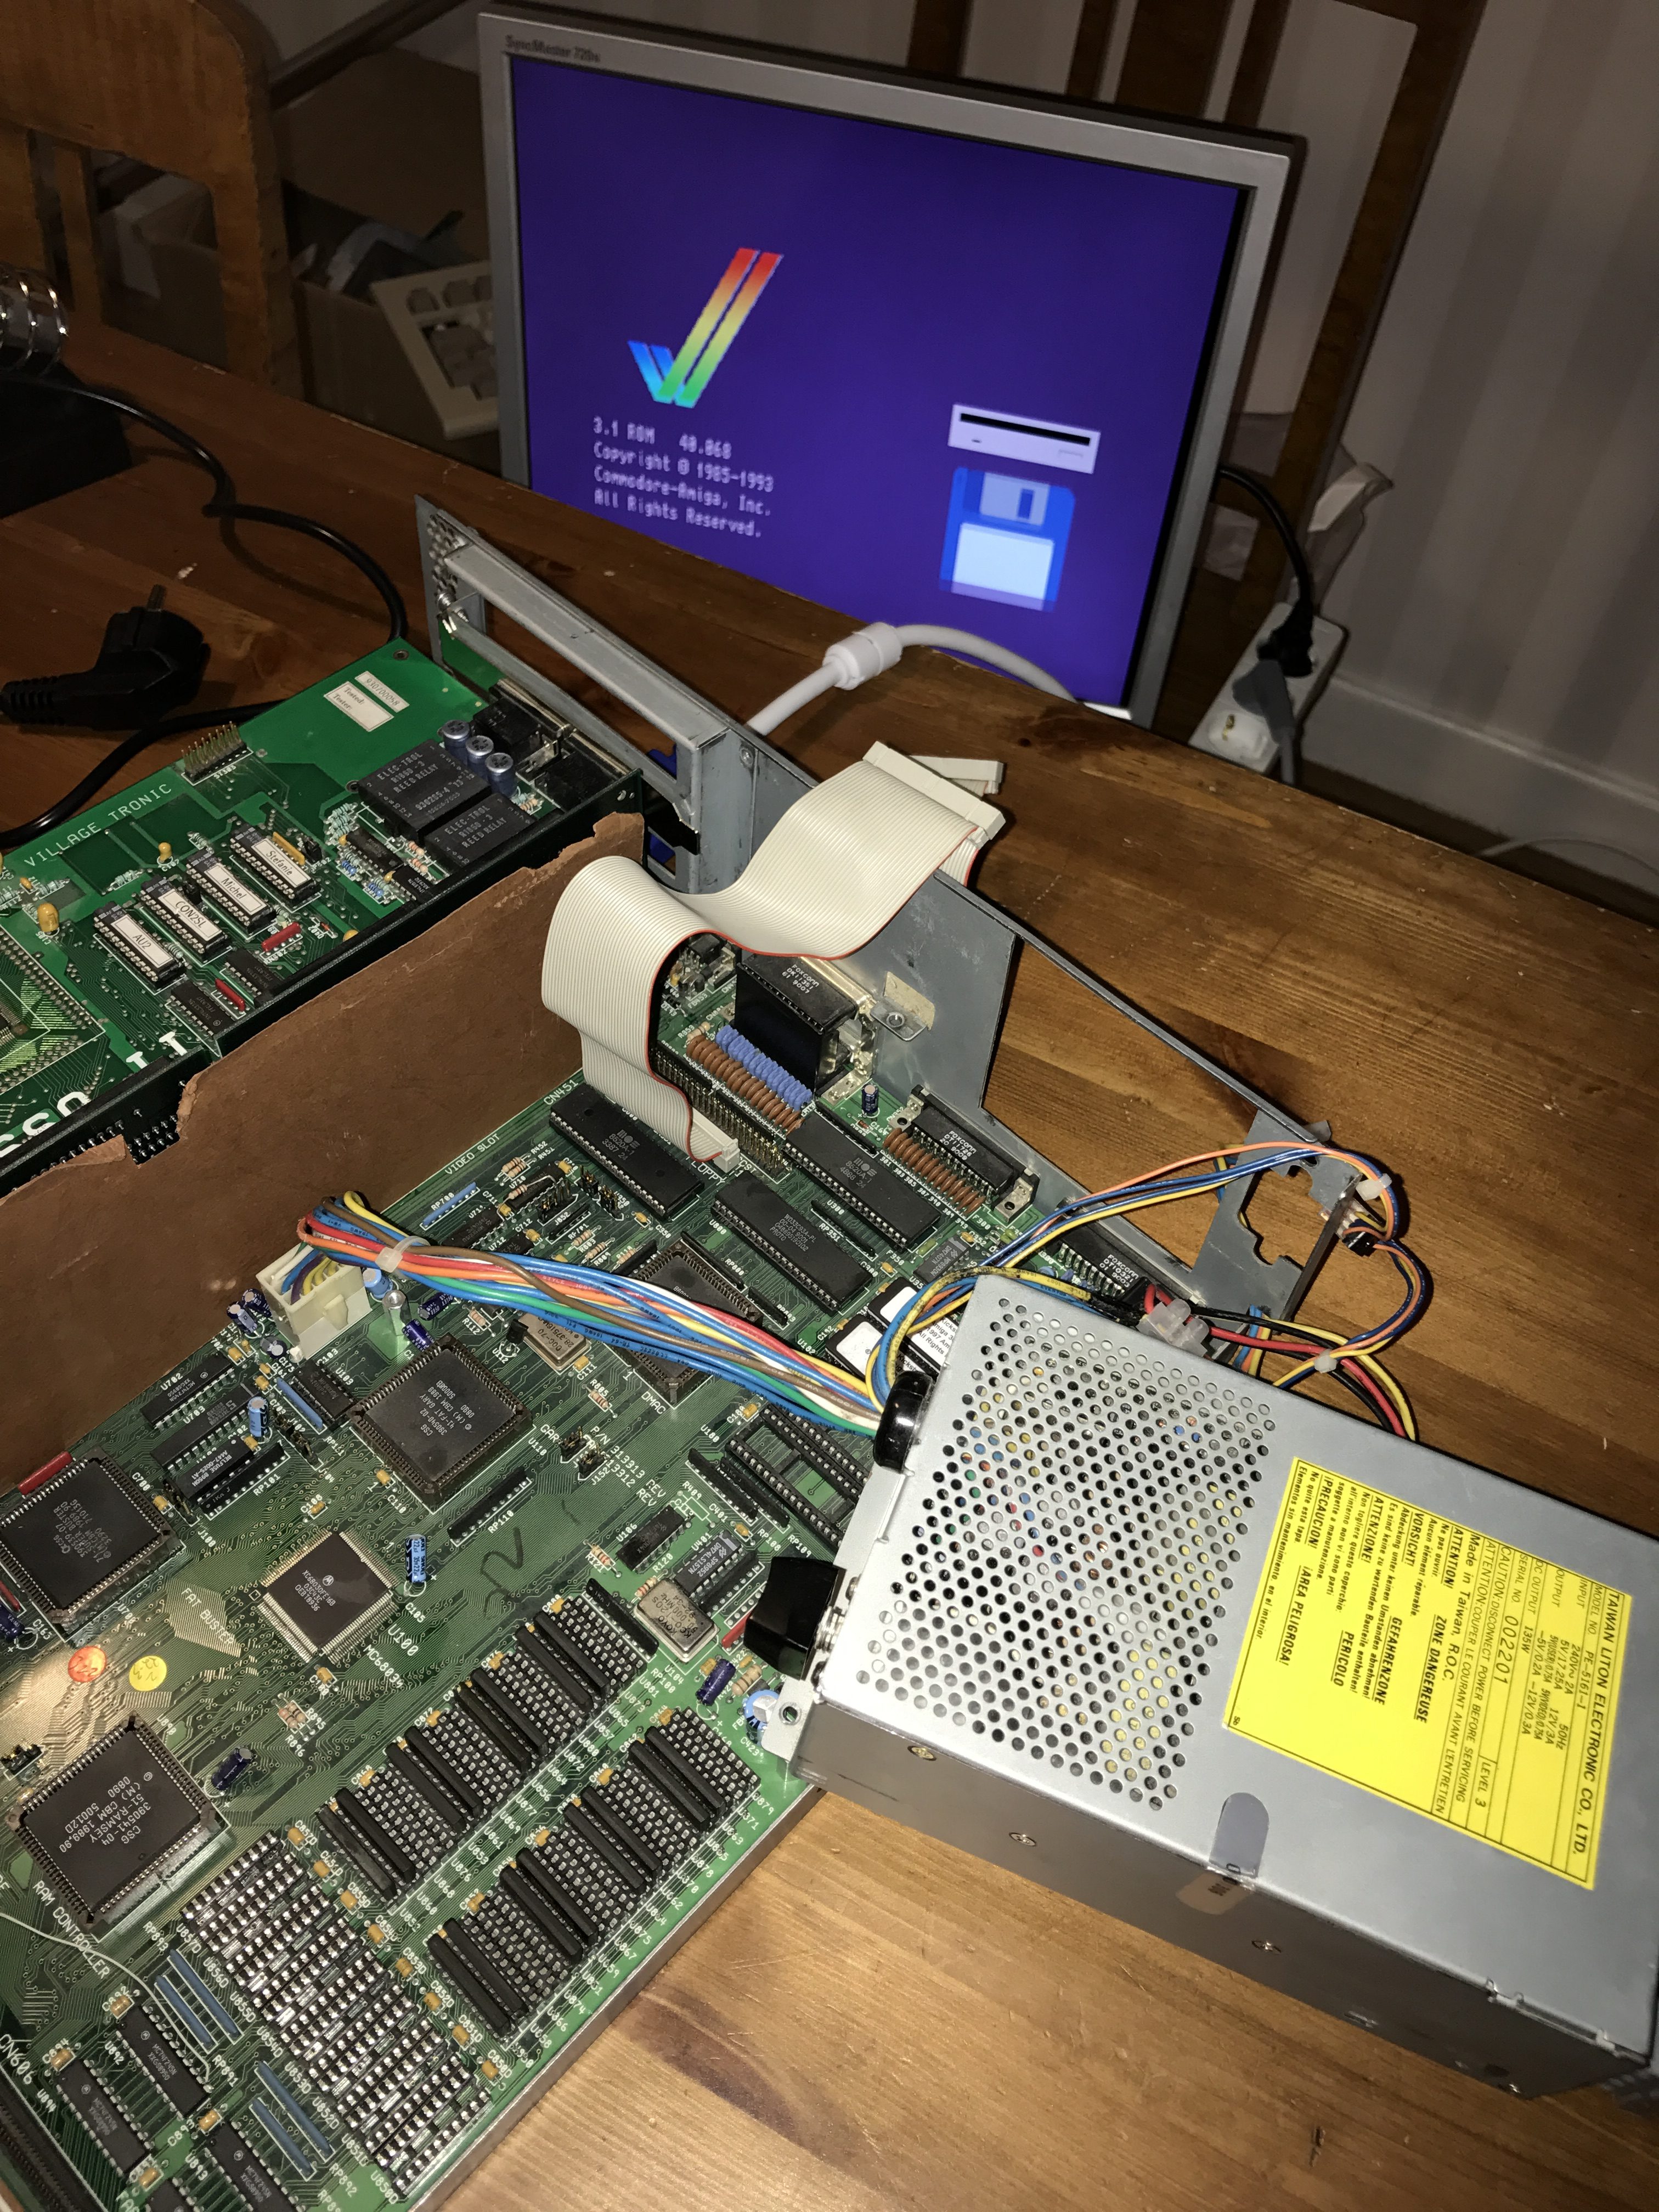
It worked. And even though I haven’t tried the Amigakit ROMs I believe that they will also work if switched so that the ROM labeled U180 is put in U183 and U181 in U182. I hope this information will help someone out there with upgrading their A3000 kickstart!