Amiga restoration part 4 – Replacing the fan and upgrading Buster chip
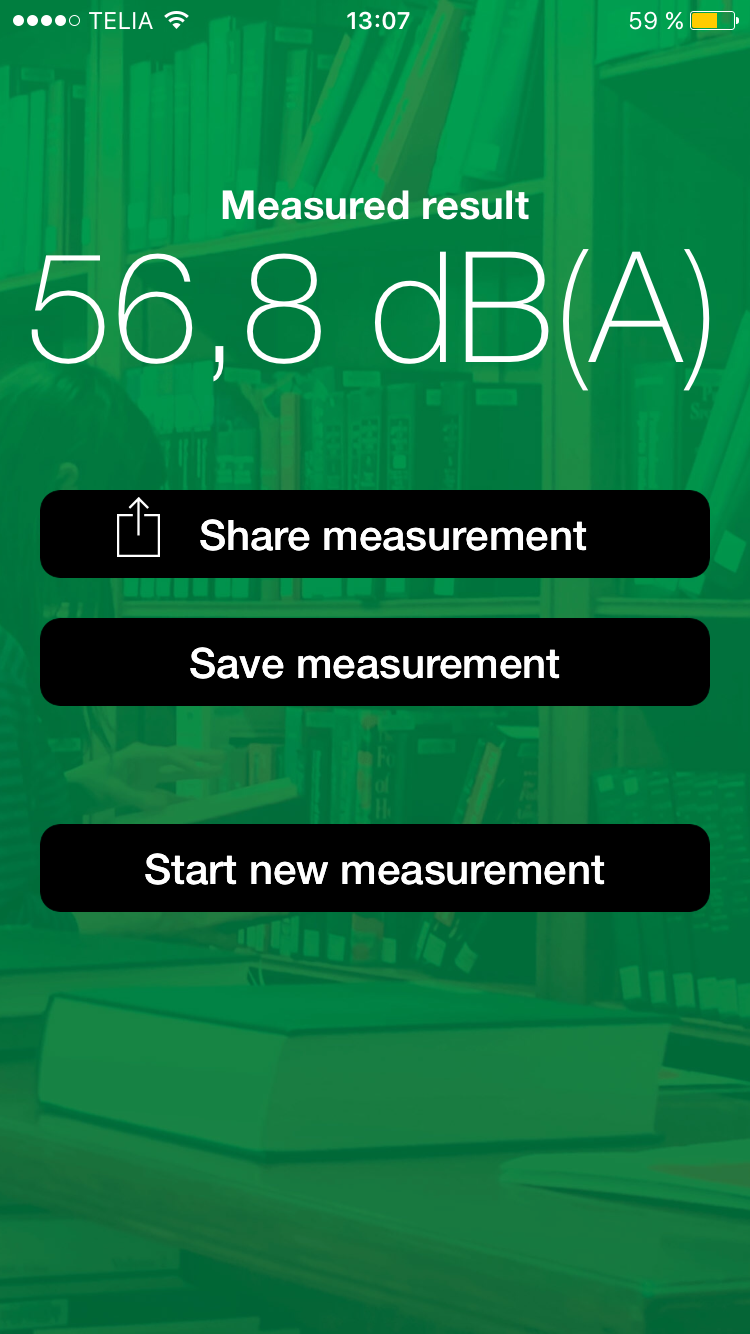
Since the Amiga now was stable and fully useable, it quickly became the most used computer at home. Something that led to an unexpected problem – the lady of the house (who is by the way a hardcore gamer and used to computer sounds) started to complain about the sound level of the PSU fan. I have to admit that it might be considered a tad annoying, but when I measured the sound I realized that it actually was quite loud…
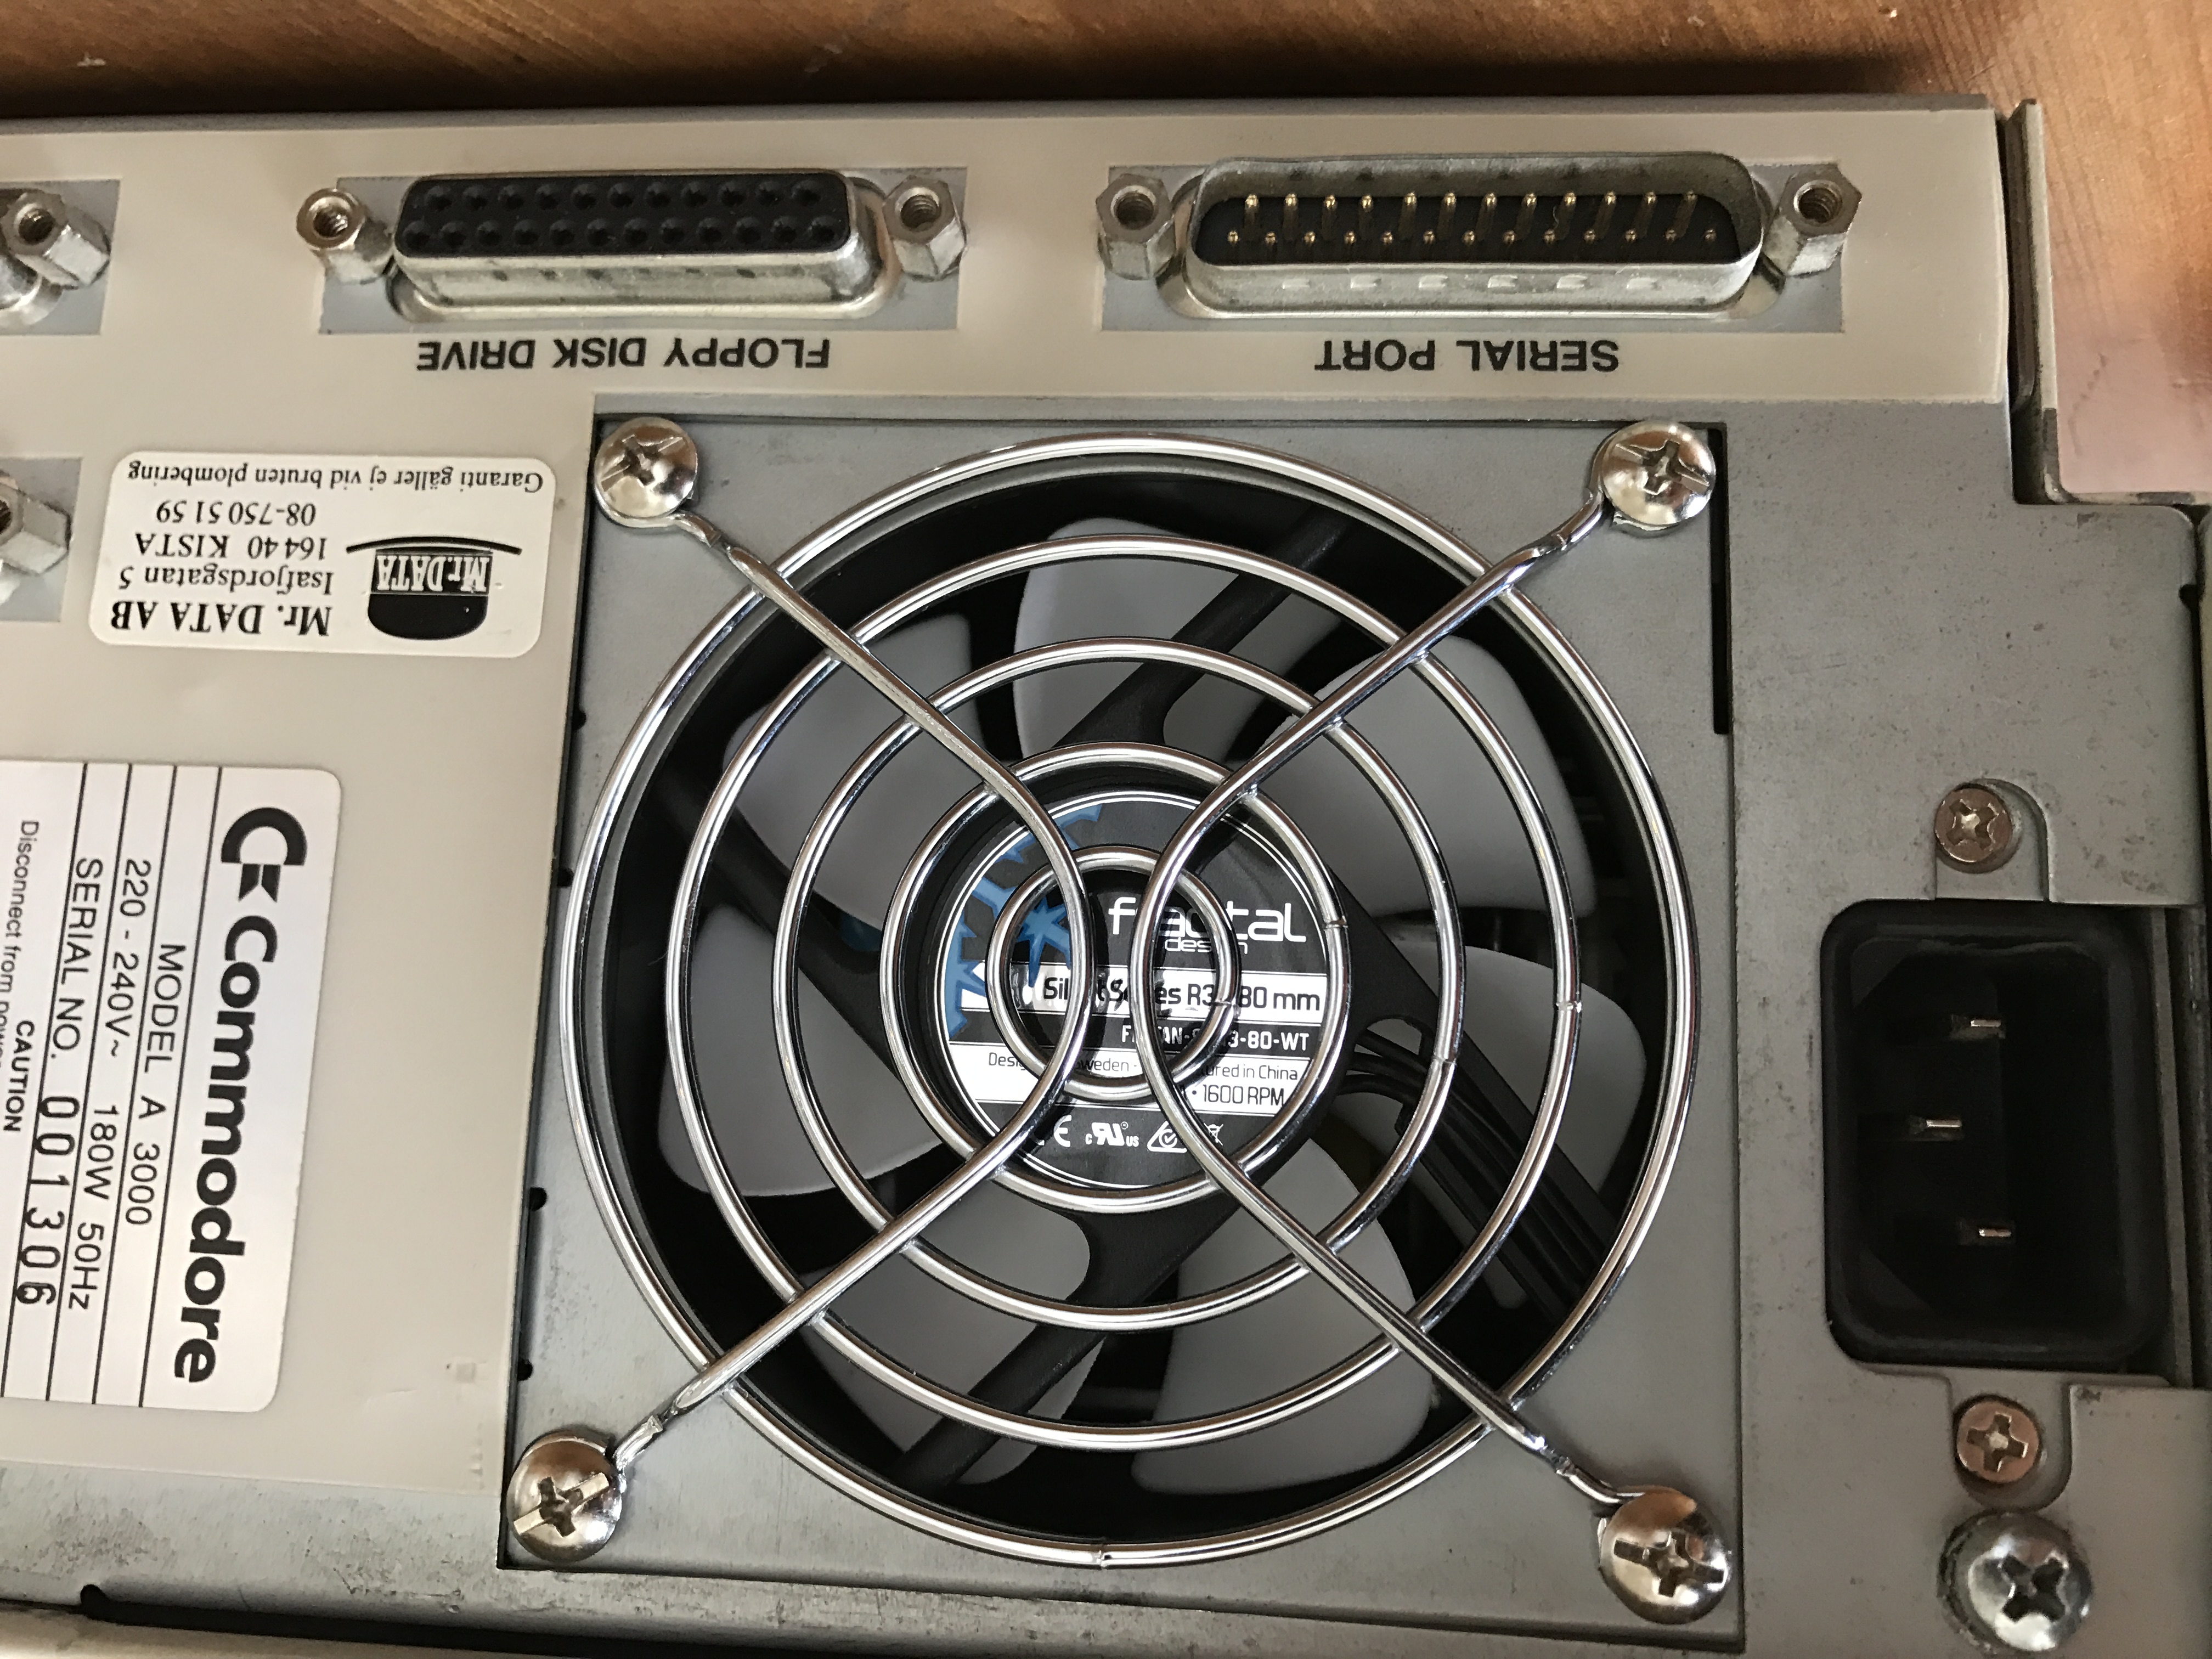
Well a replacement fan could be a good idea. I guess a few things had been improved since my computer left the factory in 1991. So I bought a simple fan of the same size from the local computer store and started digging out the old one from the PSU.
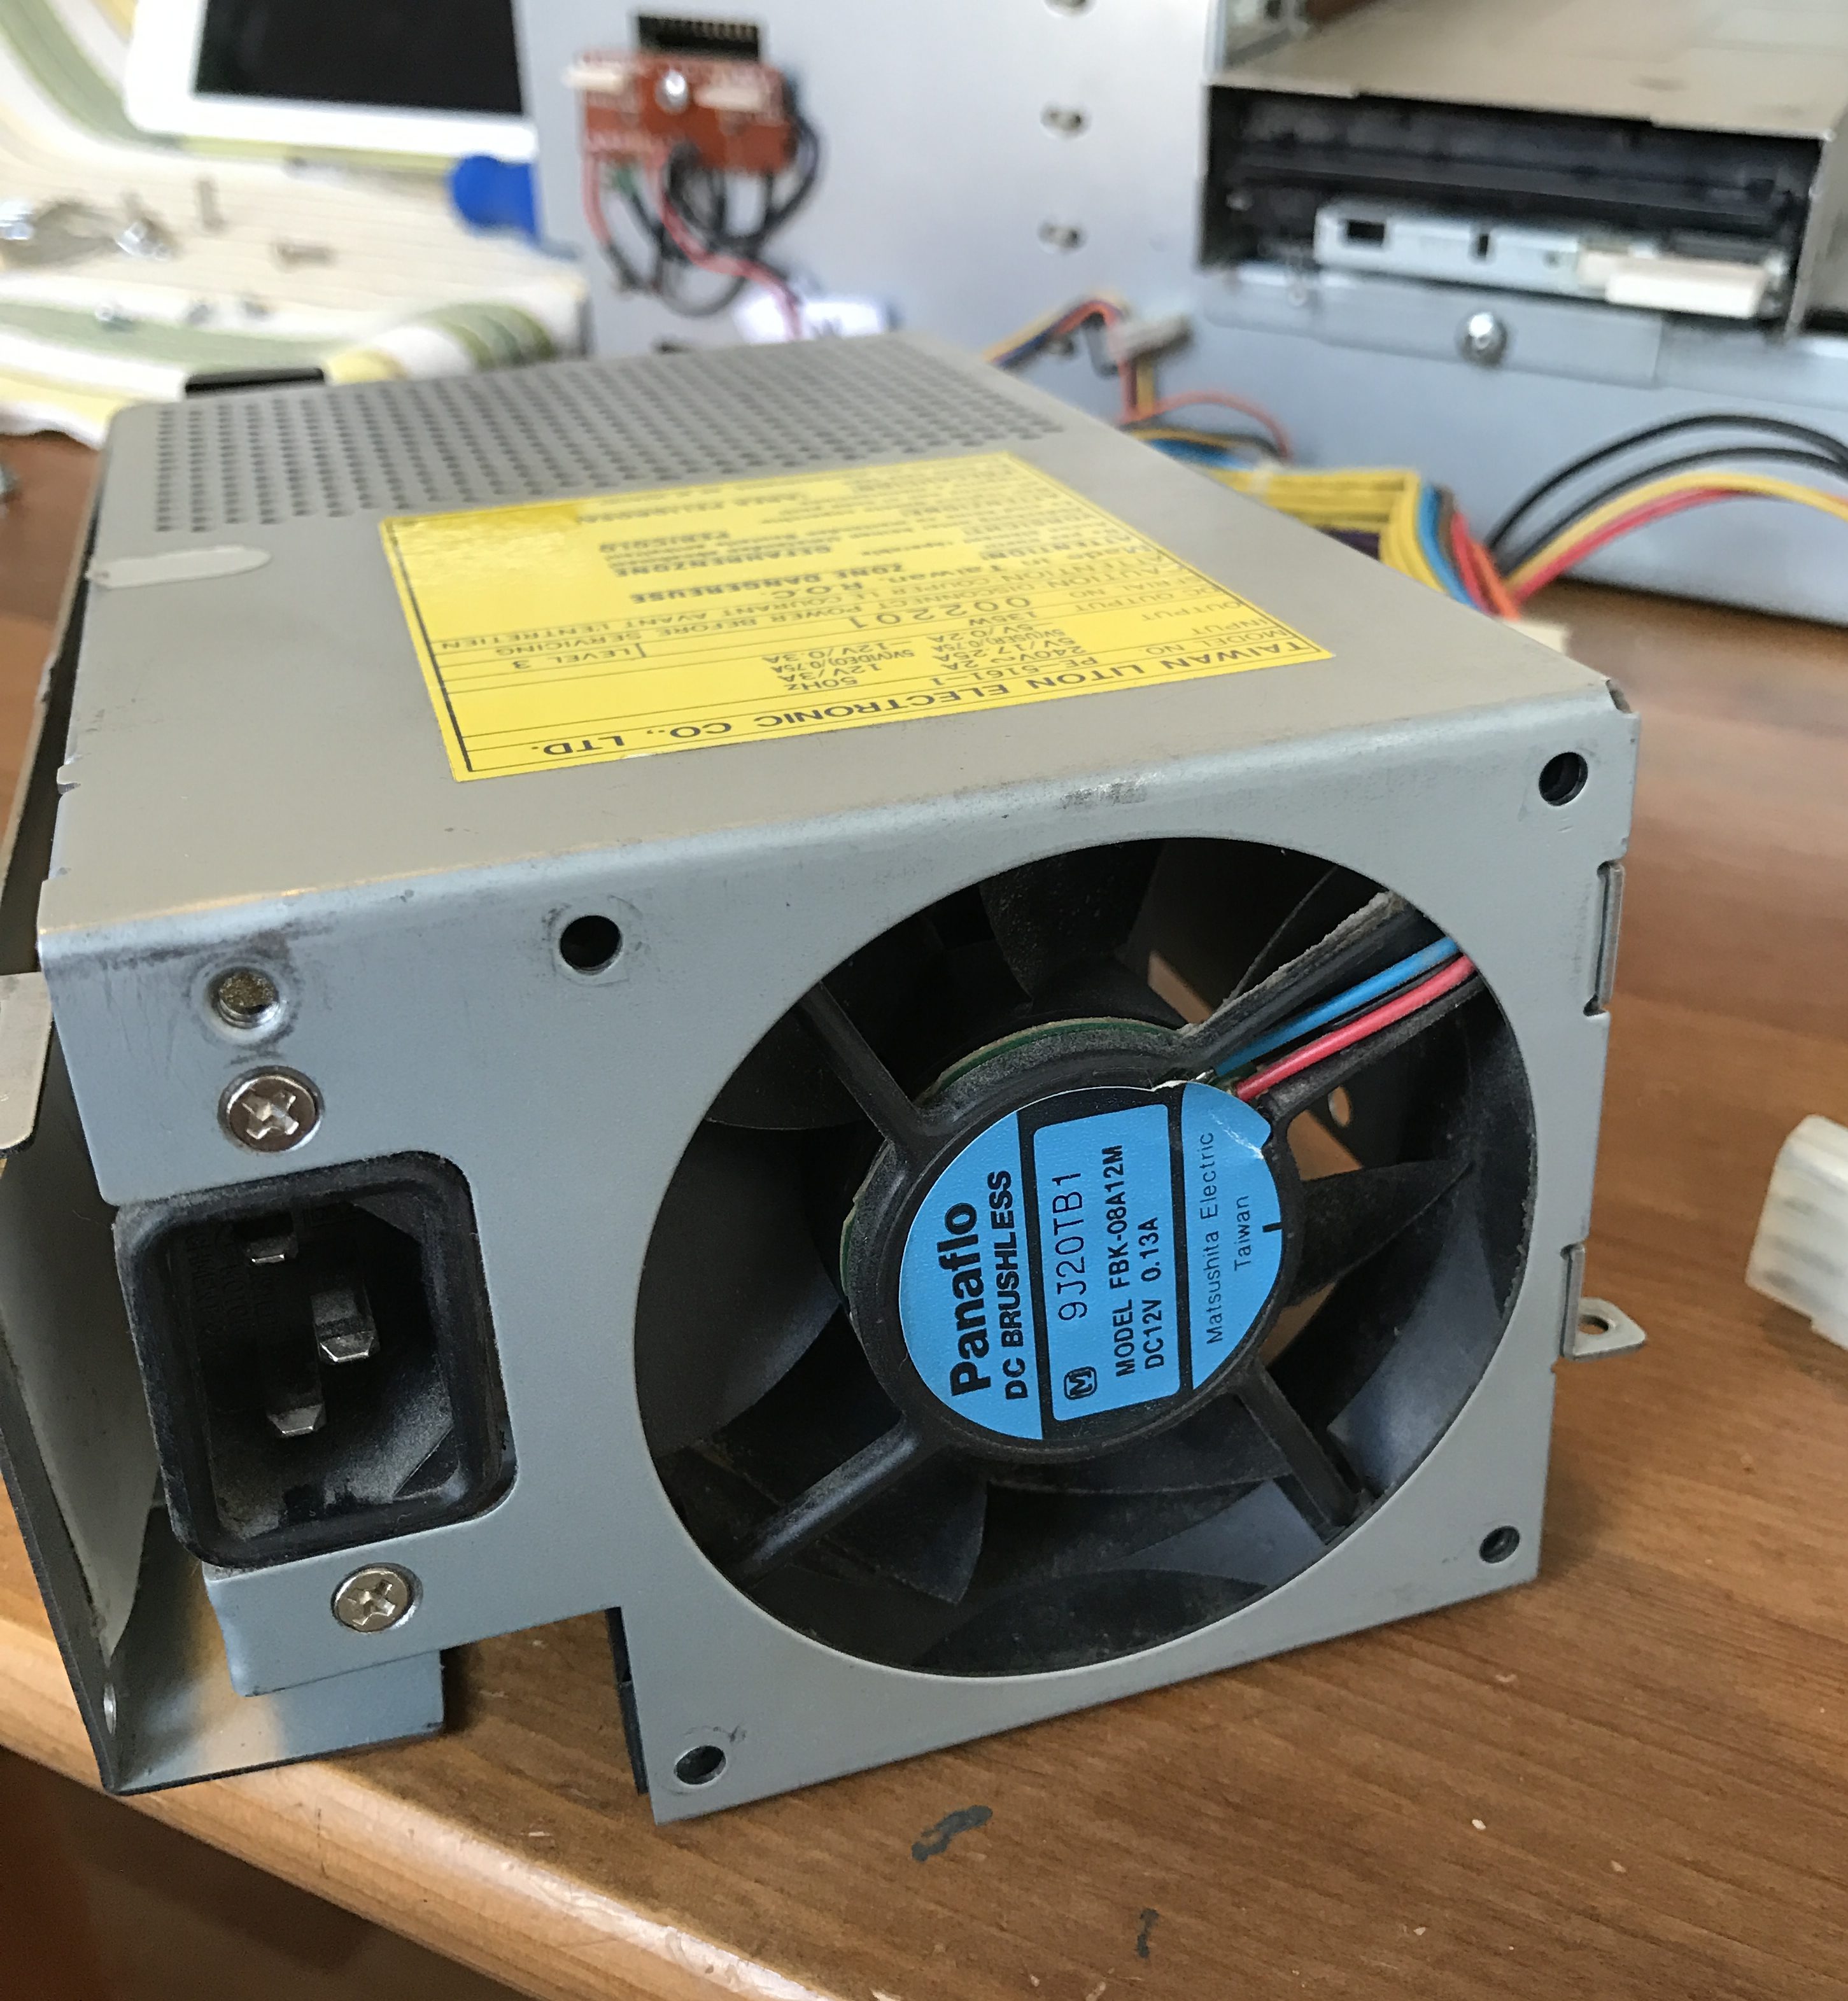
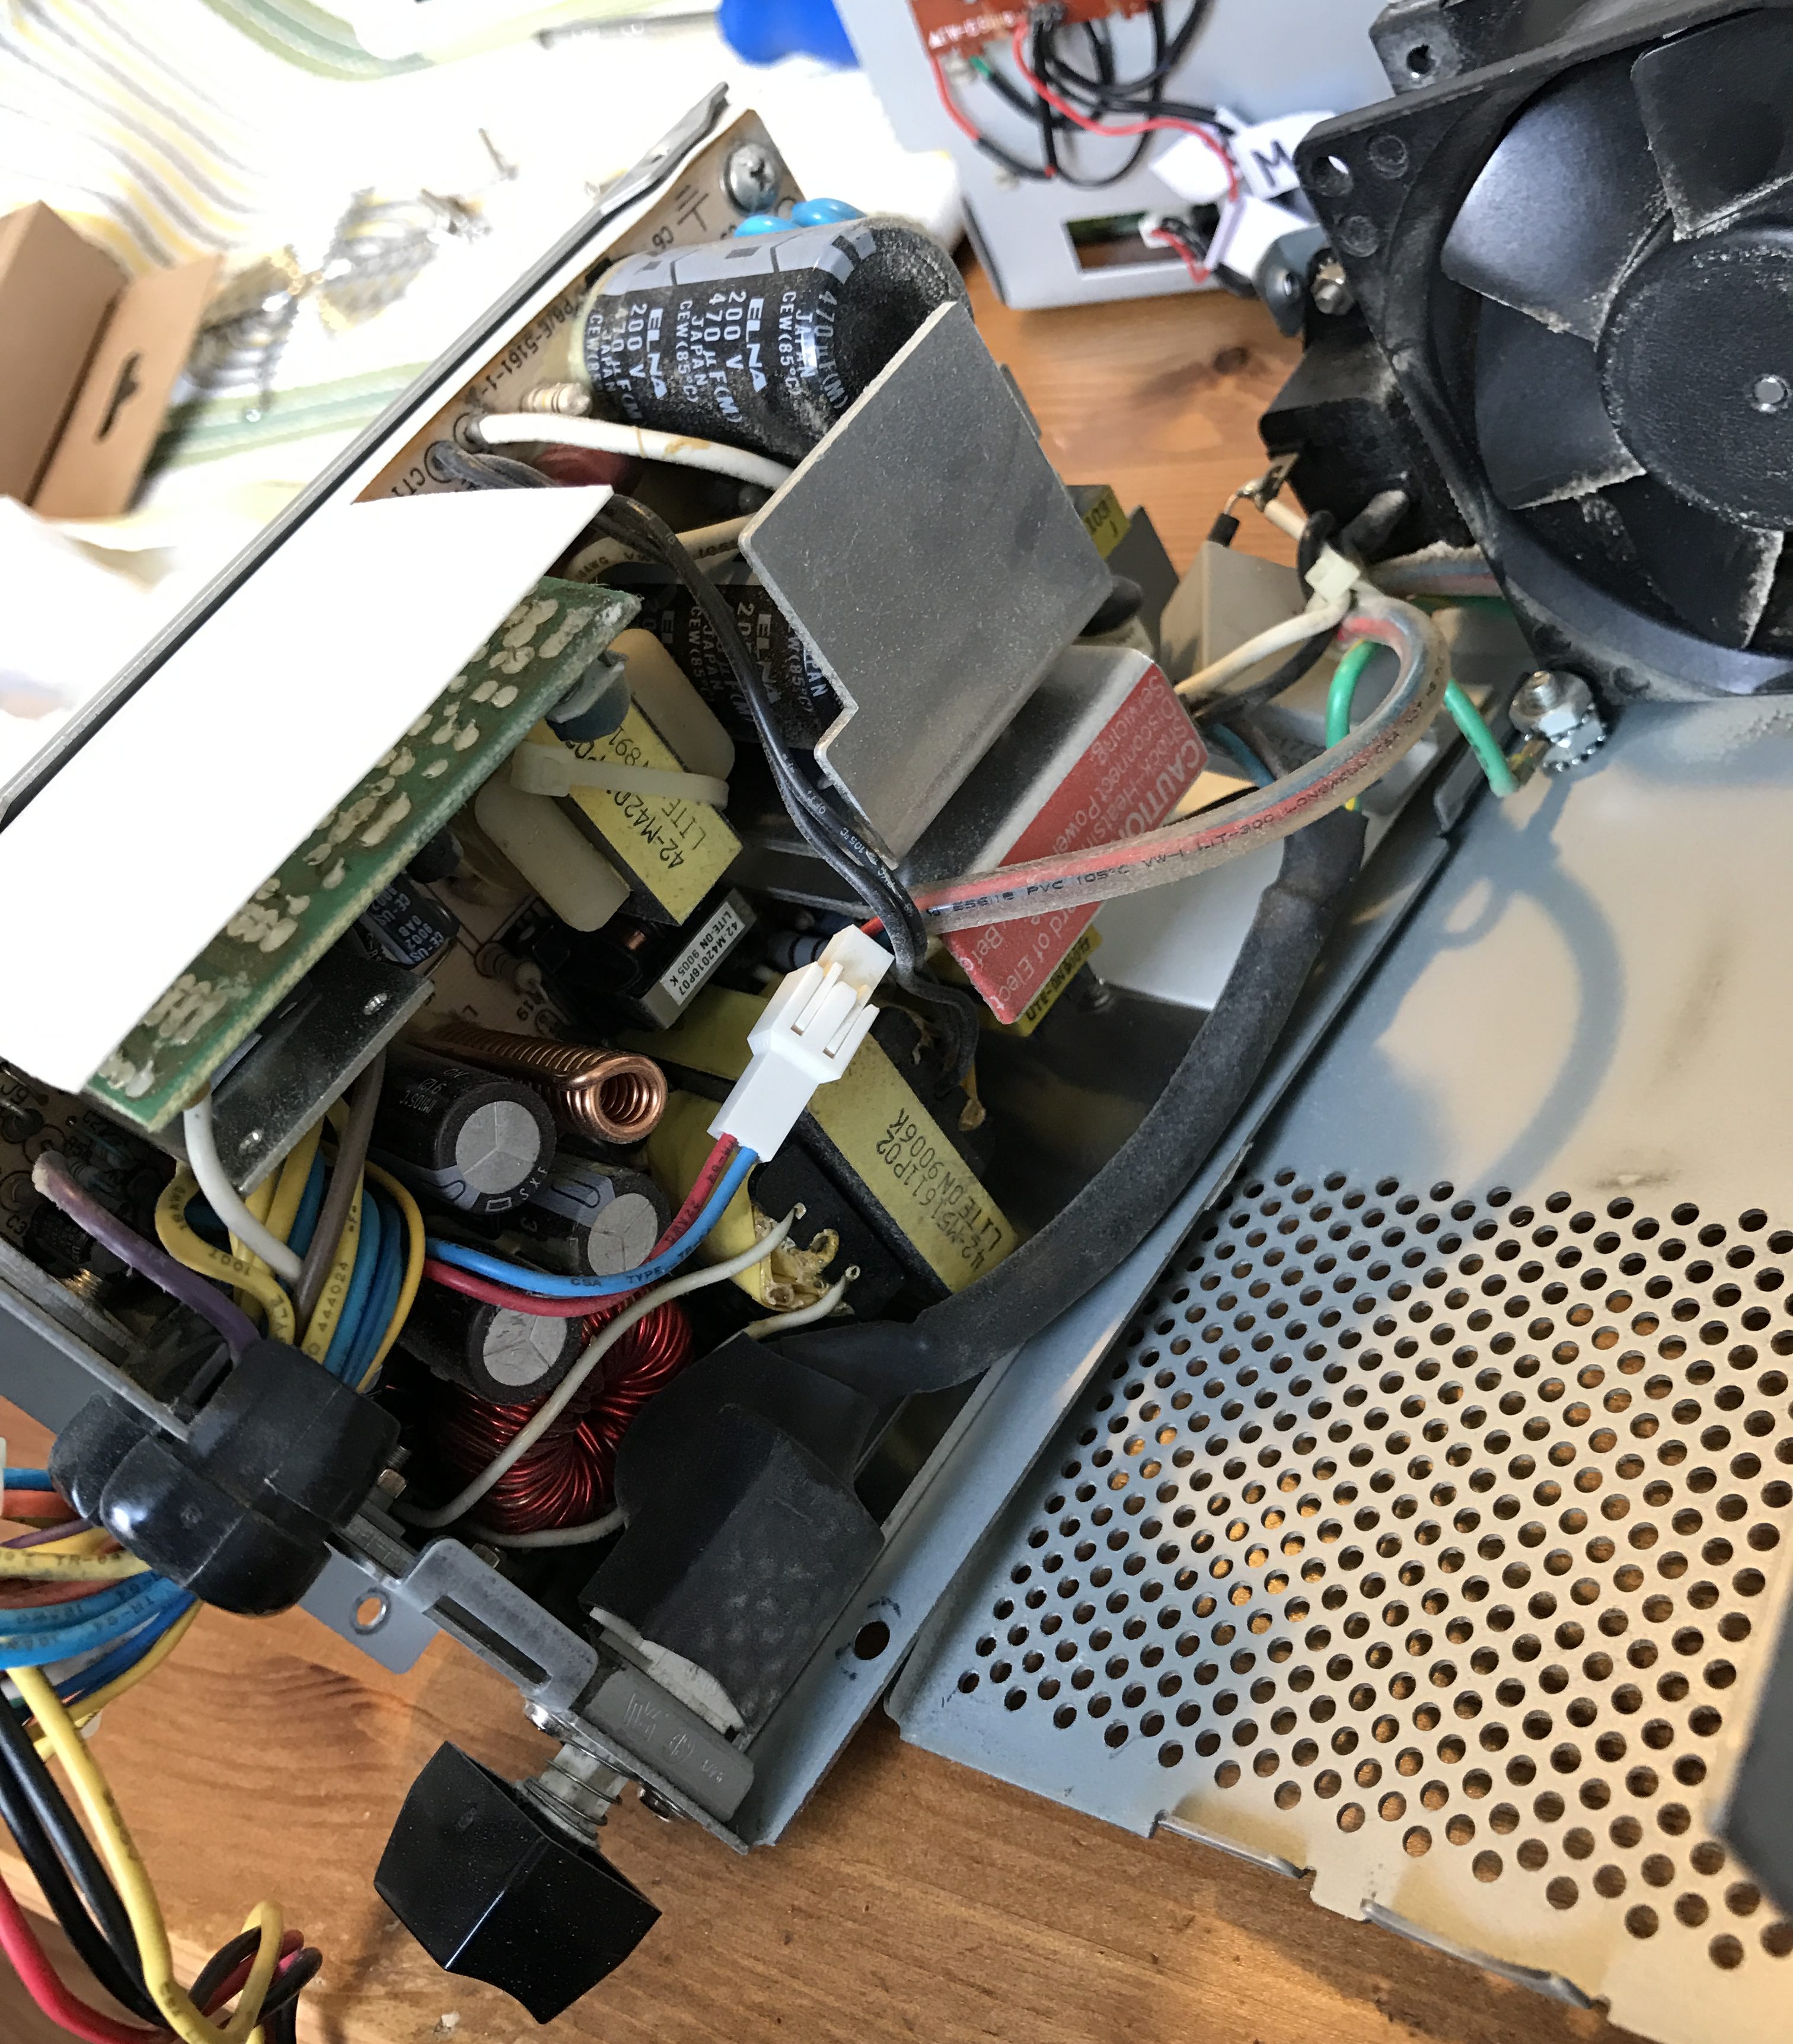
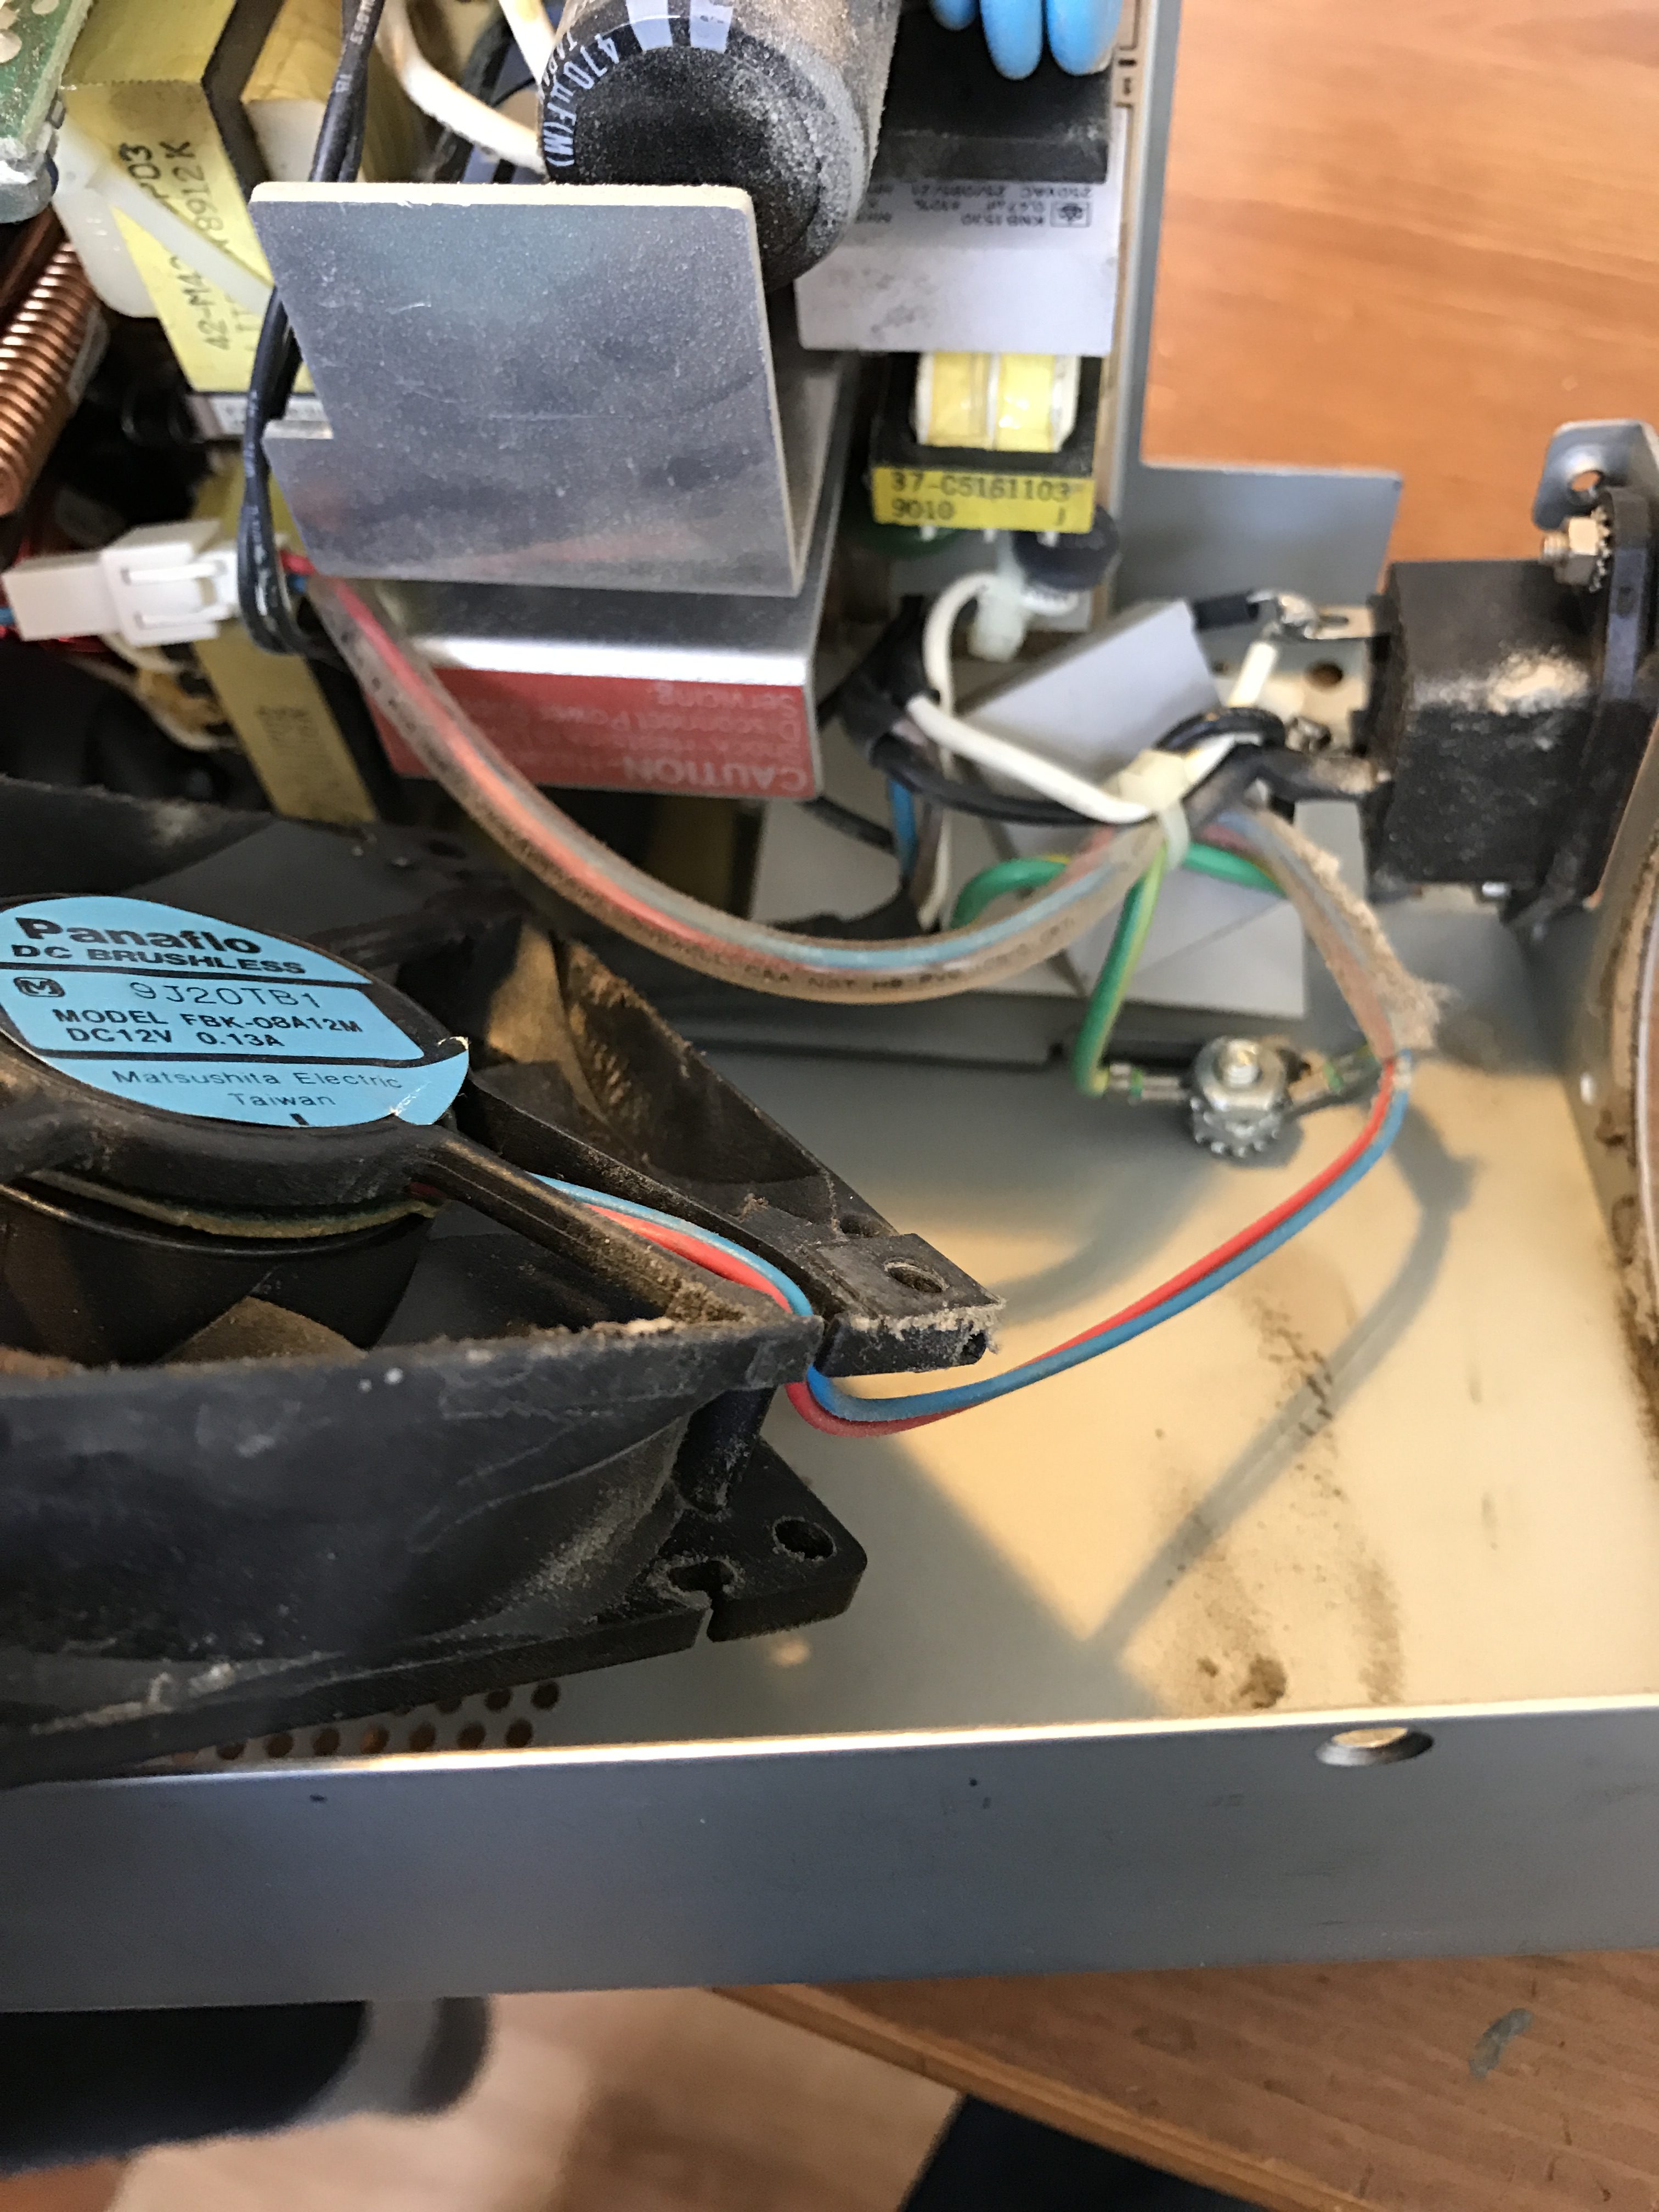
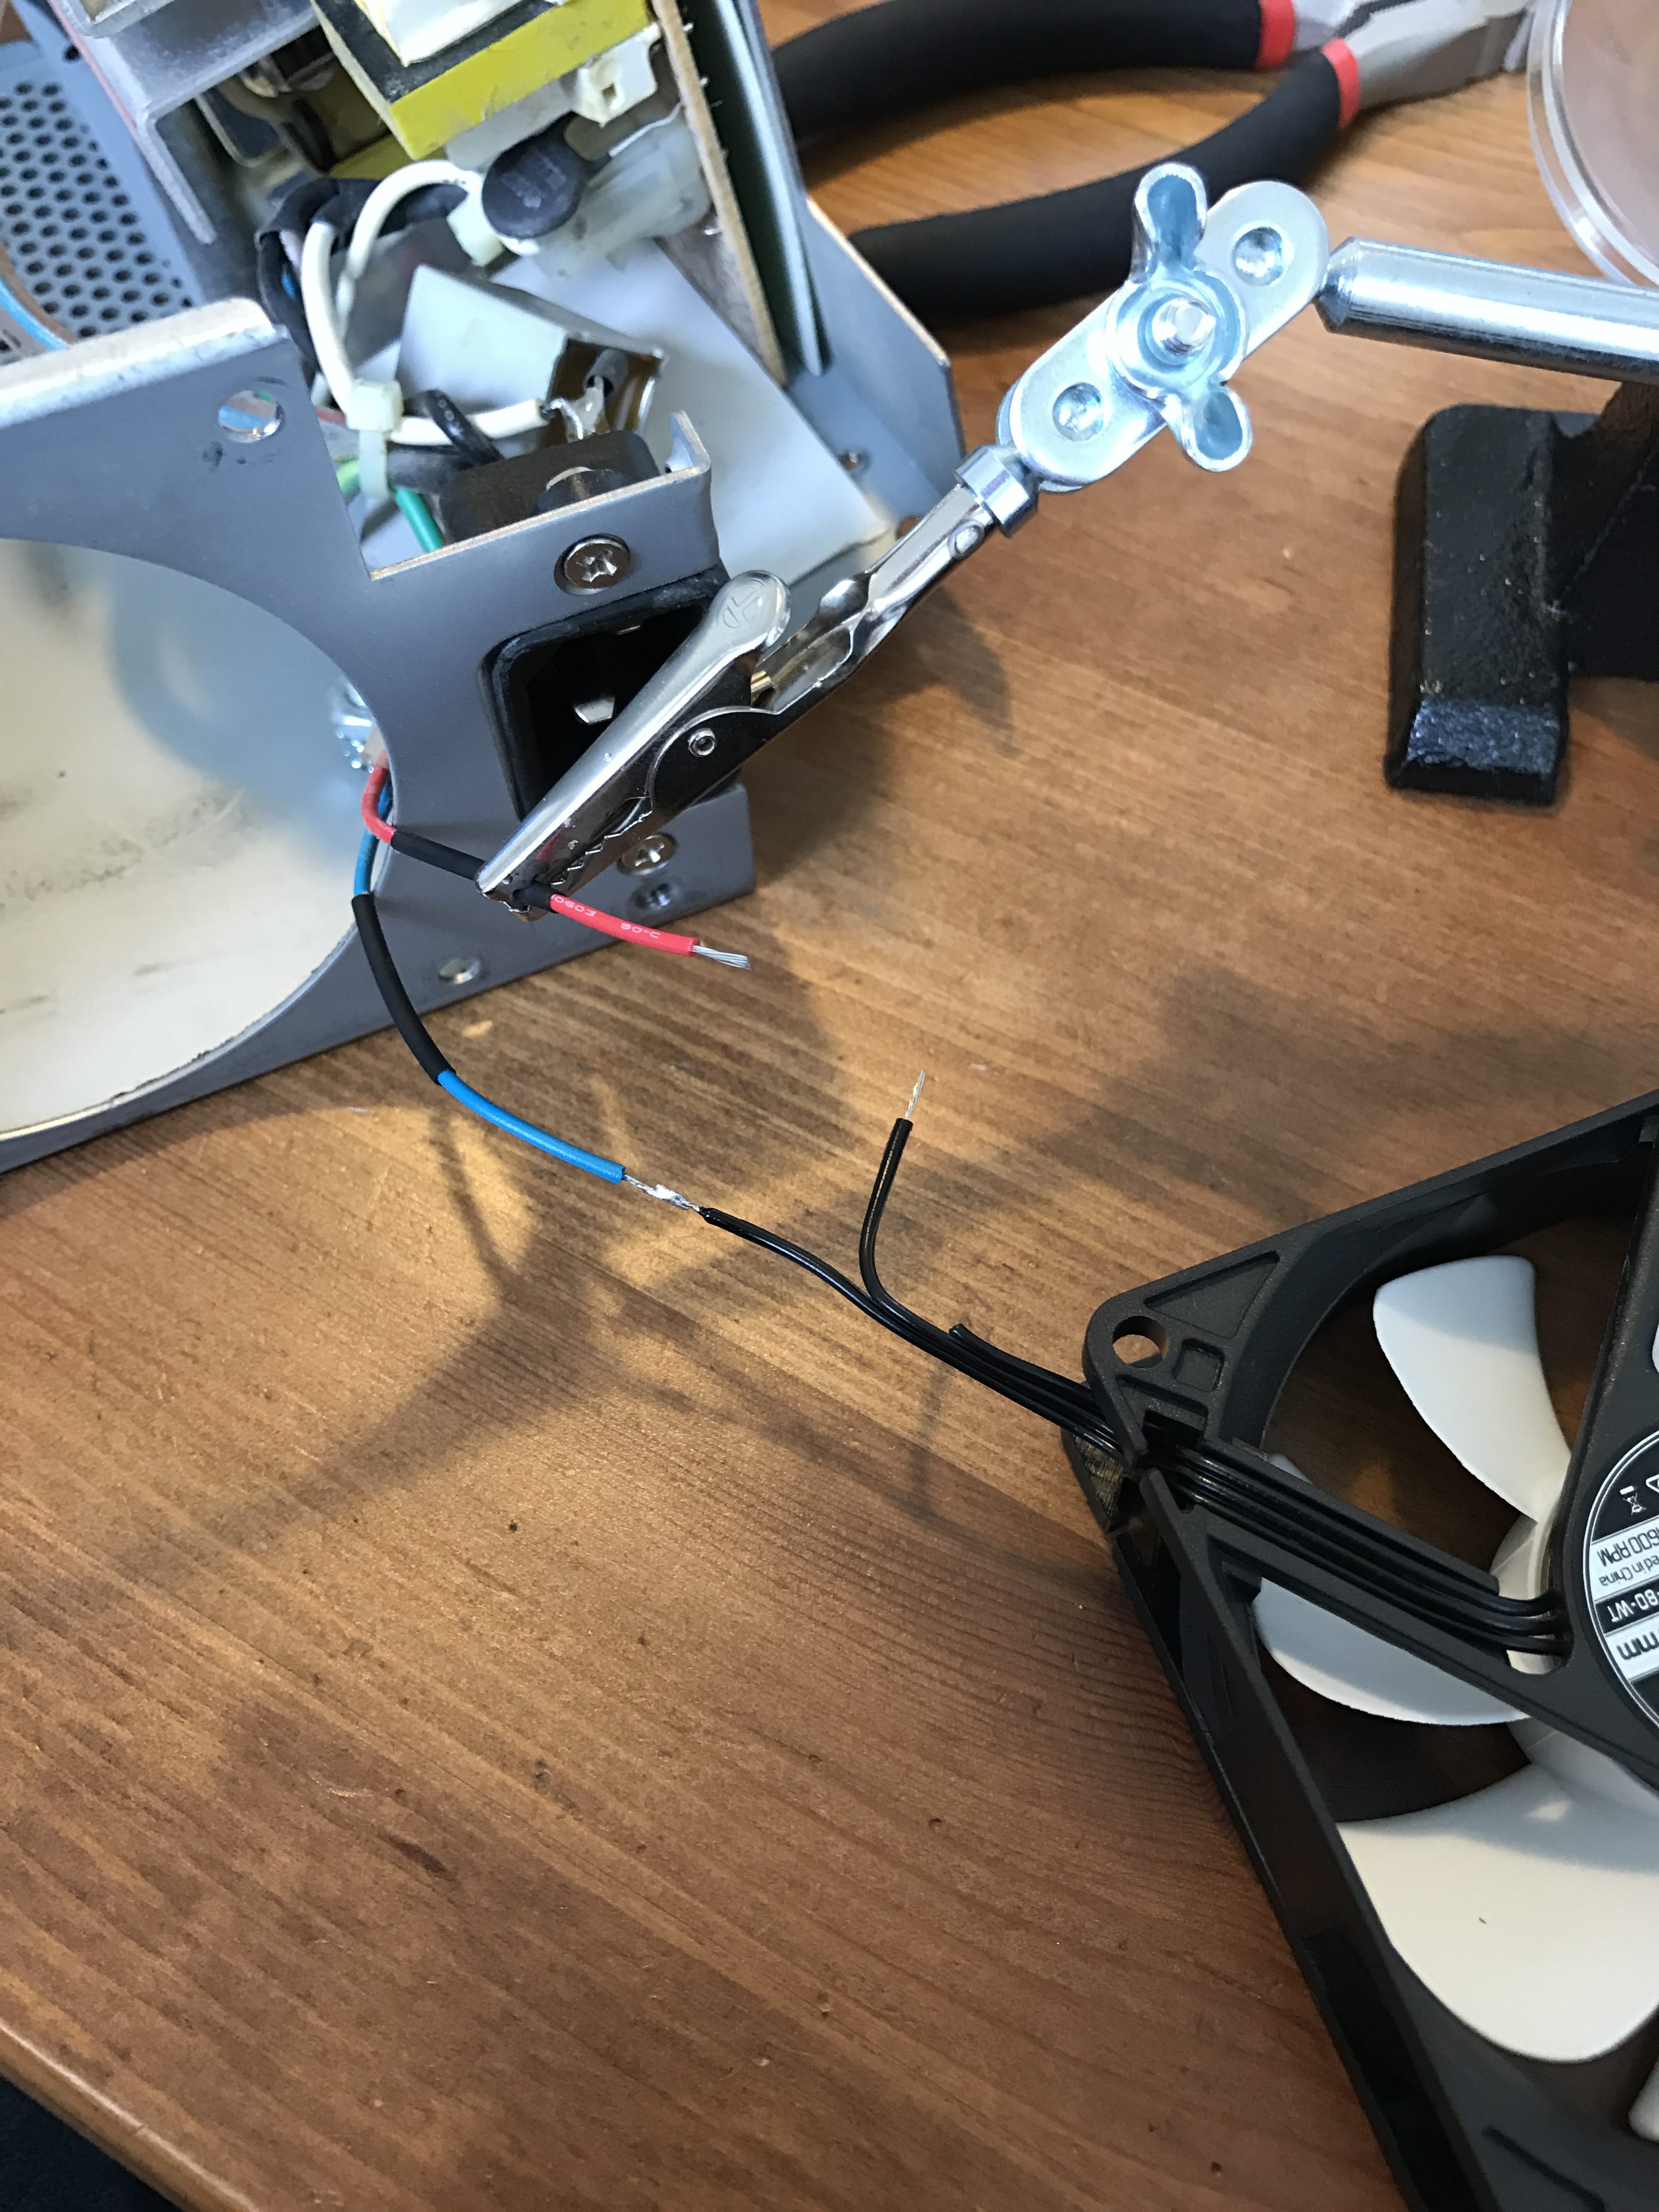
I found the easiest way to manage the cables was to cut the wires and just solder the new fans wiring onto them. There are no sensor on the Amiga PSU, so I just cut that wire short and connected GND and 12V.

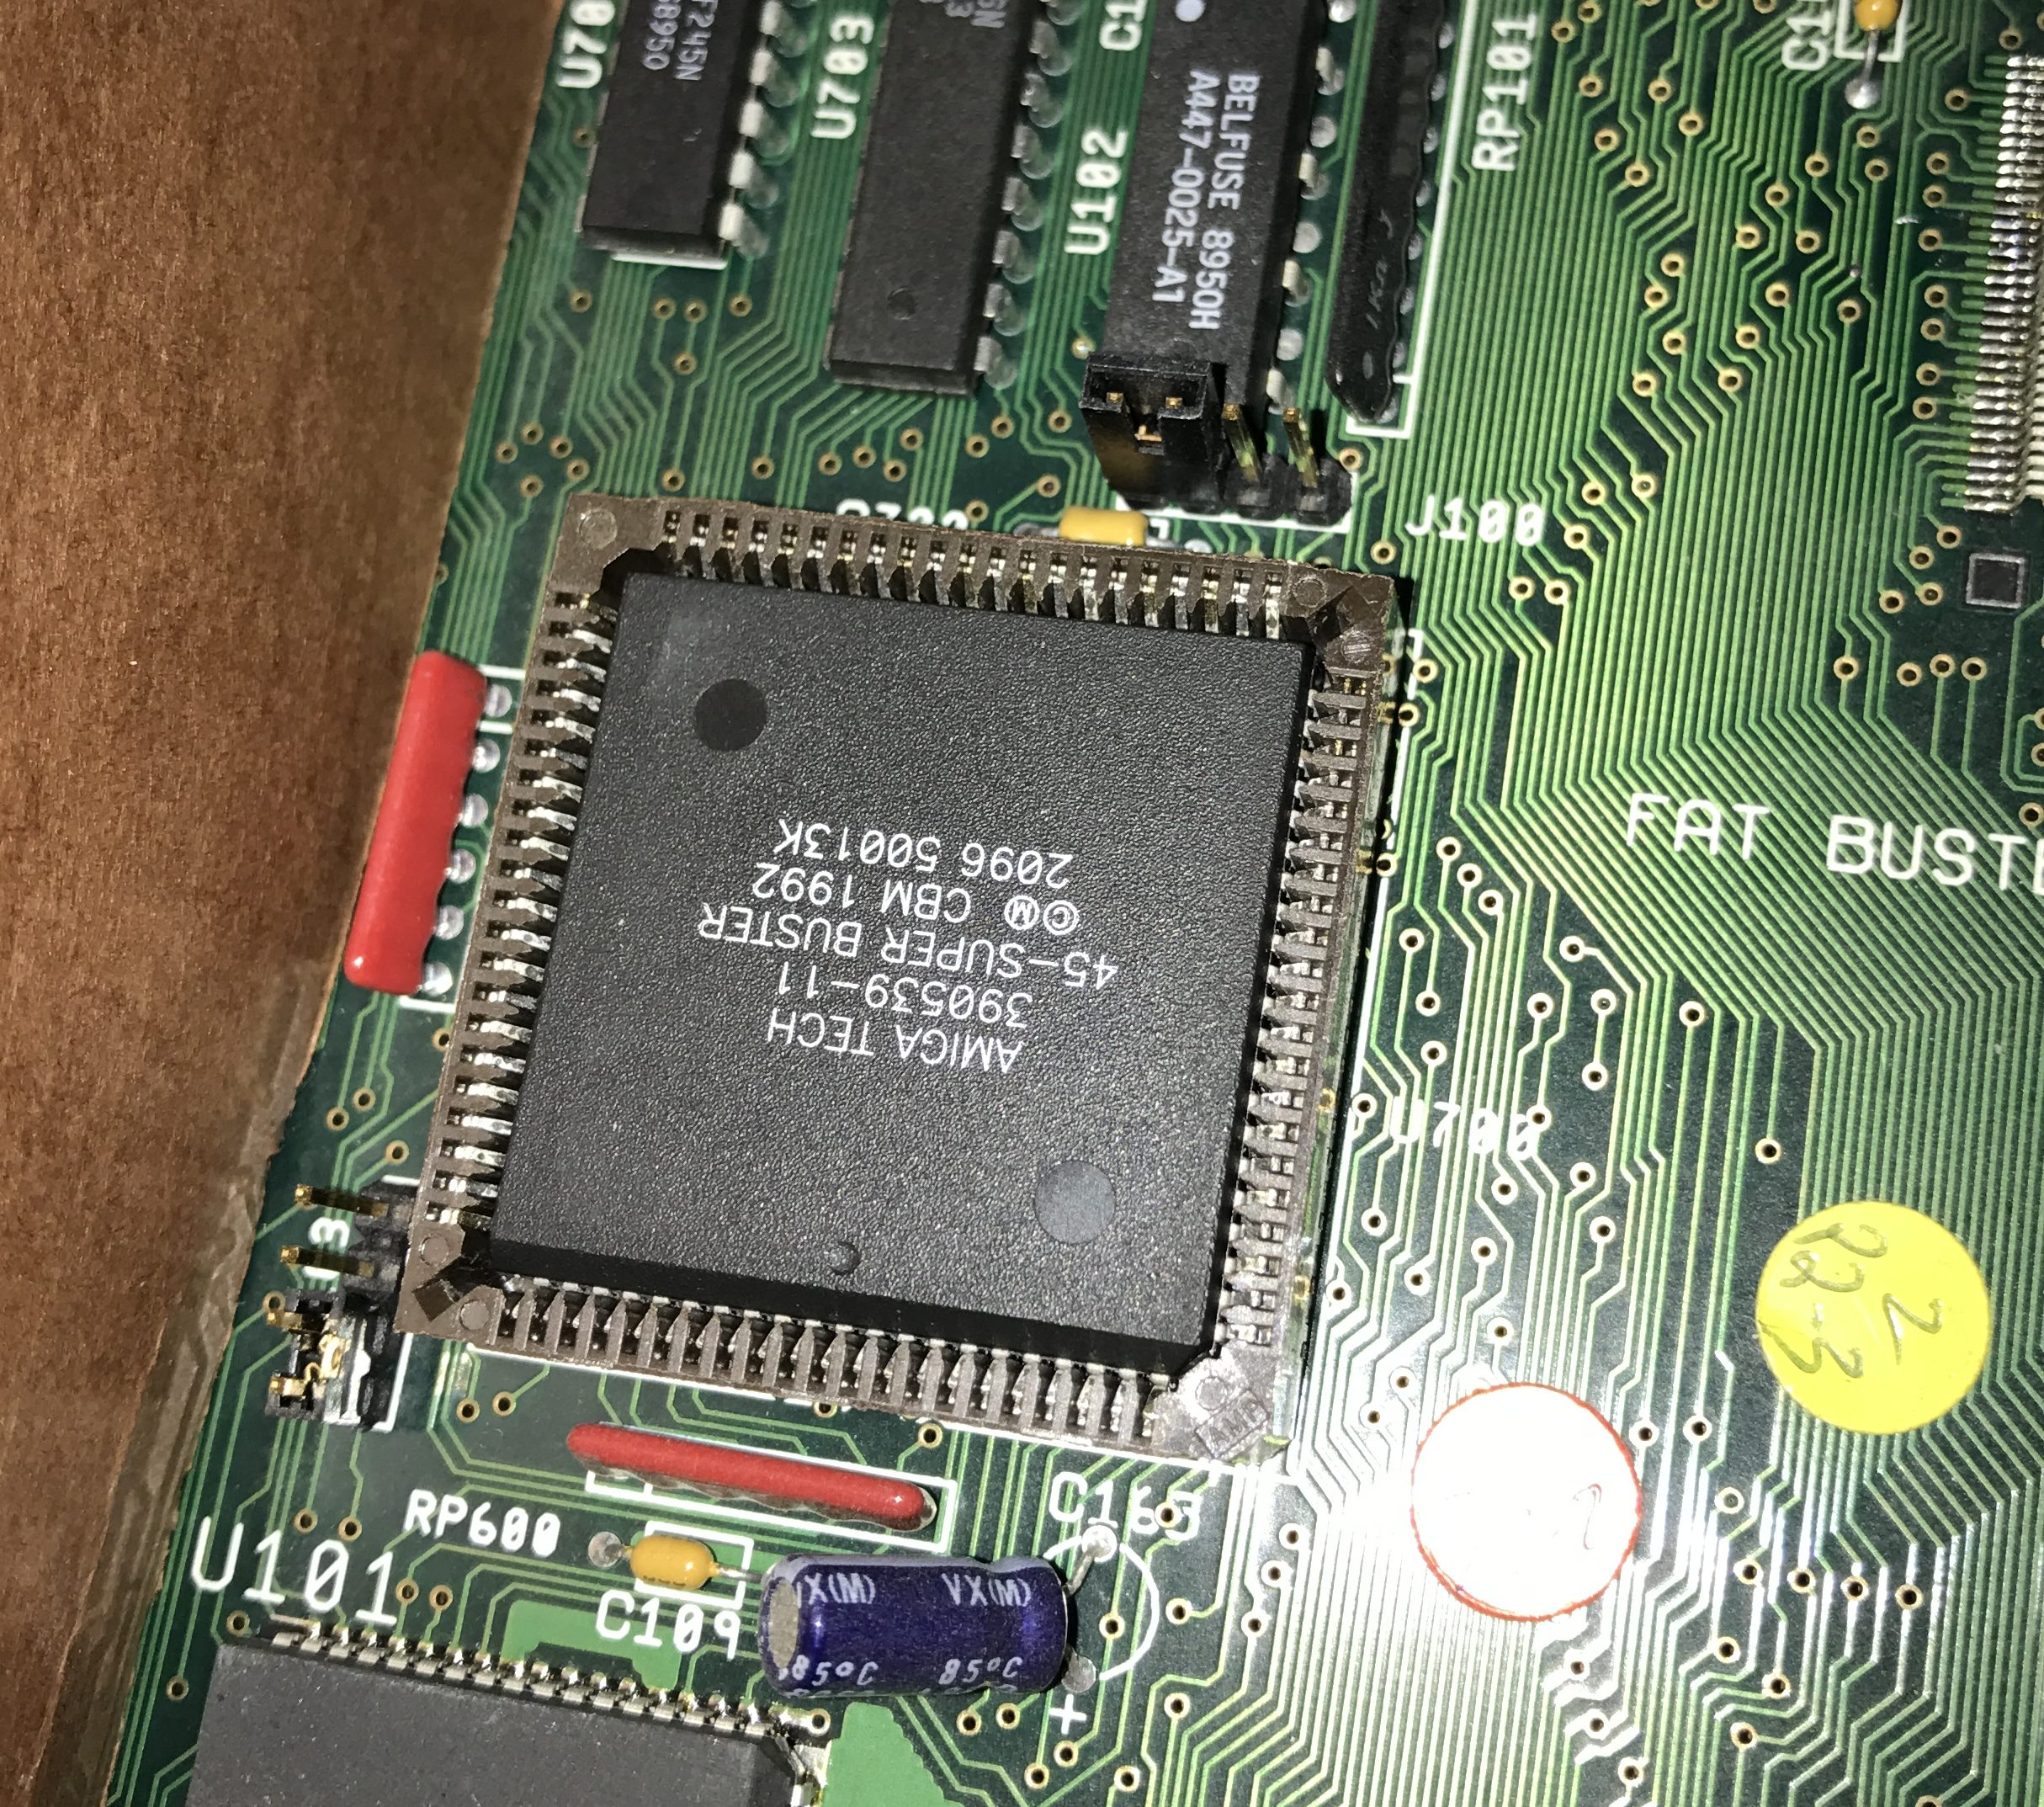
Also when I had the computer opened and the drive dock removed, I took the chance to upgrade my Buster rev. 7 chip to a Super Buster rev. 11 that I had ordered from Amigakit. I had problems getting the PLCC-puller to fit the socket and grab the chip, so I had to file it’s hooks down until they could fit the socket and grip the chip correctly. It wasn’t a difficult thing to do and it took me just a few minutes, but might be useful information for someone.